")


")
Hey guys!
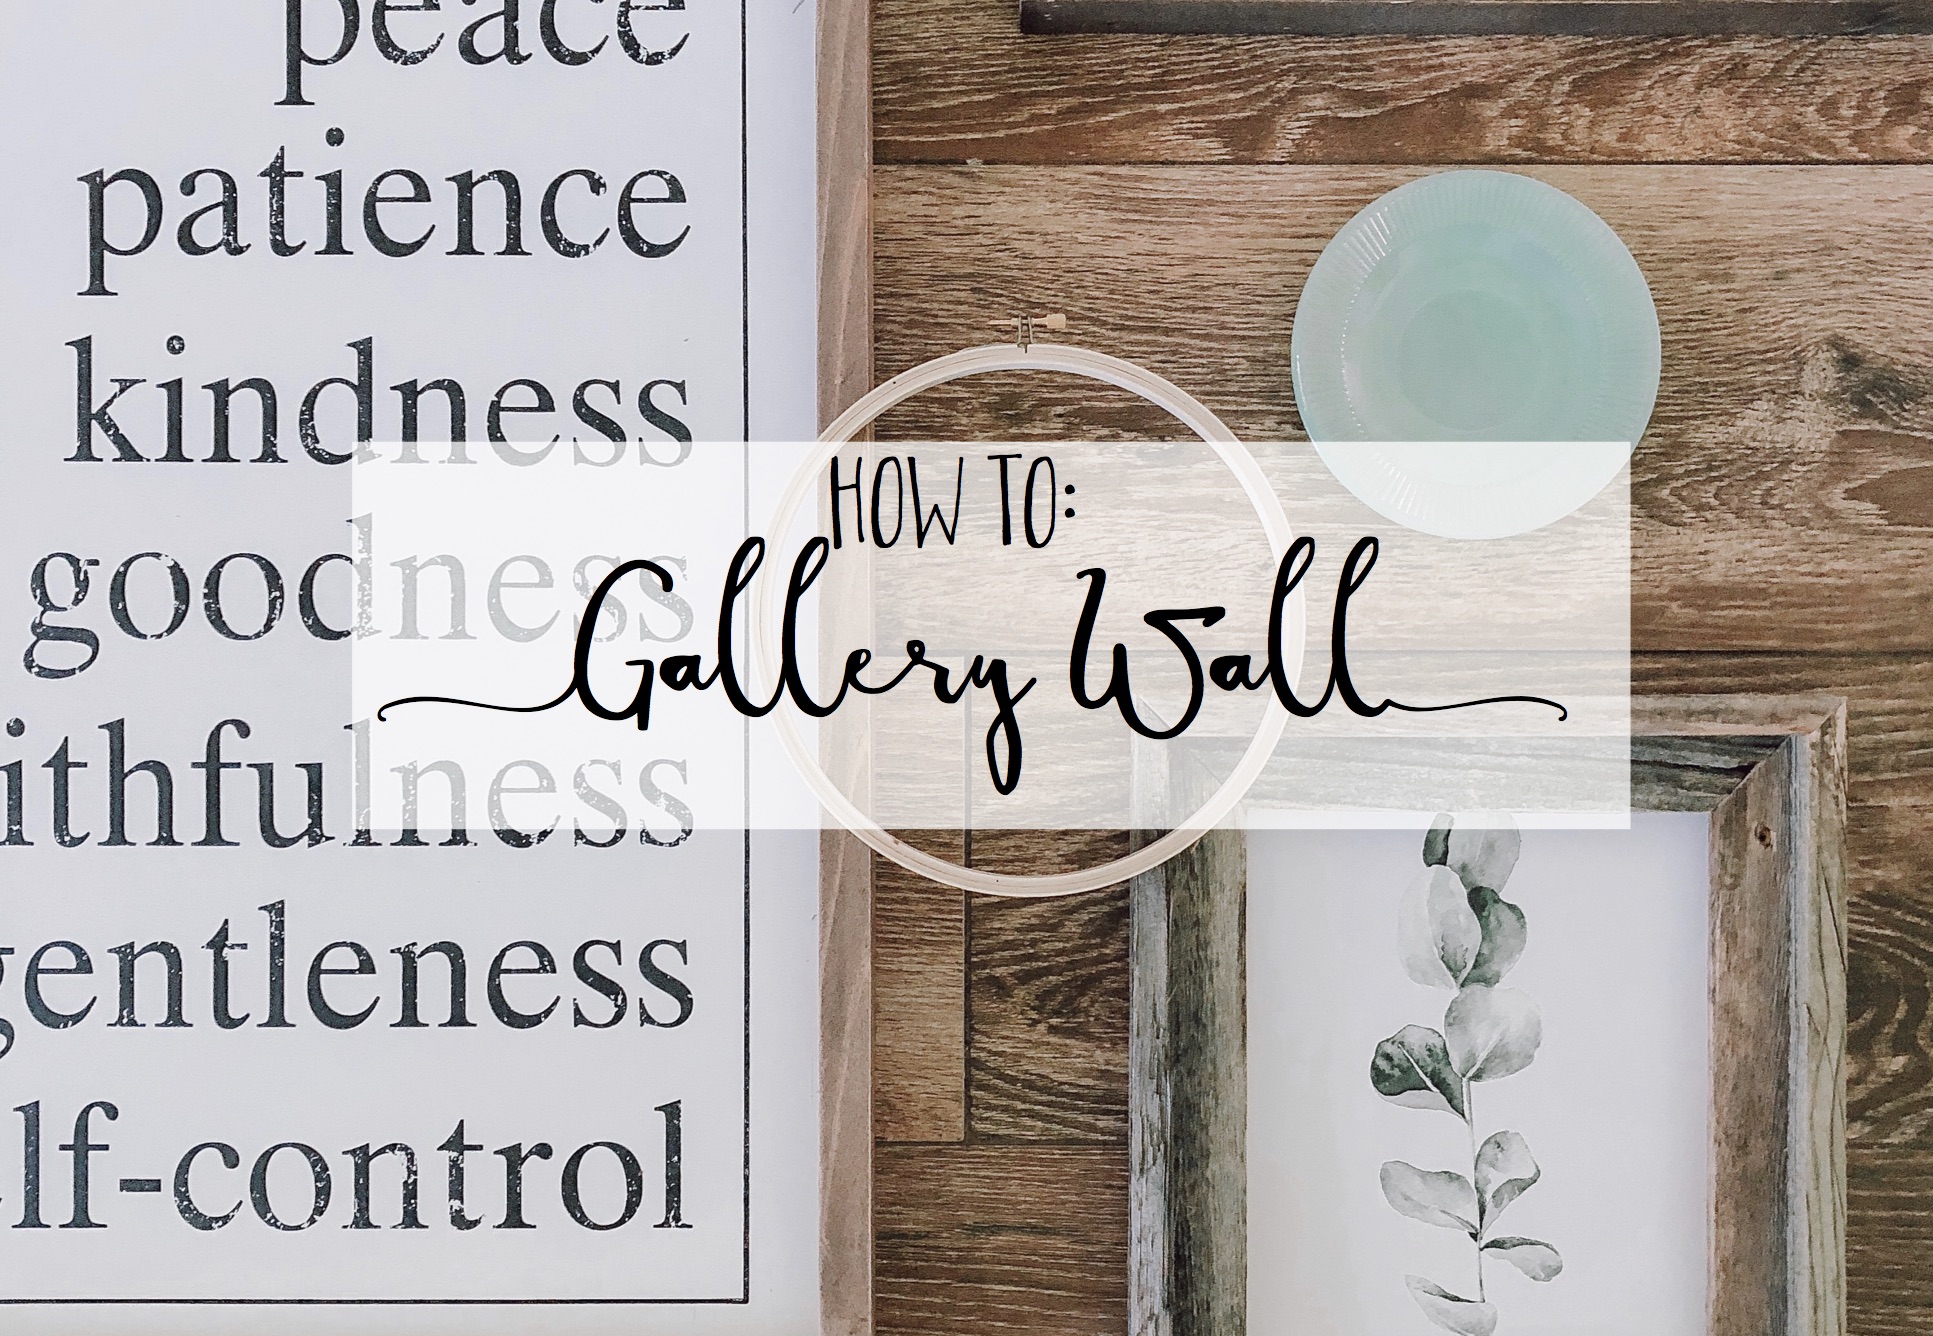
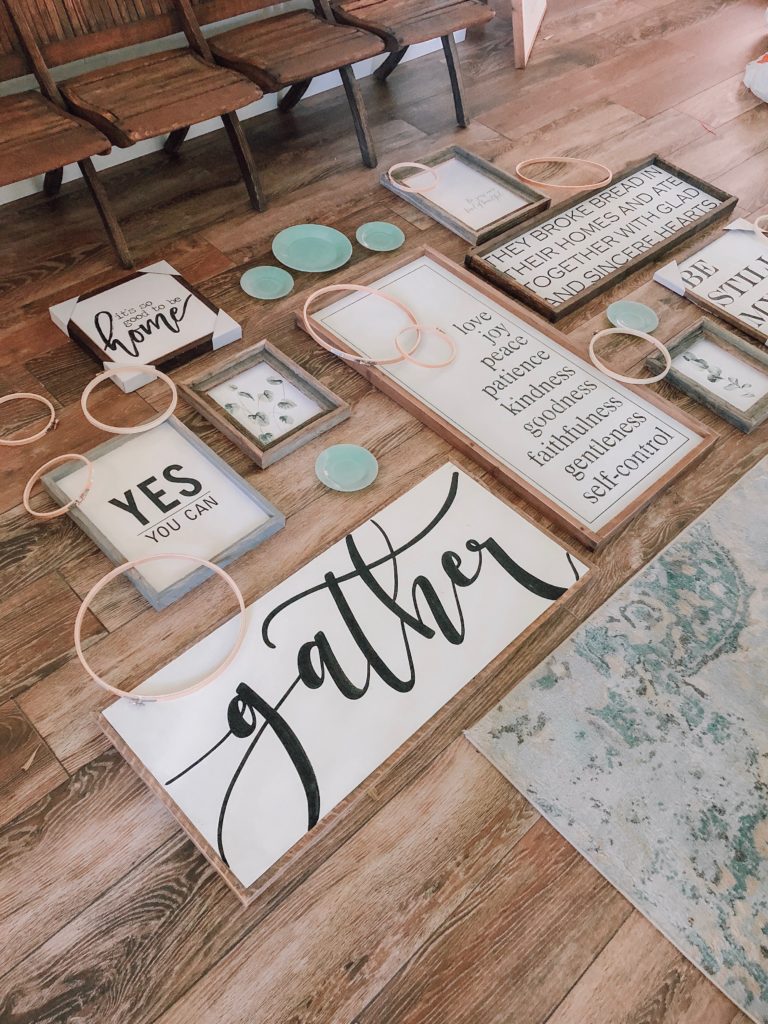
Wanted to give you quick how-we-do tutorial for installing a gallery wall! Gathered up lots of fun farmhouse style signs mostly old and some new….and I’m loving the vibes!! Finished up this area today in our entryway which is across from our dining room, and I’m loving all the positive words of encouragement plastered from floor to ceiling. It’s been a minute since I created a gallery wall, so I thought I’d write down my un-fussy approach to basically all my home decor projects. 😉 Here’s an in-progress shot from this morning right before we began installation!
Hoping to just spread these messages to my family and friends as they walk by! In our home, I change my decor so often that I’ve learned to not get too fussy when it comes to projects (because they don’t usually stay to play for all that long if I’m being honest….gotta create or burst!!), so here’s an easy, quick way to slap up a gallery wall in your own home! (If you have perfectionist tendencies, I’m sure a quick Pinterest search will provide you with a more, ahem, thorough step by step….! If you get the “itch to switch” your decor as often as I do, then this blog post is for you, ha!! 😉)

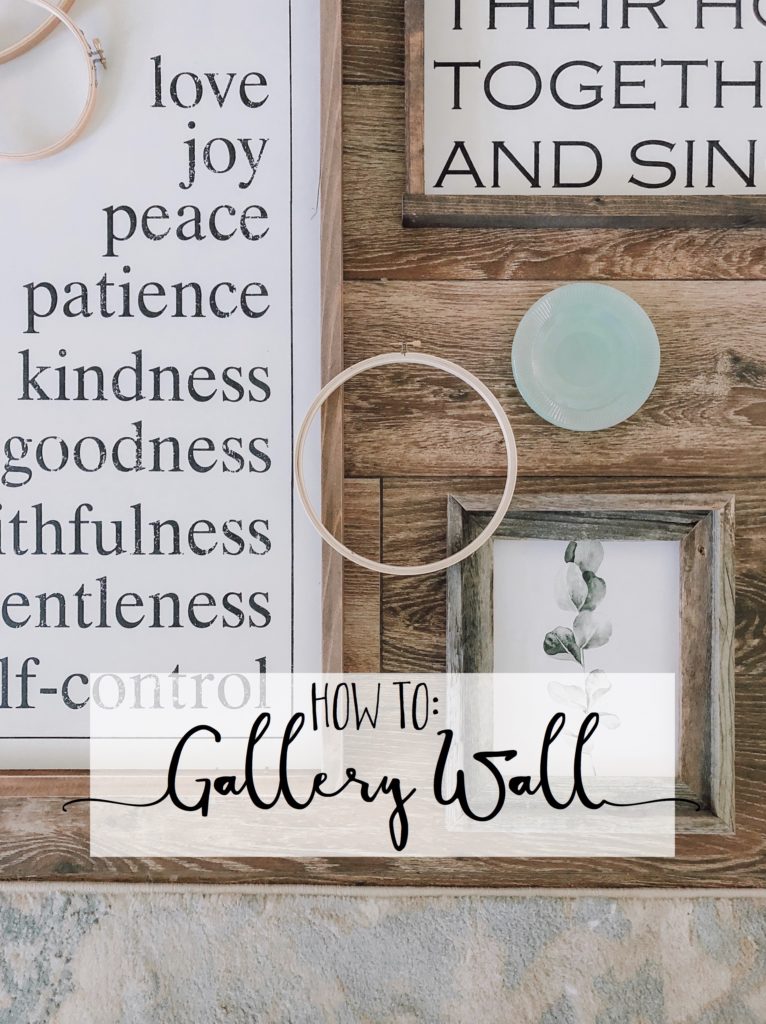
1 – Gather signs + prints of varying size
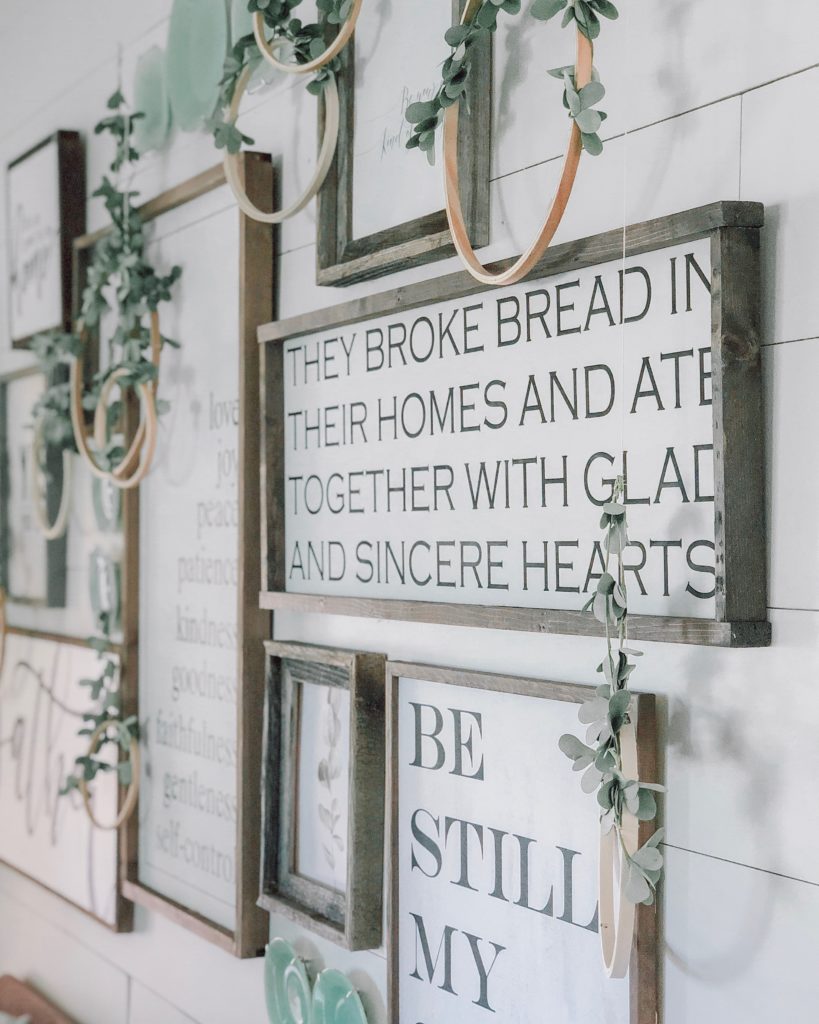
For this specific gallery wall, I wanted to use farmhouse style wood signs of different sizes that all carried a message of encouragement or peace for my little fam. I want to always speak truth into their lives, and this focused wall of faith and hope will (hopefully) do just that! I chose similar signs in that they are all white background with black text, and they are all framed in a rustic wood. This was intentional – it’s a busy wall with all those happy words, so I wanted to keep as many elements of the gallery as streamlined as possible! I broke up the text by using nature prints also framed similarly, and I loved how they added a pop of color to the mix.
Other ideas: family portraits with cohesive frames and mattes, kids’ drawings mounted in fun frames, lots of different mirrors layered together, art work that you love all hung in similar frames, etc.
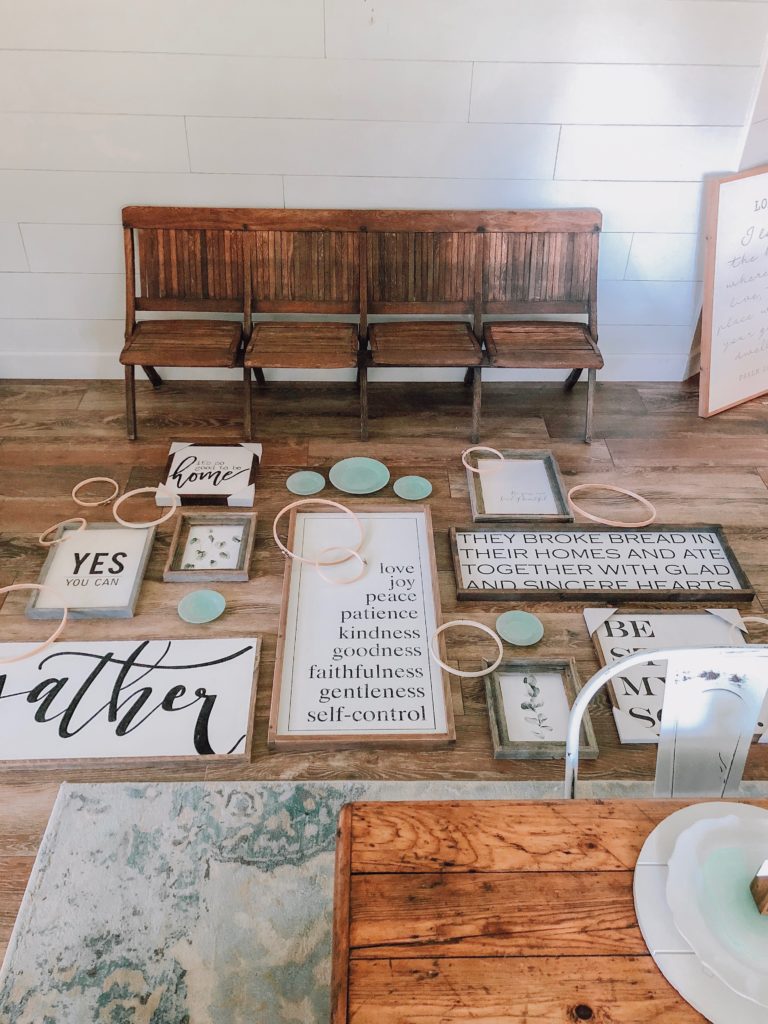
2 – Build your gallery…on the floor!
My number one tip is to clear out some space on the floor in front of or near the wall you’ll be using and build out your gallery “wall” there! This helps you see the finished product before you ever put holes in the wall, and it gives you a chance to play and change up the arrangement and styling until you get it juuuuuuuust right. If floor space is limited, try clearing off the dining room table or a countertop instead!
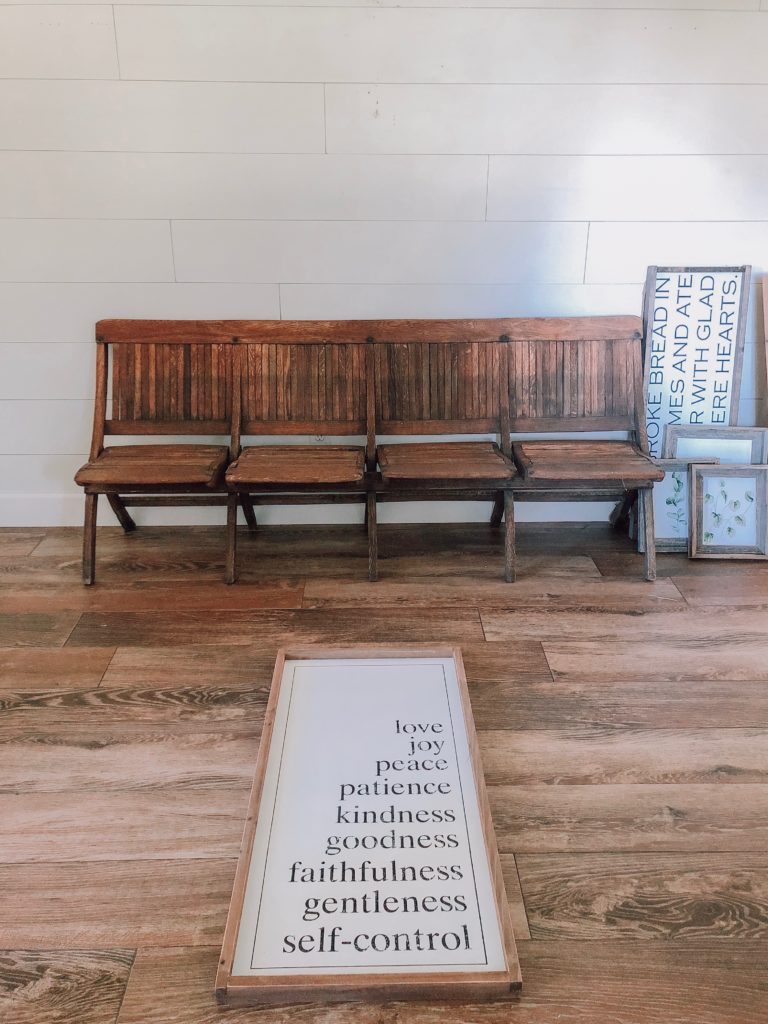
I like to start with the center piece of my feature wall and build outward on each side. This keeps things in balance and helps create an even layout for the end result. Here I choose a vertical sign from Hobby Lobby as my focal piece, and I centered it up on the floor matching where it would eventually hang on the wall.
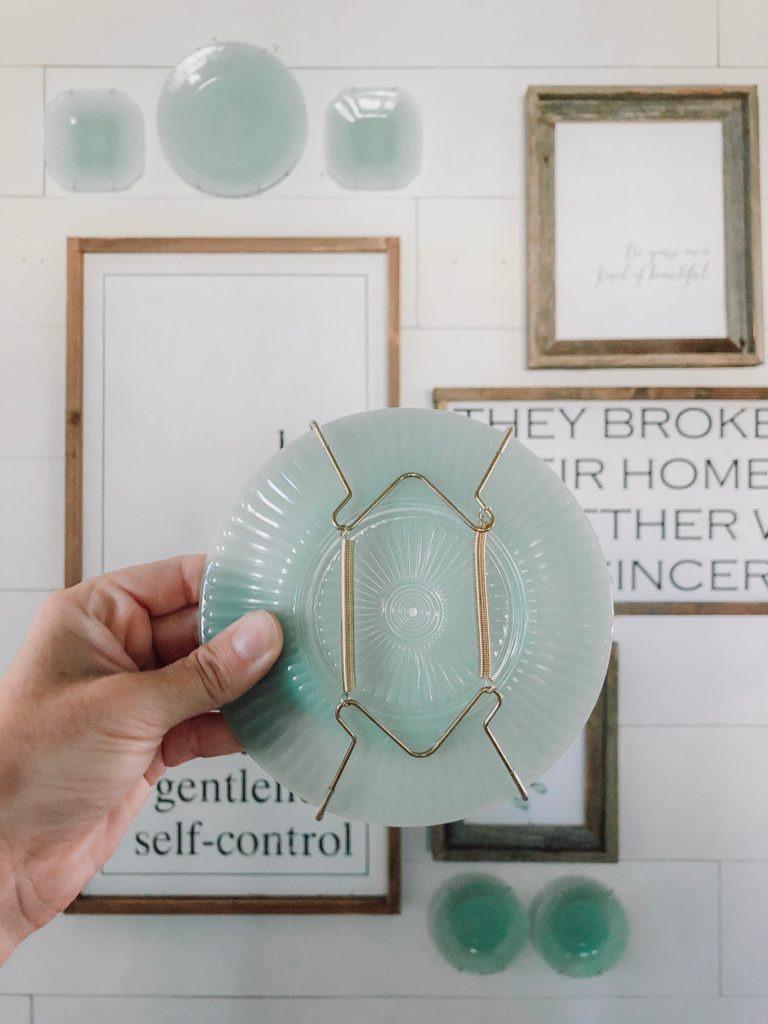
3 – Prep your pieces
Before you begin placing signs and prints, be sure you have installed the hardware on the back of the frames to make the gallery wall process quicker once you get going. Some signs here came with mounts attached, and others we had to attach our own hardware. I also wanted to mix up the look by adding a few of my vintage Jadeite plates, so I grabbed inexpensive plate hooks from Hobby Lobby to make installation quick and easy! I use these plate holders for all my plate walls around the house.
4 – Give it a once over once more
Before you begin installing your beautiful gallery wall, just live with it on the floor or table for a sec. You might notice an empty space or an uneven jumble you didn’t see before, so pause before popping any nails into the wall….just for a sec. 😉 For instance, I ended up changing the placement of my vintage plates and rearranged the flow of the outer edge of my gallery arrangement to have a better shape, and I’m glad I did! Just give it a once over….one more time.
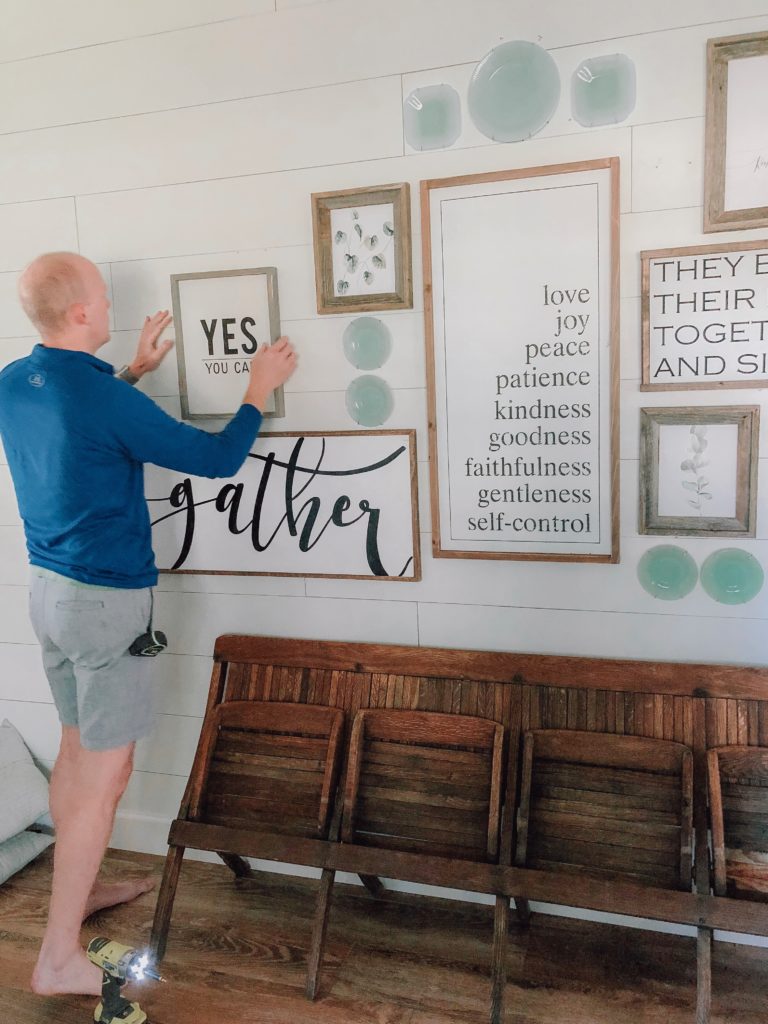
5 – Start in the center…and grab a buddy!
Remember that center focal piece we talked about above? Grab a buddy and then grab that piece to begin your gallery wall install! Have your helper hold the focal piece and get it good and centered, because that’s going to set the spacing and layout for the rest of your gallery. Once the center piece is mounted, it’s as simple as putting together a giant, vertical puzzle! Go piece by piece from the center outward, and you know what? If you get off a bit…MEH. Just grab some spackle and spare paint to cover holes later. This is your ART and your CREATION! What’s a few holes?!? 😉 (…said the girl who’s walls are Swiss cheese at this point…..ha!) It’s a small price to pay for expressing your creativity and making a lovely home for the people you love!
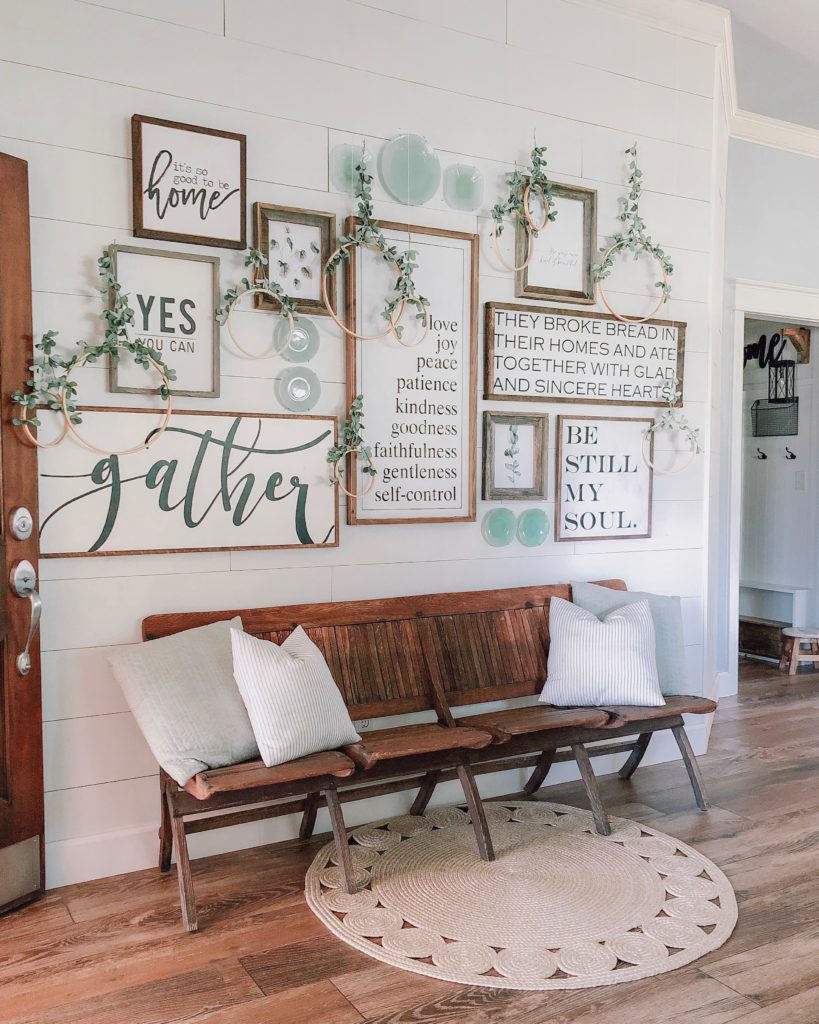
There ya have it! An easy way to create a wall of happy in your home, and I love that this concept is so versatile: change up the actual items you hang to fit your look, your house, your style, your personality! Gallery walls are so much fun for that very reason: they are a customized expression of YOU! I hope this “tutorial” was helpful, especially to those who get the itch to switch like me…and just go for it! 😉
And…if I haven’t told ya lately, I sure appreciate you guys taking a sec to check out this blog o’ mine. I know you have small amounts of spare time like me, so it doesn’t go unnoticed that you spare some for me – THANK YOU.
❤ERIN


Wow that’s is really awesome!!!
Where is the greenery from? Love this and glad I stumbled upon this cute place!
Looks so awesome! I love it!
You truly never disappoint! I love the color scheme, your signature layering touch, and your choice of inspirational words…spot on! 😍😍
Thank you for noticing those details here!!
It oops amazing! Love it!
SUUUUUPER CUTE! 😍
This looks beautiful Erin. I wasn’t sure when I first saw the items on the floor, but, gosh you nailed it again! Looks beautiful!
Love this! Already trying to think of where I can put a gallery wall. 🙂
Thanks Em!!
It is amazinggggggg!!! Sooo beautiful!!! 😍😊❤️
Cute! This really makes a statement. Is this the same wall where you had your windows?
Where did you find the greenery!? It’s perfect!
💜💜💜💜Love your page💜💜💜💜
Love your wall. You and your hubby did a great job.
You’ve inspired me to try that portrait wall with antique photos down the stairwell. Mixing in the hoops gives great texture!
Love this idea! You are just so clever and creative! Love it, Erin💕
The timing could not have been better on this post! I am gathering up the courage to start my first gallery wall. Thank you so much for the inspo! You rock! 🌻
Ok so I am so glad I am not the only one who needs a creative outlet or she will burst!!!! My family makes fun of me because I change our decor about every 3 months, but I can’t help myself!!!
No I totally relate to you!!
Looks wonderful!! Great job You and Buddy!
Love the wall! Are all of the letters black on the signs? I have signs with both black and brown lettering not sure if it will last ok okay.
This is adorable Erin. I definitely need to recreate this look at home 🙂 Thanks for sharing.
Where is the greenery from? I bought the circles from Michael’s and now I just need some cute greens!
Thanks!
And how exactly did you hang the greenery?
[…] Above the dresser, I would like to do one of two things: a farmhouse gallery wall, like this one from Cotton Stem. […]
BEAUTIFUL….Where did you purchase your bench?
I have the same question. Where is the bench from ?
I love the gallery wall. I have the perfect spot and have been thinking about this for a long time. What type of wood or shiplap did you use on the wall? It looks more clean and simple than most I’ve been seeing when shopping.
The one reason I clicked on this post was to figure out how you made the circles with plants on them-and it doesn’t mention anything about them 🙂
Yes, I too would like to know more on the wooden hoops. How did you attach the greenery & how are the hoops hung? Love this whole thing!!!
[…] 2. FALL ENTRYWAY WITH GALLERY WALL BY COTTON STEM […]
Erin! What a beautiful gallery wall! I completely connect with your style. The use of the green accents is what I am doing in my current clients home! So versatile & brings life to any space. Thank you!
I know this wall is from years ago…I am just wondering if you can tell me how long the wall is? And if possible, the sizes of your wood signs? I know it’s a long shot but I am horrible at these things and I absolutely want to do this idea!
Nice thAT’ s Great idea .thanku for sharing
Can you share how you made the embroidery hoop rings and what kind of leaves those are? Thank you!
[…] How To Create An Easy Gallery Wall by Cotton Stem […]
Where did you get the seat bench? Love!