")


")
Hey buddies!
Okay, so if you follow me over on Instagram [HERE], you may have caught my IG stories on the day I walked through some of my home decor photography tips! If not, I took some screen shots of the story so that I could round up the tips on the ol’ bloggy for ya.
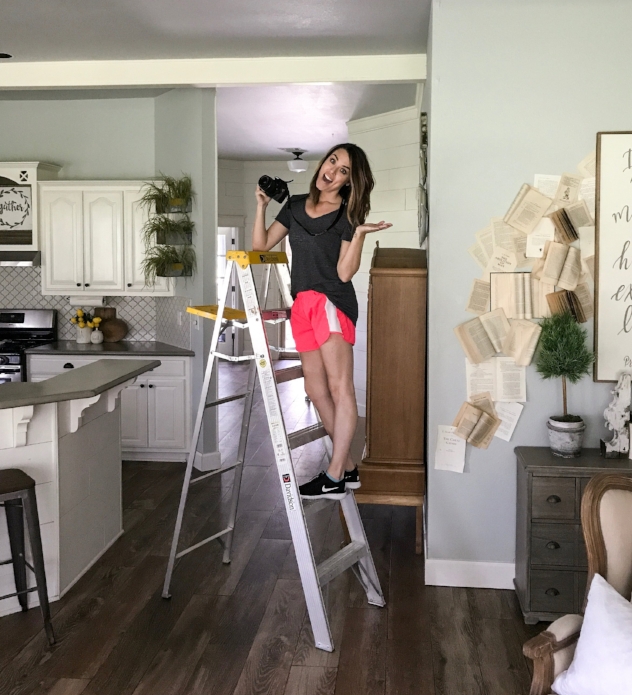
Let it be known that I am SO NOT a photographer…seriously. Like, for serious. 🖐🏼 These are just some tips I’ve picked up along the way, mostly from trial and error, researching online or asking friends! I’ll show you the quick phone video screen shots from my story, and then at the end, I’ll show you how the photos actually turned out after employing these tips!
The other thing to note: not all tips work in all homes. For instance, it would be impossible to tell you THIS EXACT SETTING/POSITION will work in EVERY single home, because all our homes are different: lighting, colors, window positions, etc. I learned so very much through trial and error, and I suggest the same for you if you are looking to improve your home photography skrillz! Here are a few tips on lighting and positioning that i do each and every time….hope they help!
Lighting
First of all, I like to batch my photos, meaning I will clean up the house, style it just right and then take a whole lot of photos on one day….rather than running about each day like a cray trying to style/clean/shoot in less than peaceful conditions. Too stressful. So batching for the win! HIGHLY recommend doing this if you can plan ahead! 🙌🏻
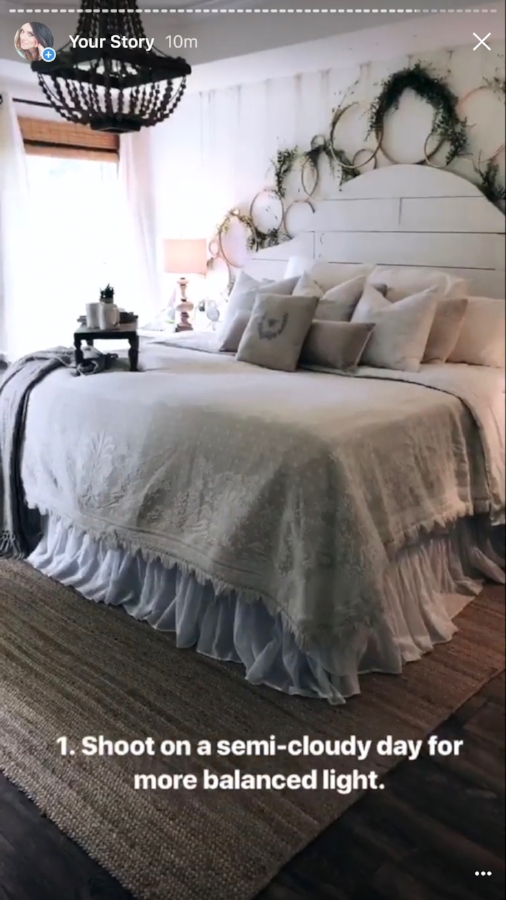
1. Shoot on a semi-cloudy day for more balanced light.
These things are sometimes hard to plan, but if you can find a semi-cloudy day on which to take your pics, do it! You’d think that sunlit pics would be the best due to the bright light, but actually direct sun can really wash out whatever it is touching, causing the entire photo’s light to be off balance. An overcast day actually acts like those big white screens used on TV sets and professional photo shoots to help diffuse the sunlight into a more balanced source of light. Since we aren’t all professional photogs with all the gear up in here, we can use the clouds to our advantage! 👍🏻
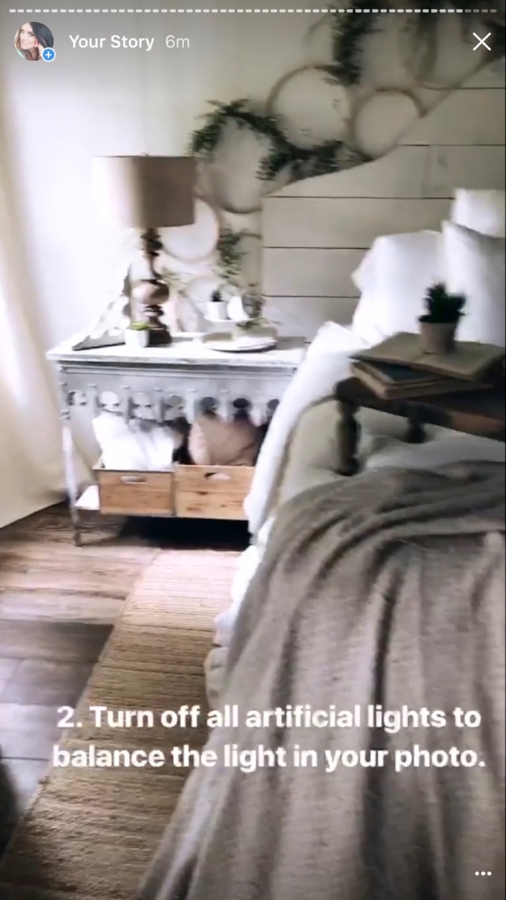
2. Turn off all artificial light.
UGH, blurry screen shot from a video, I know. BUT! The tip is one of my faves–turn off all lamps and overhead lights! 💡 This will feel a bit counterintuitive, especially when shooting on a cloudy day, but artificial light can really throw off the overall balance of light in a photo. Also, when lamps or overhead lights cast their sort of yellow-y hue that reads as cozy in person onto a photograph, it can cause things to suddenly look, well, yellow-y! If you are going for a cozy, lamp-lit look, by all means leave them on. If you are wanting a more light, bright, balanced light look, flip off the artificial light! You can always use free/inexpensive photo editing apps to brighten your photos later (I like Afterlight and SnapSeed) without making them look fake, and you will be starting from scratch with a balanced photo.
See the difference?
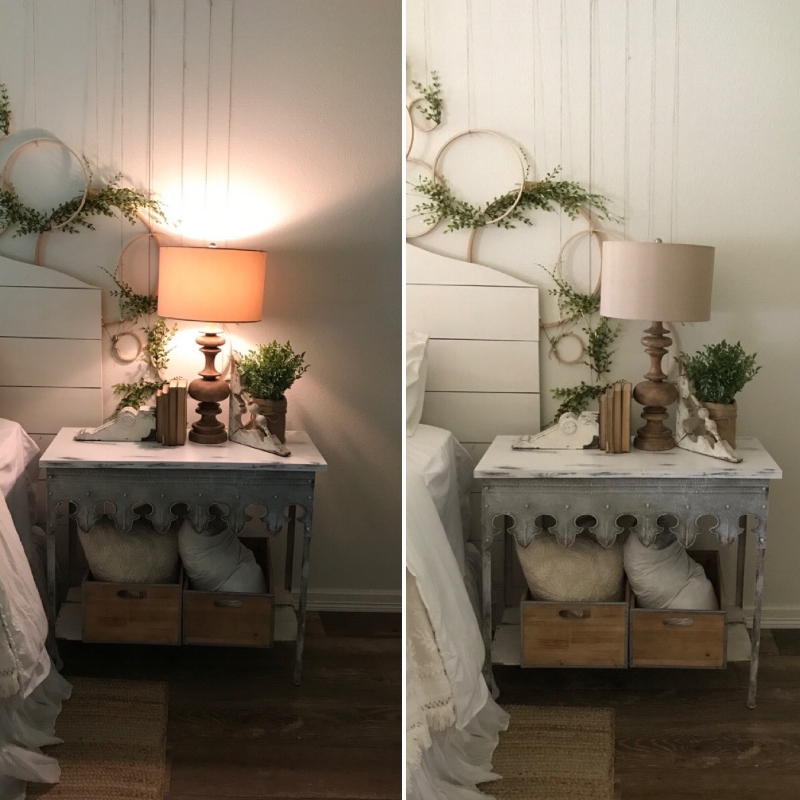
Notice how the photo on the left with the lamp turned on is off-balance regarding lighting: shadows everywhere, the table looks dark, there are weird patterns cast on the walls, etc. Now look at the pic on the right. No lamp light, and yet….it looks brighter, because the camera is not trying to auto-balance a lamp. If you are a very skilled photographer and know all the bells and whistles on your DSLR, lamp light probably isn’t a big deal to work around. However, if you are an amateur DSLR-er and/or iPhone camera user like moi 🙋🏻, this tip will very much help out balancing your light in the photos of your beautiful home!
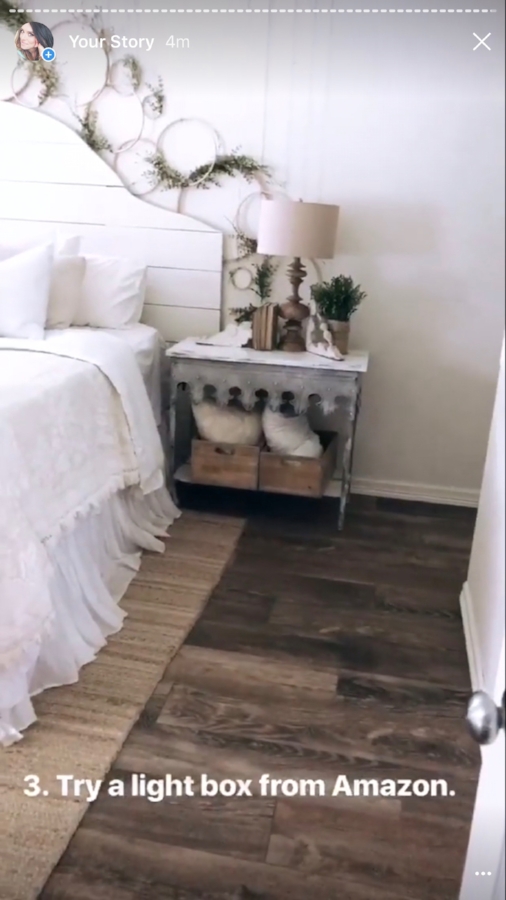
3. Try a light box/softbox from Amazon.
Now this tip is one I haven’t actually tried yet, but I intend to and have heard it can really help light up dark corners way more naturally than by turning on a lamp or overhead light. You can find light boxes/softboxes pretty cheap on Amazon [HERE], and you can place them in darker areas that need a bit of “natural” light. They cast light more similar to the sun rather than to a lamp. For instance, in our bedroom, we only have natural light coming in from one side, and the other is ALWAYS so much darker in photos, even after a bit of tweaking. So if I buy a softbox, I’ll position it over in the darker corner out of frame in order to help balance out the light to better match the opposite, more well-lit side of the room.
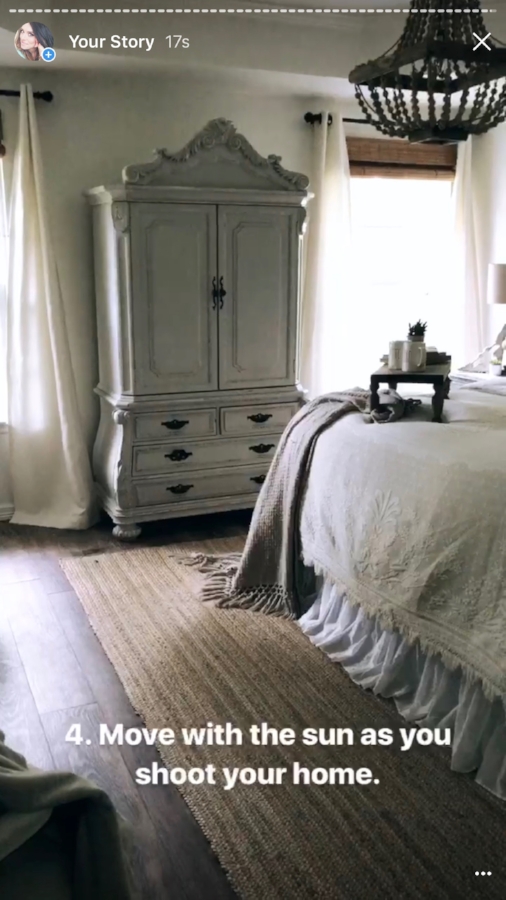
4. Move with the sun as you shoot your home.
Another way to maximize good lighting (if this can be planned ahead of time, of course) is to think about how the sun moves over your home. What I like to do is start in the rooms that the sun has juuuuuuust passed over. That way, the sun isn’t casting shadows from window panes all over everything, BUT it also hasn’t moved over to the other side of the house, leaving the side you wanted to shoot all dark and shadowed. Move with the sun as you snap pics of your space, and let the free sunlight work for you and your photos! 📸
Here are a few “after” and UNedited shots of those same spaces pictured above after utilizing some of these tips and tricks!
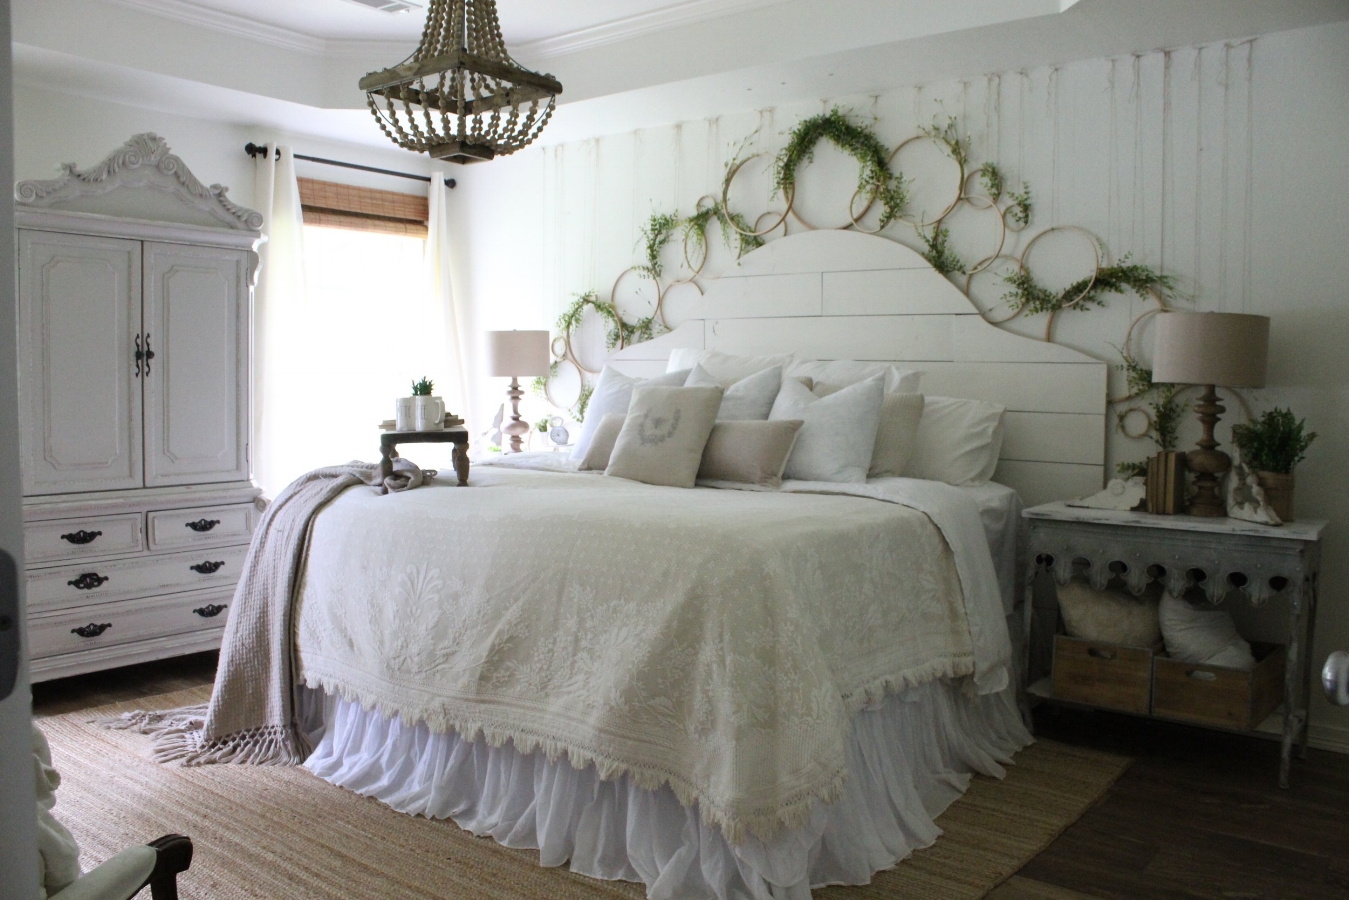
You can see that I could still benefit from a softbox positioned to the right of my bed, however the light is pretty balanced now that I turned off the lamps and overhead light! With a few tweaks on a free photo editing app like Afterlight or Snapseed, this pic will be ready to go!
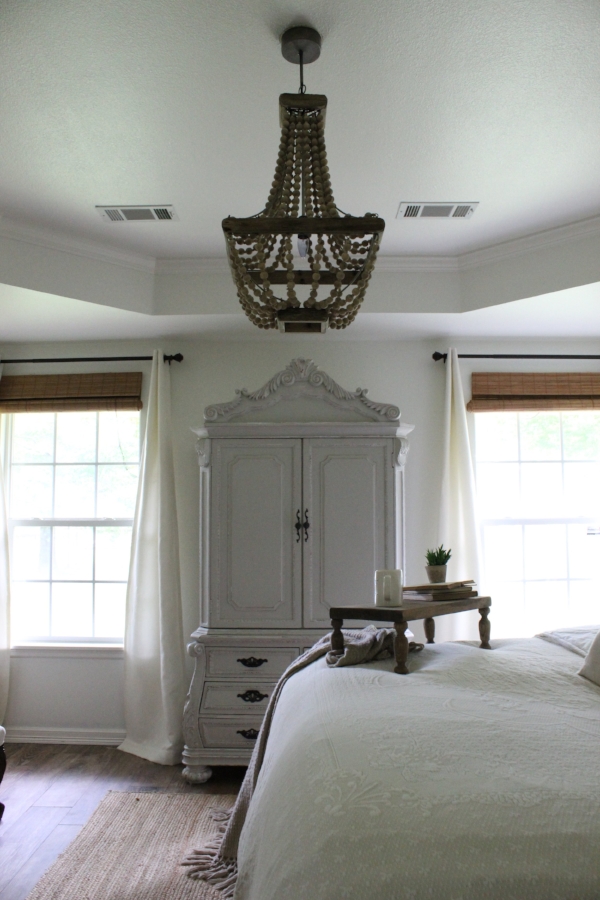
Here I was shooting directly into windows, which can sometimes make things extra tricky as far as balancing light. BUT! Because I shot these on a pretty dang cloudy day, I could still face this direction, capture my Craig’s List armoire for all to see, AND there wasn’t loads and loads of sunlight streaming in to possibly ruin the shot! 🙌🏻 Three cheers for cloudy days! 🌥
So! I hope these little tips and tricks can help when you are snapping photos of your beautiful spaces, and I’ll be back soon with a few pic position tips, too! The upcoming ideas are some of my faves…I’ll show you soon!
Let me know what you think about these tips or any others that have to do with lighting that I should know about (as a non-profesh, of course 😉). I’d love for you to come say hi on Facebook and Pinterest, too! 🙋🏻
💗Erin


Love the tip about lamp light. I always find it hard to get a good picture with lamps and overhead lights turned on but now I know why! Thanks for all the good tips and your pictures are beautiful!
Thank YOU for checking out the blog tonight, Jane! 🙂
I can’t wait to see more pics of your summer home tour 💗
Oh thank you, Stephanie!
Thanks so much for the tip on the light box. I’ve been struggling with the "shadowy corner" on product shots in the shop. This should do the trick for sure. Keep up the awesome work. Just love your house.
Yay, I hope it works! I need to grab one too!
Thank you for the amazing tips! I still have a lot to learn about shooting interior shots haha. I’m not used to doing that. I do have one question, what type of camera do you use?
I use my iPhone 7 Plus about half the time, and then I also use a basic Canon Rebel DSLR!
I seriously love your house!!!!!!!!!
I want to throw everything away and paint it all white.
Did you get a new white quilt? I just ordered the Target one. I am so excited, Thanks so much for sharing. I know it has to be a lot of work.
Hey Emily! Thanks so much for the kind words, and I feel you on wanting to paint everything white–ha! The quilt in the bedroom was a vintage find actually, and I loved the texture on it!
Thank you so much for sharing these tips, they are very helpful. I’m new to blogging so any advice or information I can find is wonderful! Your home is stunning and you have such a beautiful unique style.
Thank you do much for these tips. The cloudy day one I’ve not heard of before so yaaaay… Thanks for that. Your home is amazing.. You’re amazing.. 🙂
Hi Erin!
I read these two posts about photos and the comments. Just wondering, sorry if I missed it, what lens are you using to shoot these? I have a Canon Rebel as well w/ 3 lenses.. But haven’t quite found the right lens for my room shots!
Thank You!
Aida 🙂
Good Morning Erin! Thank you for all the pointers. It truly makes a difference from someone else’s perpective. I enjoy reading your blog, IG stories and your amazing pictures of course😉!
These are wonderful tips!! I am a photographer, so I usually edit with Lightroom, but for some quick iPhone photos I’ll use the Pic-Tap-Go app to edit! Is super easy and you can save your recipes 🙂 I would also recommend a reflector (like this one http://amzn.to/2hFfyYS ) for reflecting light back onto a subject so there are less shadows(use the white side). It kind of works like a natural light box
Oooh thanks for the tips, Allison!!
And here I thought I was at a disadvantage with the cloudiness here in Seattle. And the soft box tip will help a TON. Thanks for breaking it down, Erin!
I’m so glad it was helpful!
Moving with the sun…where have I BEEN? My favorite tip of all! Thanks so much, Girlie!
These are such great tips Erin! I never would have thought about the artificial light throwing off balance but it totally makes sense. The cloudy day thing I remember my photographer saying during my bridal portraits (which were on a dreary cloudy day). Thanks so much for putting this together.
For sure! I’m glad it was helpful!
Turn the lamps/light OFF ?!? I can’t wait to try this.