")


")

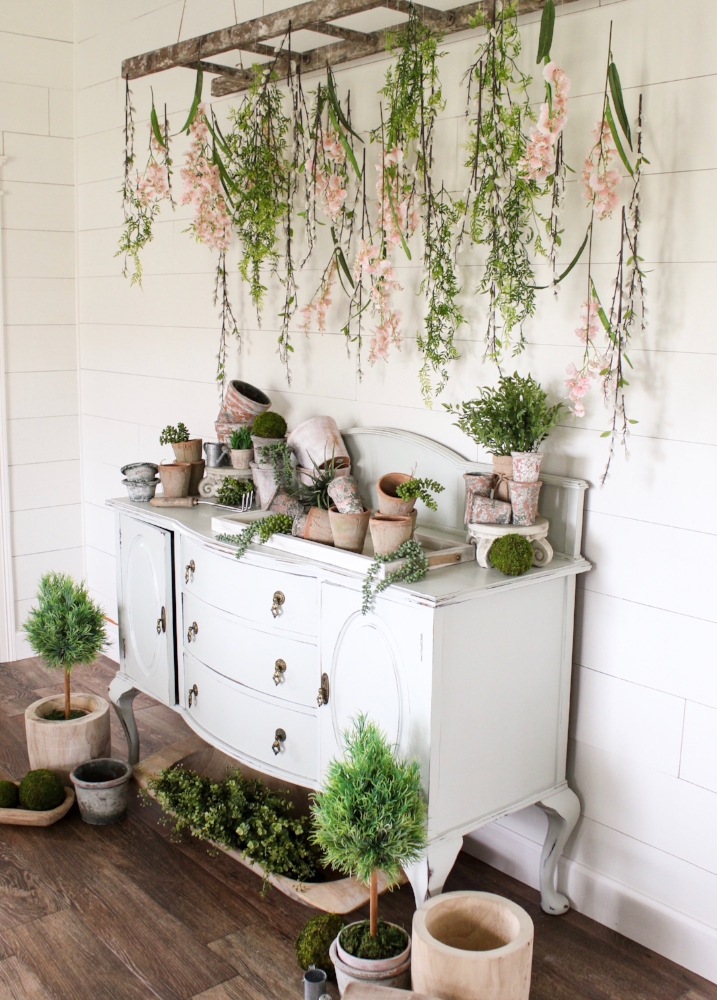
My weekend has so far been spent going back in time. 😳 For a special project I’ve got coming up (more on that later…!), I needed to reset the entire house back to all of the springtime looks I’d created, including this hanging flowers and plants display in our farmhouse style entryway.

When I originally created this piece, I didn’t even think about taking photos for a how-to tutorial blog post, and I seriously kicked my patootie many times over, because that’s one of the biggest questions I received while this display was up! So….now on the second go-around, I remembered! 🙌🏻 It’s a very simple DIY project; let me show you how I made this hanging flowers and plants display…twice. (Sources below!)
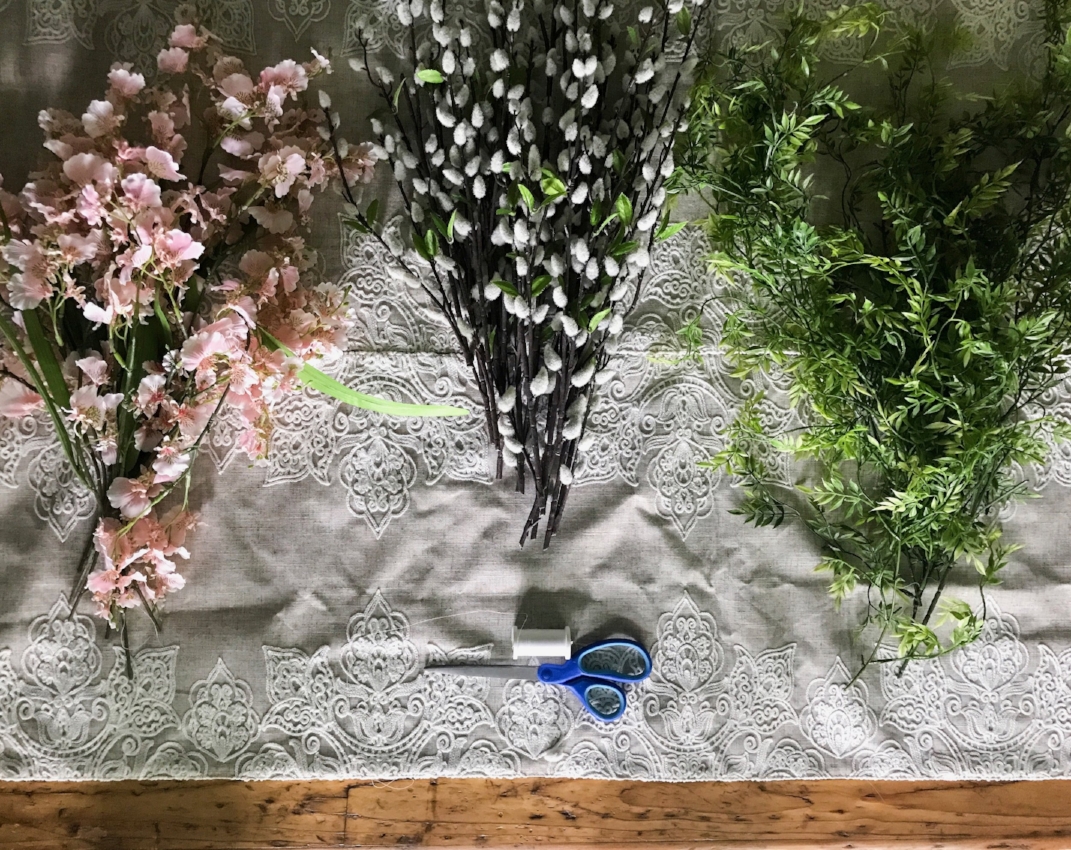
1. GATHER SUPPLIES
For this project, you’ll need a variation of fake plants and flowers to create layers and texture. I chose these three from Michaels (and I can’t remember what they’re called!!), but any wispy, long, draping greens or flowers will do!
Depending on the size of your project, you’ll need about 30-50 sprigs of greenery and/or flowers. I like to buy the flowering or greenery bushes from Hobby Lobby or Michael’s and then use my wire cutters to cut off each individual stem. WAY more bang for your buck than buying single stems. Just a tip! 👍🏻
You’ll also need scissors, a ladder, and either white thread or invisible nylon string to tie up the stems.
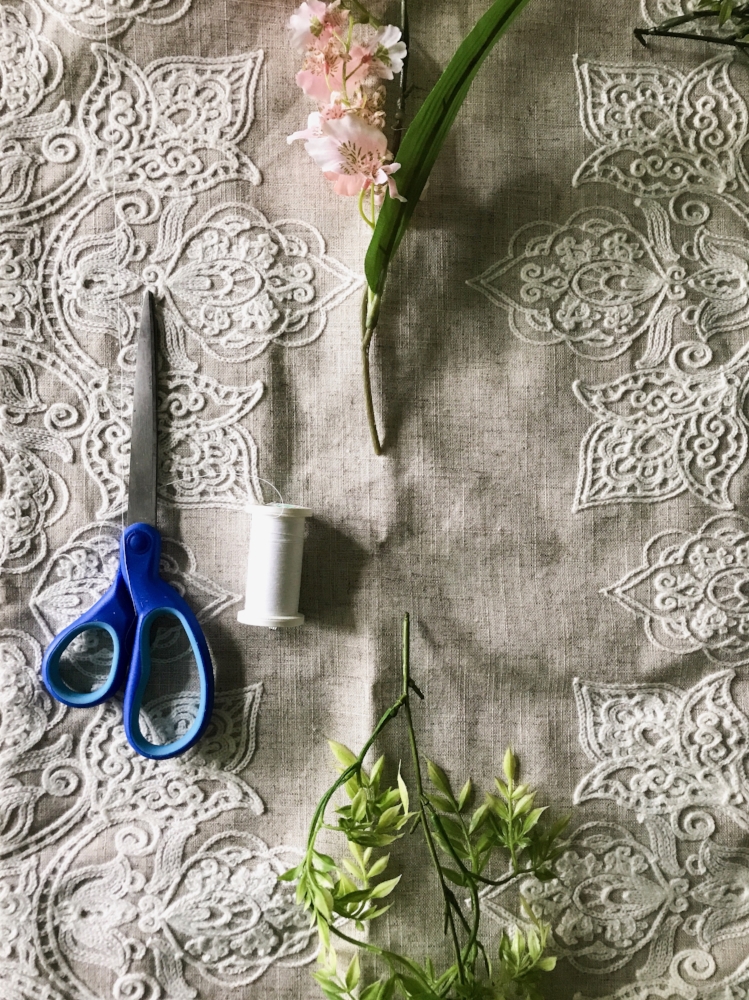
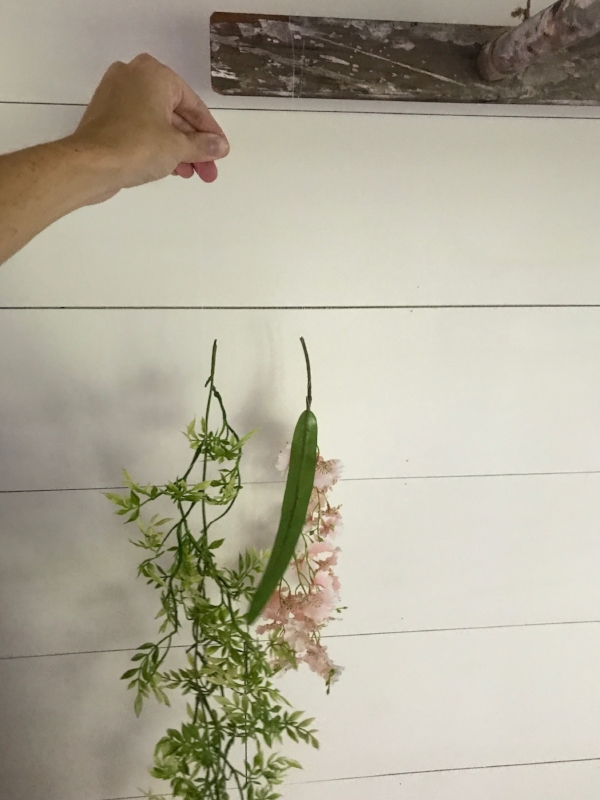
2. MATCH UP YOUR STEMS
Now you can get creative! Choose two stems (can be either both greenery, both floral, or one of each…your project, your call!), and you’ll want them to be about the same size and weight. They will eventually serve as a counterbalance to each other, and that’s why the size and weight matter (roughly).
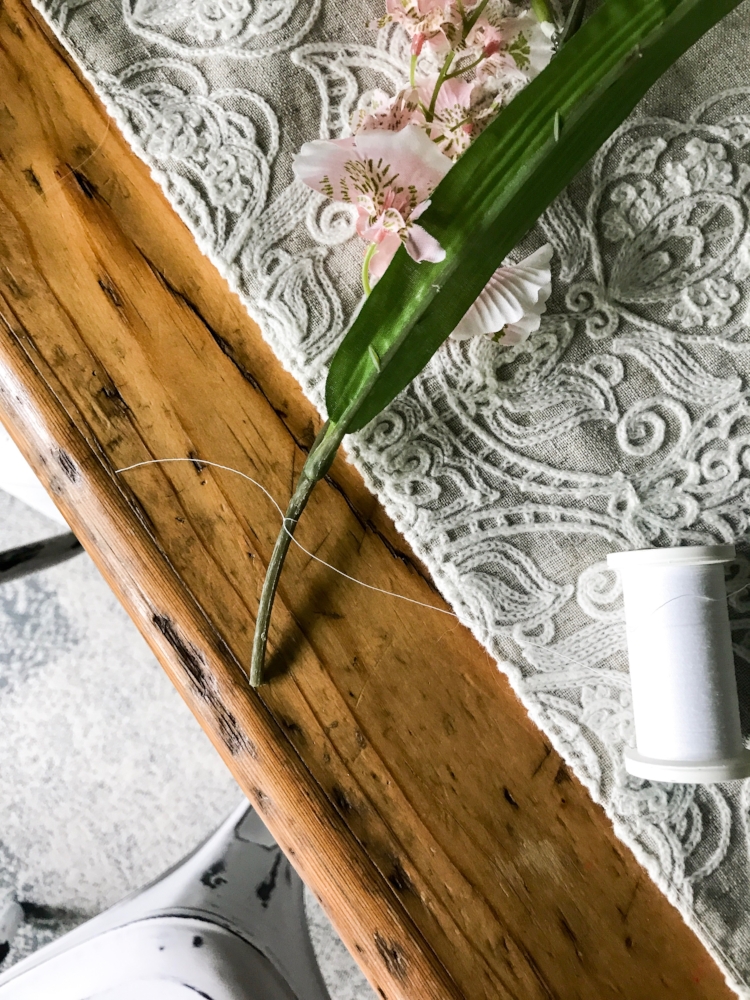
3. DECIDE ON LENGTH OF STRING
Next, you’ll want to start thinking about how long you want your hanging flowers. If you look at the example up top, you can see that I chose to do varying lengths staggered up and down the ladder in order to create texture and variance. For a more stark and simplified look, you could even do all flowers hung at the exact same length. It’s really your call!
4. TIE ‘EM UP!
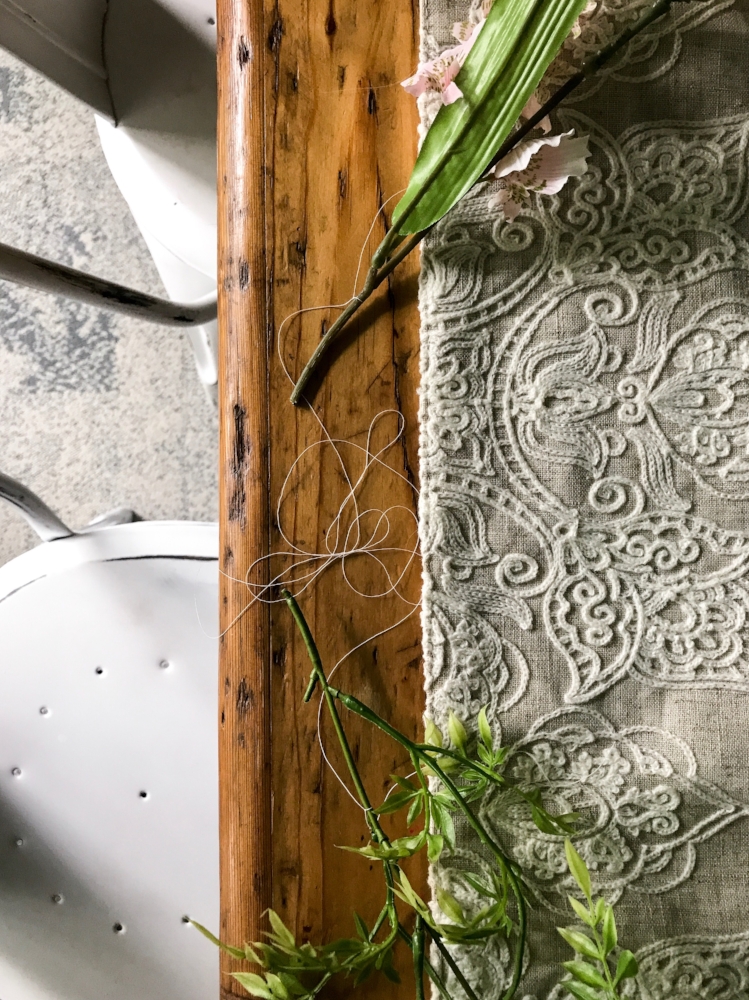
Now that you’ve matched up your two stems and chosen a length, it’s time to tie the two ends together using either white string or fishing line. Double or triple knot each end so that the weight once hanging won’t pull the flowers and greens down. Snip off excess with scissors.
5. HANG UP THE FLOWERS AND GREENERY
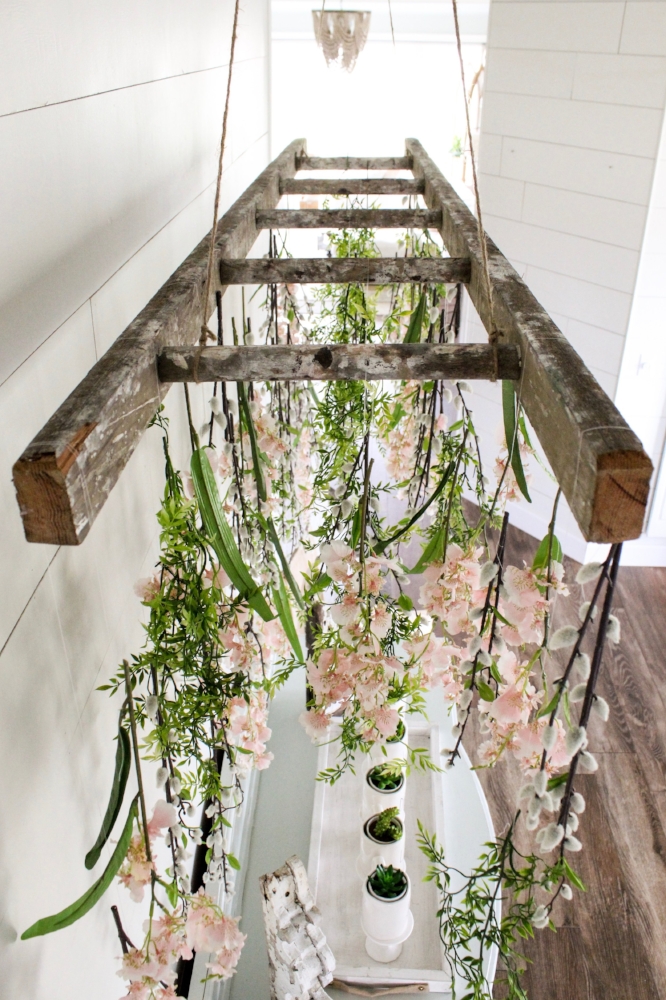
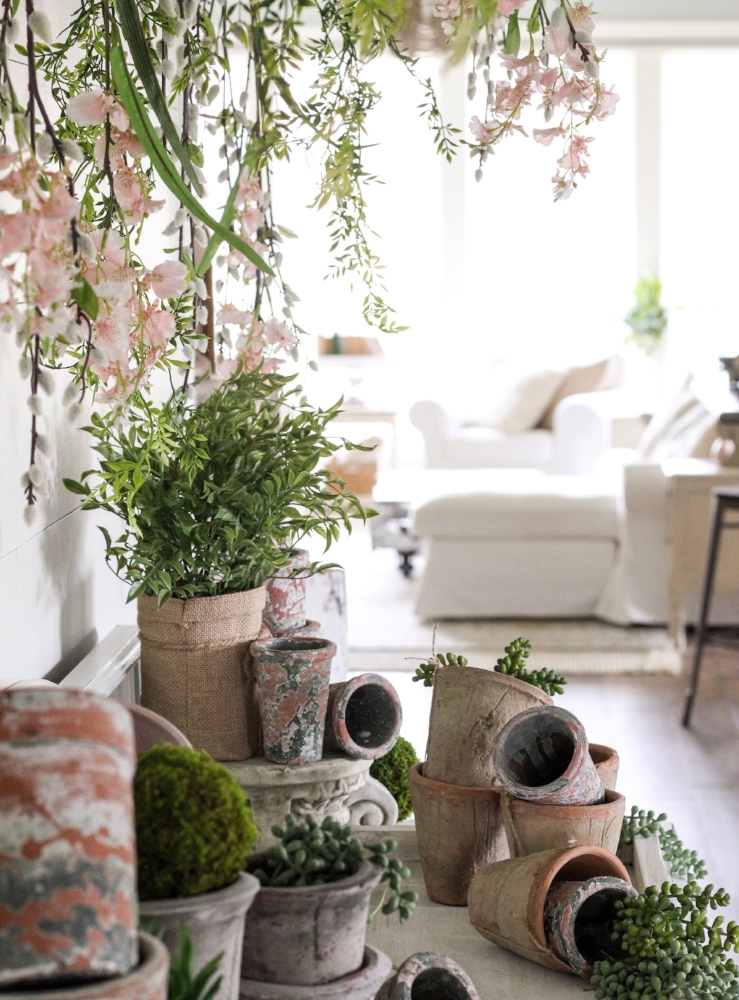
Finally, it’s time to hang up your pretties! I start on one end of the ladder and move down towards the other, and I tried to hang a couple of strands from each surface section (sides, rungs, etc.) You can make this as thick or as thin as you’d like, but I’d encourage you to keep your longer pieces on the sides or the back if you plan to decorate underneath like I did–it’ll sort of create a beautiful floral curtain over and around your decor once finished!
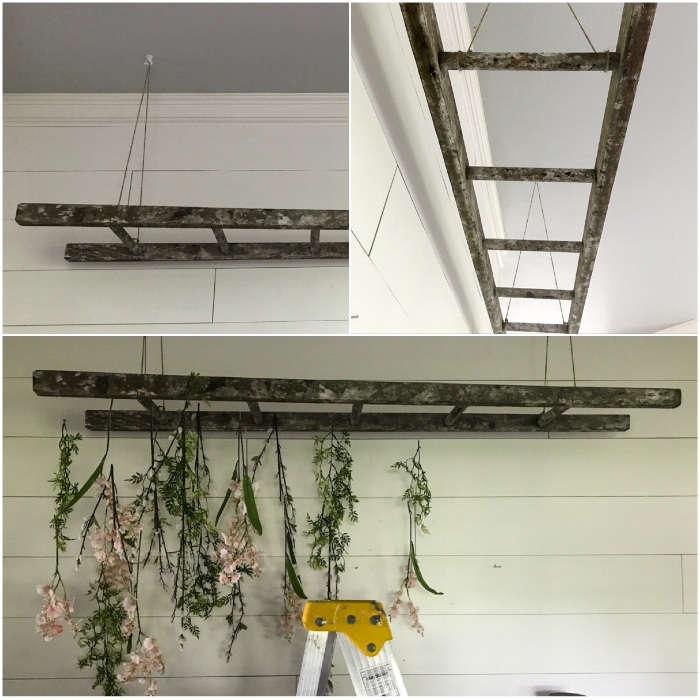
Should probably mention that we suspended our vintage ladder using thick twine looped underneath top and bottom rungs and then tied off. In the ceiling, we used white swag hooks measured and spaced correctly so that the ladder would hang level. It took us a couple of tries adjusting the twine, so keep trying if it isn’t level right away!
Thank you so so much for taking a sec out of your day to always stop by and leave an encouraging word over here–this blog is quickly becoming my happy place, and I’m sure grateful for those of you who take a minute to come along with me. 🌿🌸
Let me know what you think below! Do you guys like these kinds of posts, little DIY’s I’ve done around the house? I’m always interested in your opinions…because you muh tribe. 💗 Hope this was helpful! Come say hi on Facebook, too! 🙋🏻
💗Erin
SOURCES:


beautiful work!
It’s such a creative and beautiful idea! I can picture someone like this with fall leaves as well… so inspiriy
🙄⬆️⬆️⬆️ seriously, autocorrect kills me⬆️
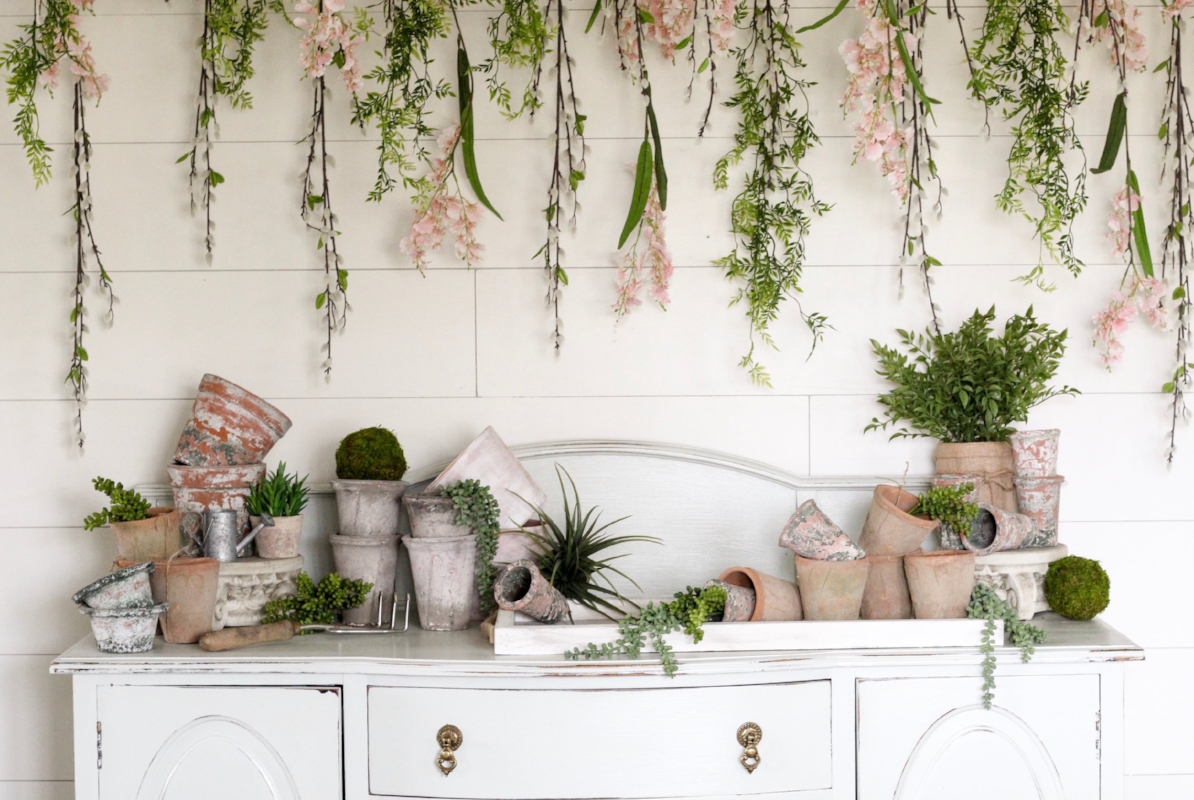
I’m interested in where you get those aged or patina pots on the buffet? I thought I saw somewhere you said Hobby Lobby, but I’ve looked and looked and haven’t seen them there or anywhere!
Hey Kim! Yes, they were from Hobby Lobby in the spring…not sure if they have them out right now (since they are already putting out CHRISTMAS STUFF. 😳)
[…] Hazte un jardín colgante […]
Totally thinking of doing this on my front porch somehow. Either over the doorway, or over an old dresser I have put there!
Oh yay! It’ll be beautiful!!
I am putting this above the chalkboard in my girls play room I am so excited about it I knew the very second I saw this I had to make it! Thank you for you’re creative inspiration! My husband made the latter tonight and tomorrow I’m painting it and shopping for the flower stems Wish me luck!😊
Am I the only one who isn’t able to get to the source when clicking on the links? It just pops up trying to pin the image to Pinterest rather than sending me to the the source. Anyone have insight? 🙂
I also cannot find the faux plants to purchase. The pic you posted today states to swioe up..and nadda…so I came here..nope not here either.😱😱😱
[…] cottonstem.com (adsbygoogle = window.adsbygoogle || […]
Hi Erin, Thank you for this tutorial on hanging the flowers. My husband & I have been trying to figure out what to use to help block the sun on our deck during dinner time. I’m going to hang flowers & make it full so it shields the sun. I can’t wait! I love your Insta, you are so creative, positive & a good Mom. ❤ Thank you!
[…] Source: cottonstem.com […]
Love this! My favorite garden center has the most realistic faux plants which they dramatically reduce right before they bring in the Christmas decor each year . This would be perfect for some I’ve collected and the good reason that I have been looking for, to collect more! Thank you! 😊