")


")
Hey friends!
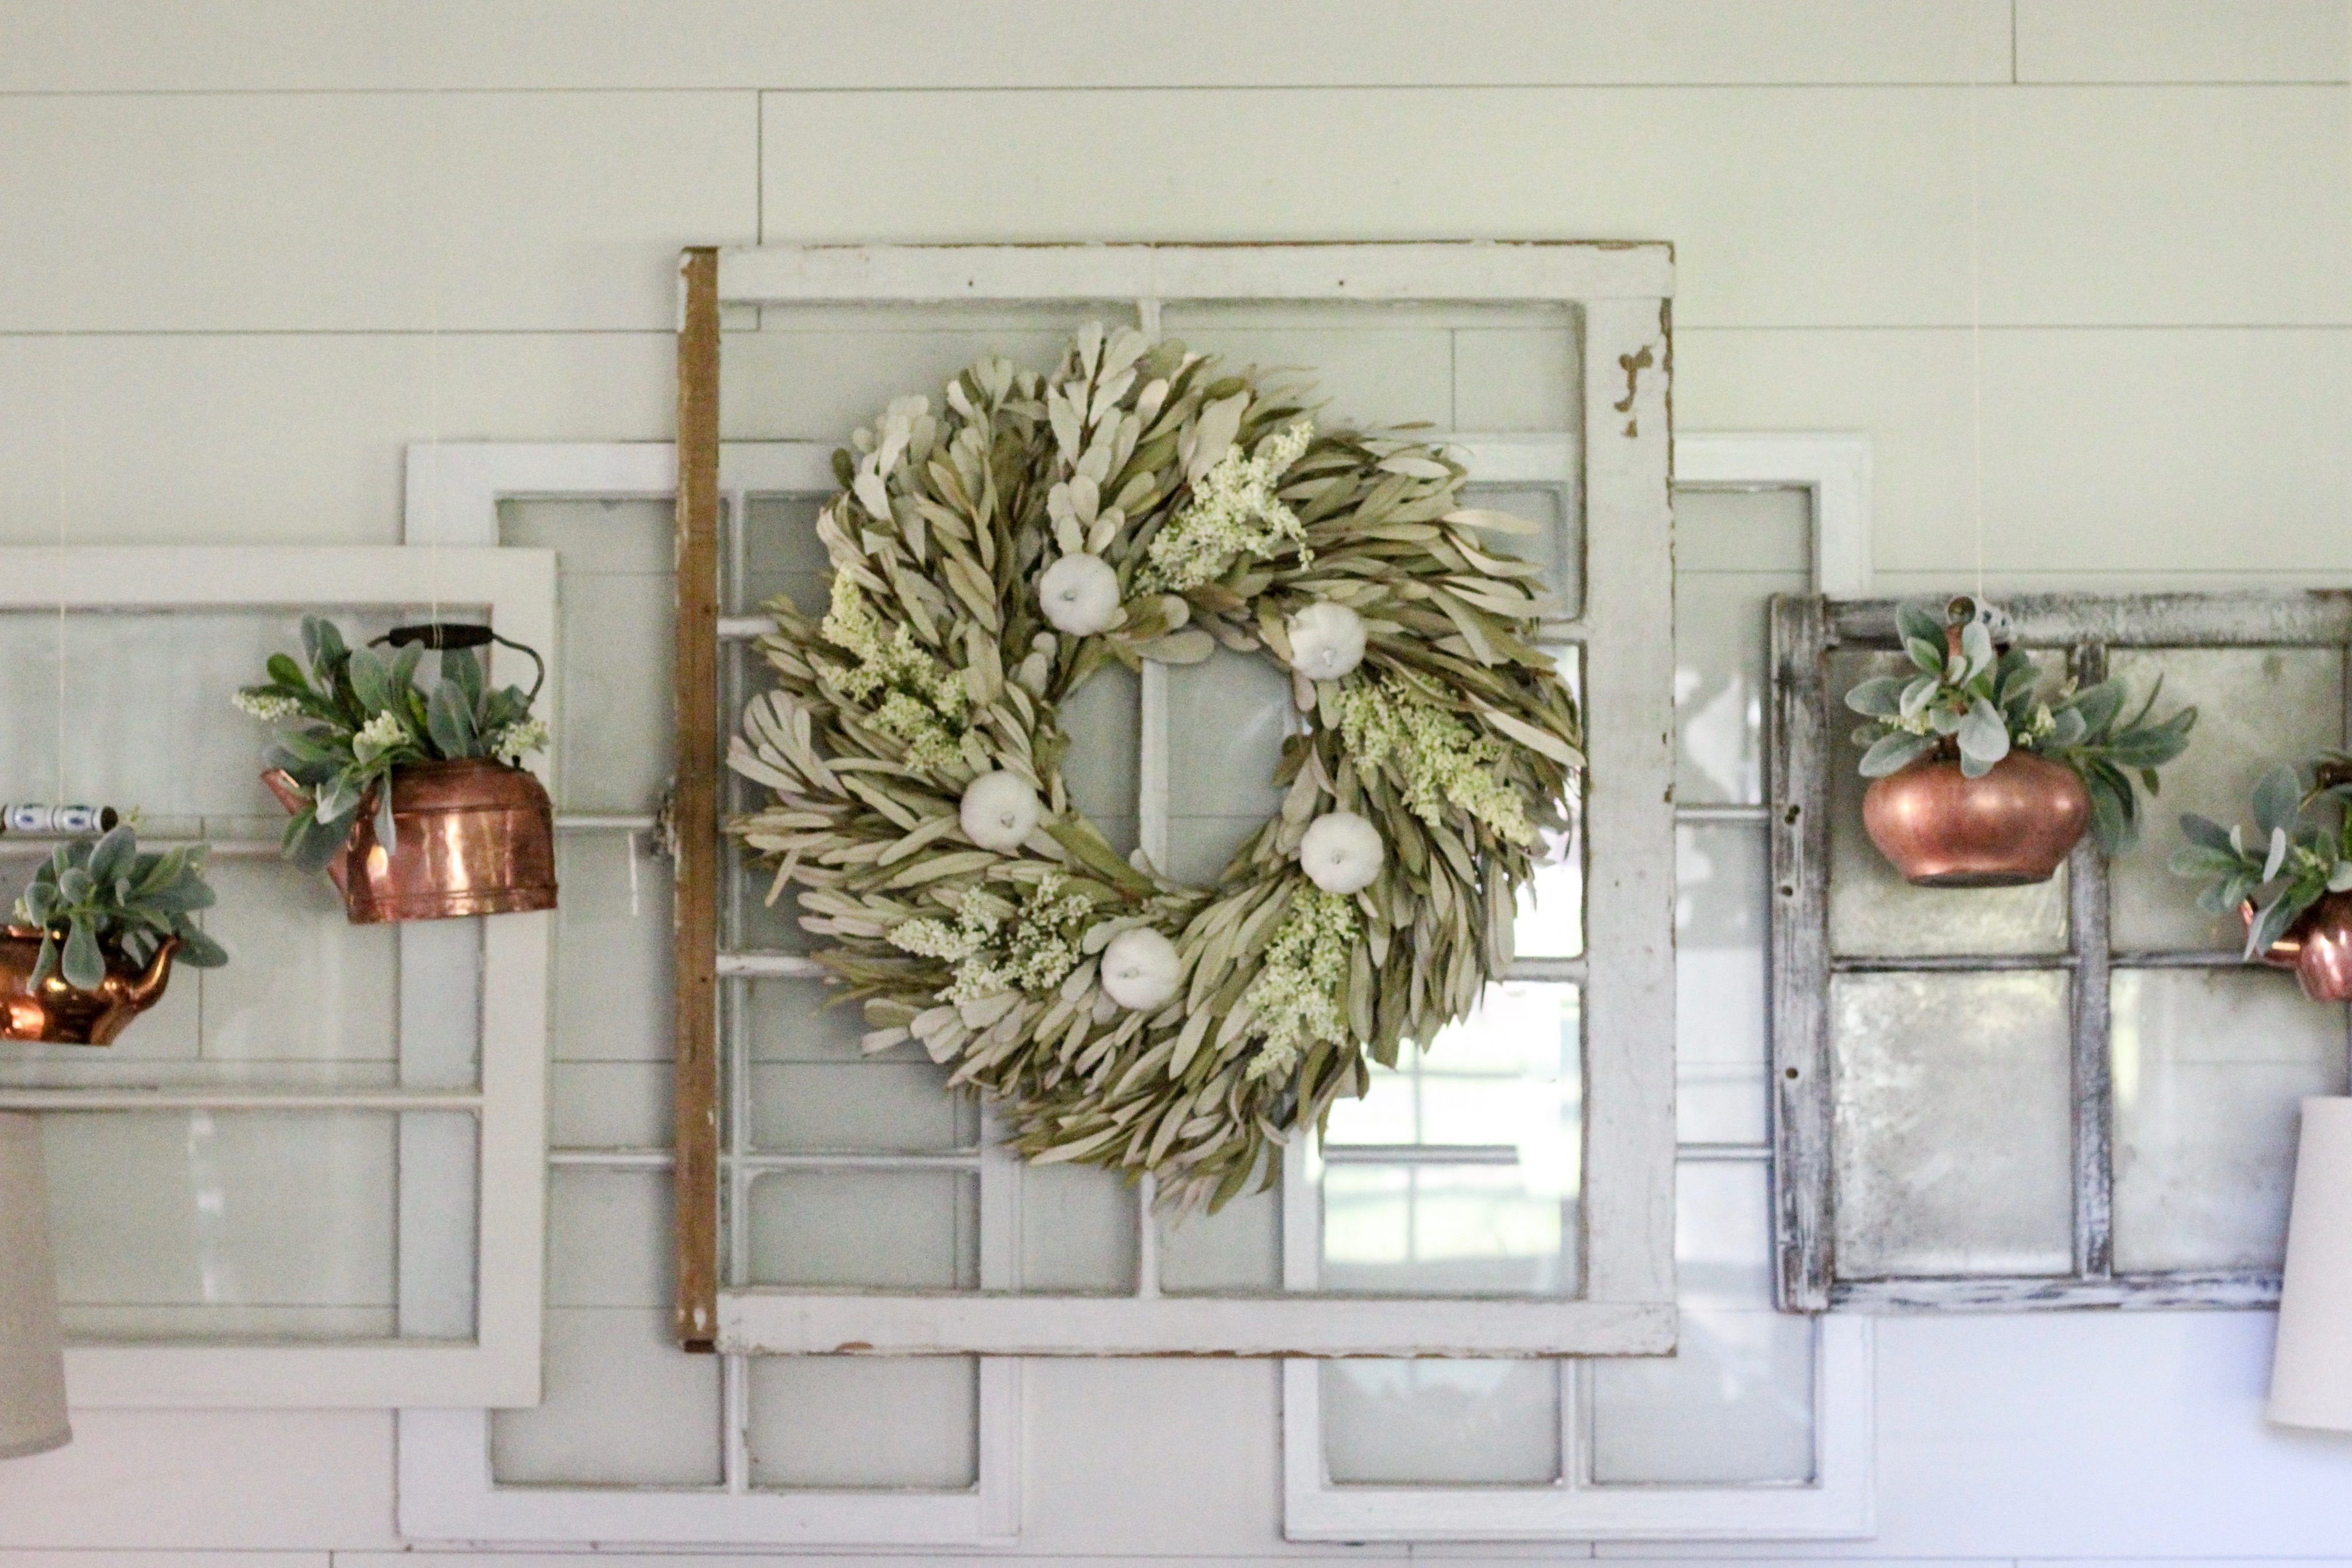
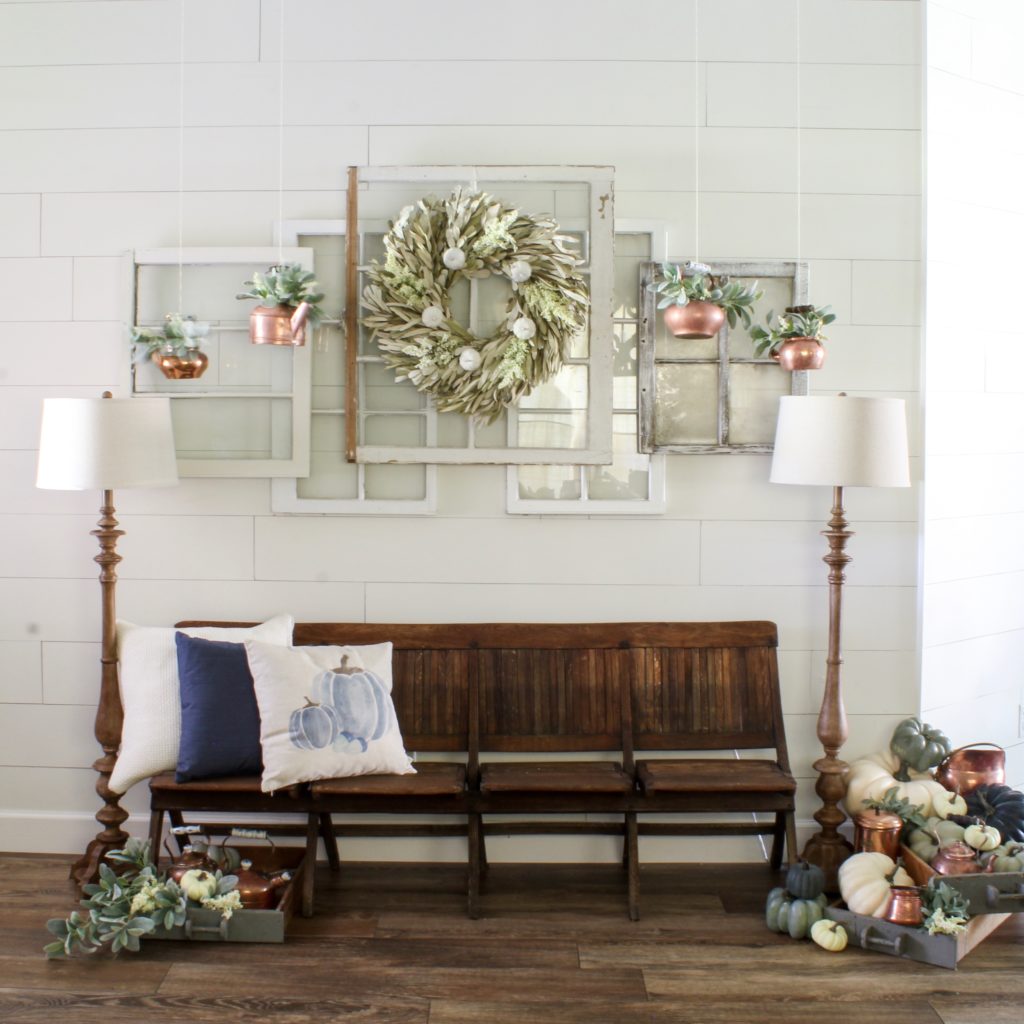
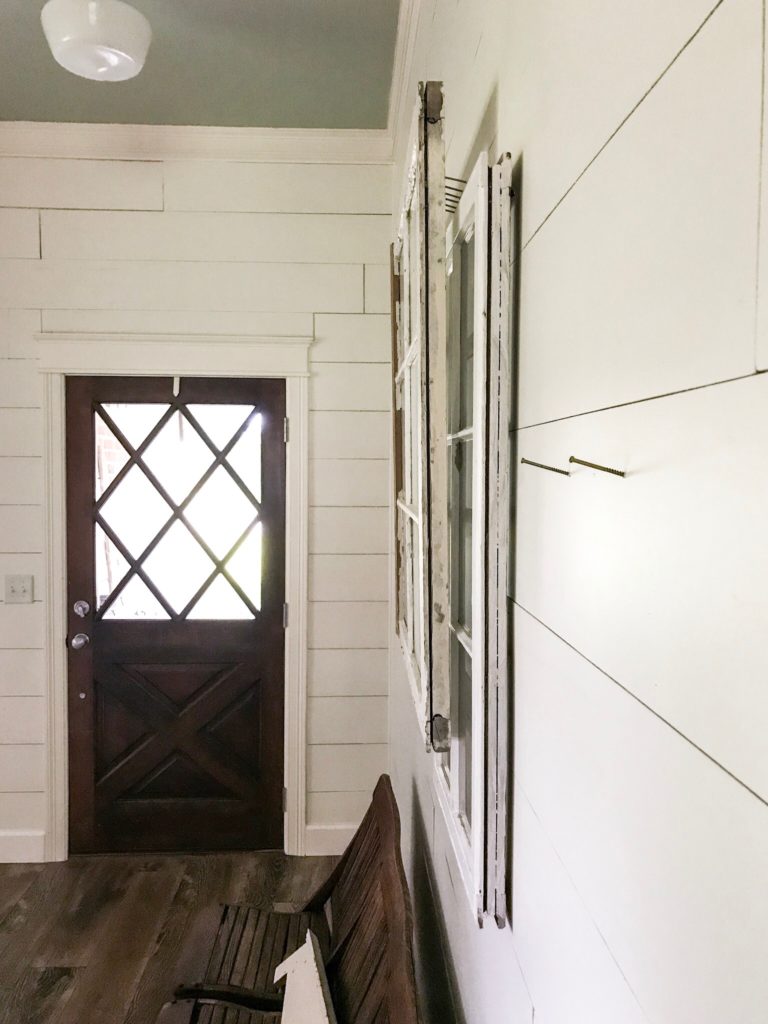
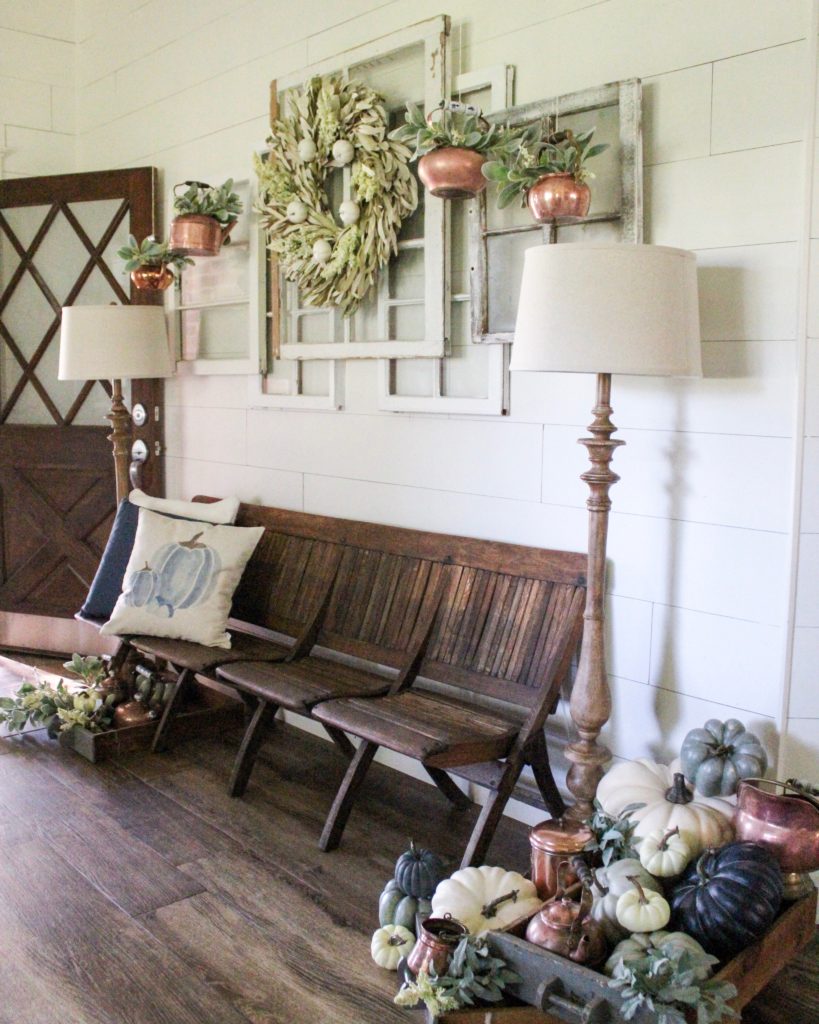
I’ve had several questions regarding these layered vintage windows that I used in my fall farmhouse style entryway this year, and the DIY is so very easy! Layered windows and signs is one of my favorite tricks for adding depth and texture on my walls, and I’ve been layering up the decor for years using this method. I’ll link up some supplies for you (affiliate links used), and there are how-to pics below. Hope this is helpful to you as you decorate your own home for fall!
SUPPLIES:
-chippy old windows of different sizes (or mirrors, wood signs, anything really!)
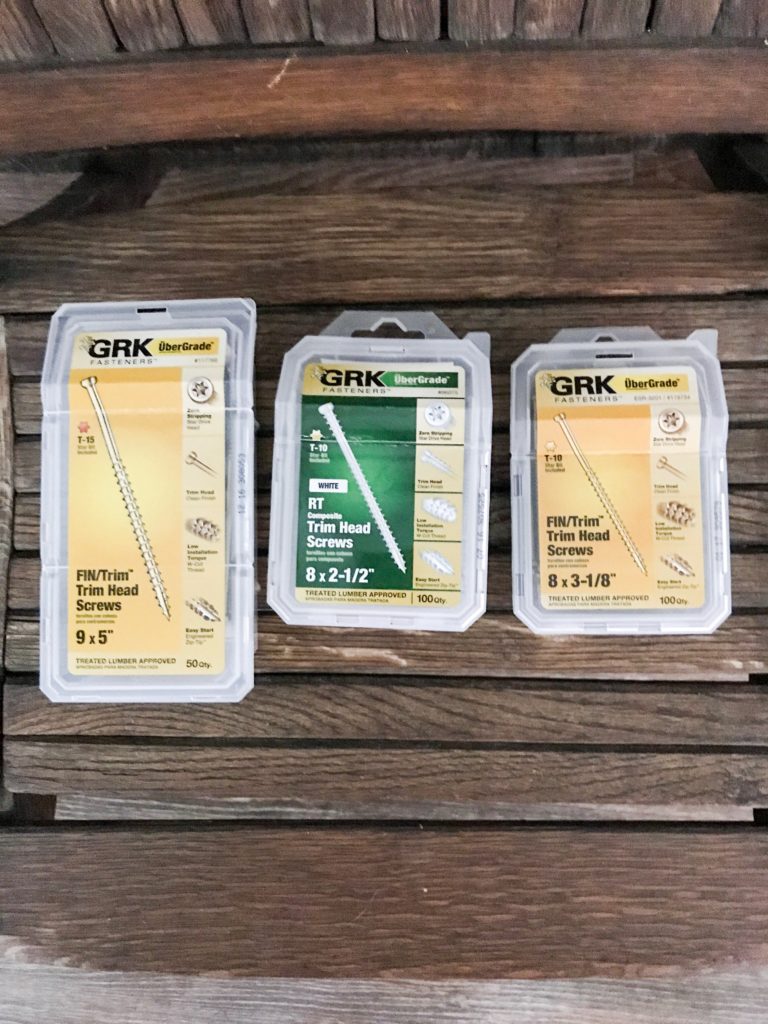
-long heavy duty screws [HERE] + appropriately sized drywall anchors, if needed
-regular heavy duty screws + anchors, if needed
-picture hanging hardware
-drill
After attaching picture hanging hardware correctly onto the back of your windows, you’ll want to place, mark and measure where you’d like your base layer of windows to go. You’ll start with the windows that are directly touching the wall, and then you’ll build out from there. Because your base layer of windows is hung flush with the wall, you can use regular length screws here.
**Helpful tip: Before you make any holes in the wall, you might try laying out your windows on the floor in front of the space they will eventually hang. That’s what I did with these windows, and, once I saw my original plan laid out in front of me, I ended up changing a few things. I’m glad I tried it out on the floor first before putting unnecessary holes into my shiplap!
Once you know where the holes in the wall are going to go, install your drywall anchors if needed. (We didn’t use any on this wall, because it is a layer of shiplap on top of drywall…in other words, doubly secure. On our walls where there is no shiplap on top of drywall, we use the anchors.)
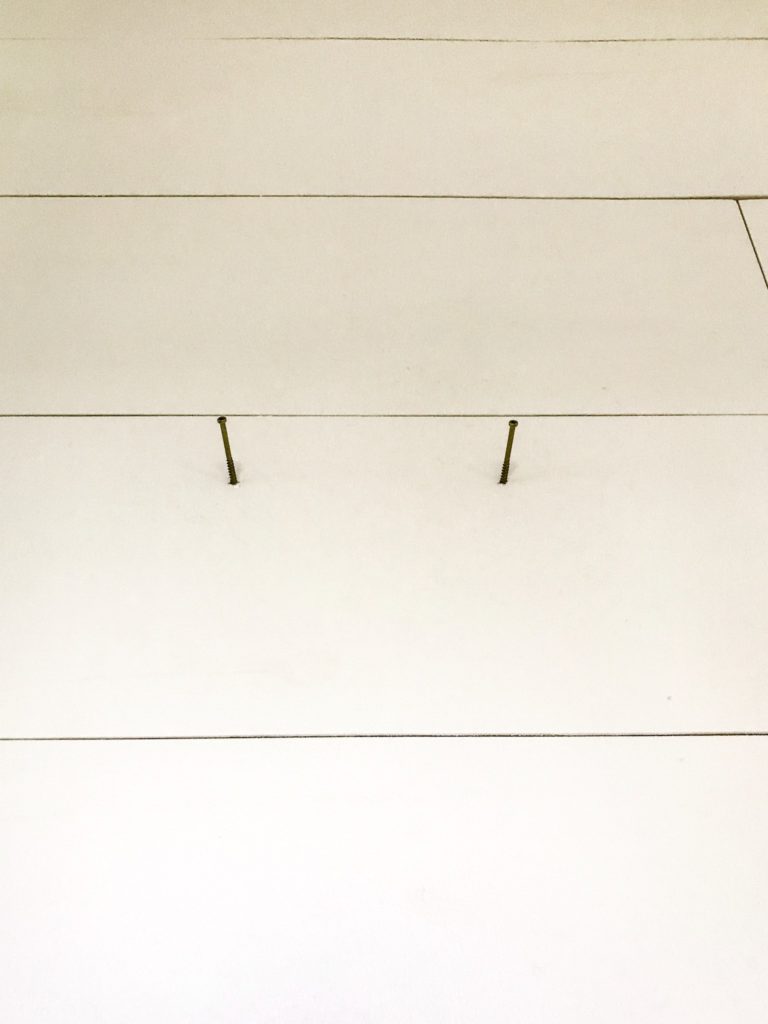
**Helpful tip: As you are adding the screws and anchors to the wall, try angling them upward just a bit. The weight of the windows hanging on the ends of such long screws can sometimes pull the tip down a bit, which will throw off your design and scale. By installing the screws at a somewhat upright angle as pictured above, you’ll counterbalance the pull of the window later.
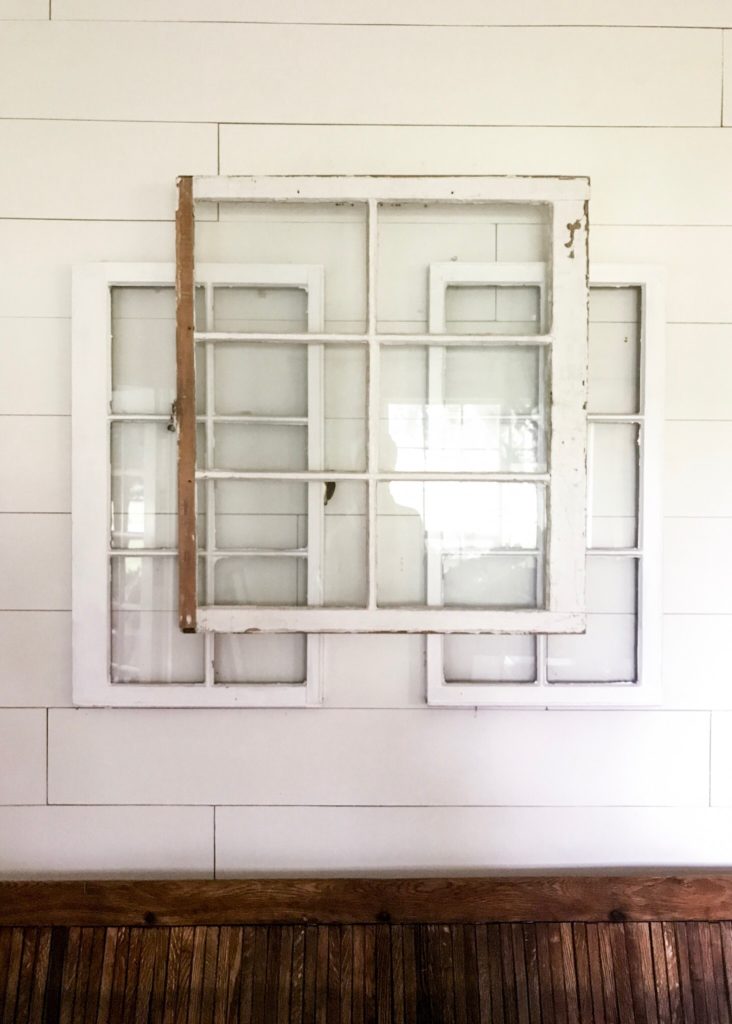
Now it’s time to layer those windows! You’ll want to eyeball the depth of the base window already on the wall and install your long heavy duty screw appropriately. The screw should stick out from the wall at least 1/4 of an inch further than the base windows, thus creating a seamlessly layered look. Then, when you go to place the layered windows on top of the base windows, they should lay flush on top of the base windows since their screws stuck out just a hair further.
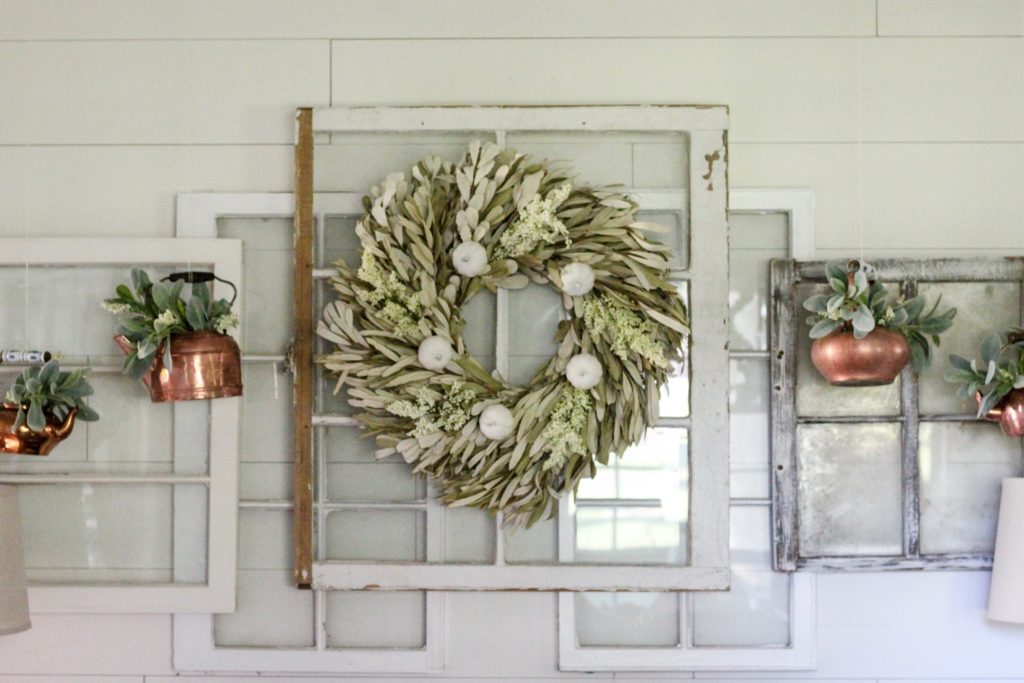
There ya have it! A pretty simple DIY project that packs some serious punch and creates a unique look on the walls of your home. So much of this DIY is eyeballing it and thinking ahead about your specific design, so as long as you stick closely to the methods described here regarding layering technique, the possibilities are endless as to what you could create!
Oh and hey – thank you guys SO much for always making the blog a happy space for all of us. It means so much that you took a sec to stop by, scroll through and leave a kind word. I look forward to blogging so much, because it means a chance to interact with YOU guys as I’m able, and I hope this space has become a fun and helpful resource for you, as well. ❤️ Come say hi over on Instagram and Pinterest, too!!
SOURCES:


I love this layered look and thso copper kettles! Beautiful, Erin!
Thank you, Areeba! You’re always so sweet.
Love it girl!! Now I’m on the hunt for more old chippy windows 😉
One can never have TOO many chippy windows!!
I have some windows from my grandparents’ 100 year old farm house. I’m sure they’re “chippy” is lead paint! Is this harmful if I’m just hanging them on the wall? Or should I refinish with nonlead paint?
I usually seal all of my old chippy pieces with Minwax Polycrilic so that you can still see the chippy goodness but the item is then safer.
Beautiful wall and your directions are easy to follow. Thank you!!!✨💖✨
Oh good, I’m glad I made at least a little bit of sense, ha!! 😉
Thanks so much for this tutorial!! Love this look💕💕now to go find some chippy old windows!!
Getcha some, girl!!
Thank you so much for answering all my questions. You are the best Erin!
Appreciate your kind words, Chrissy!
I love the layered windows and EVERYTHING else you design and decorate!!!
You are so kind!!!
Thank you Erin! Where did you get your wreath? It’s beautiful!
It came from a local shop, but I think it’s called dried mountain sage.
Thank you Erin! Such great inspiration and so attainable.
You’re so welcome!!
I bought a 12 pane window today at Paul Michael’s in Lake Village (totally worth a road trip…you’d LOVE it…take a large trailer! Lol!). I’m totally gonna try this! I’m kinda nervous tho about getting the screws/nails in just right so! Anyway now I’m on the hunt for more windows! Love ya girly pop!
12 panes!?! What a find!!
Hey girl! How did you hang the copper pots from the windows?? We are doing this idea in our new house!💗 I’m obsessed with your style!!
It’s just hooks screwed into the ceiling and twine!
Funny story. I came home one day wanting to try your book wall. When the hubby found out what I wanted to do, it was a HUGE no. Clearly he has no vision. So off I went into my basement to find some more windows. I created a 3-d window wall just like you have. His response, “Don’t you like that bloggers idea better than the one who came up with the book wall?!”. I just looked at him and said FYI it’s the same blogger and her book wall would have been just as fabulous! Love your ideas Erin!
Bahaha, come on now, hubby! Get with the nailing-books-on-the-wall program!! 😉 This made me laugh!
Just got an old window, I’m so excited to hang. Was not sure how to hand a window…lol. This was very helpful. Thank you!
Hi Erin!
I want to recreate this above my mantel. Can you share the dimensions of yours? My husband thinks it can’t be done, but I say different! And any ideas of where I can find a great year round green wreath to go with the windows? Beautiful! Love your blog. 🙂
Hi Erin — I’m totally bananas for your interior design style! I started following you, SarahJoyBlog and VitagePorch about a year ago before I moved to my new home and I’ve been stealing ideas from the three of you! Anyway, I bought some vintage window frames and am hoping to get them hung this weekend but I have a question that I don’t see addressed in your blog: How do you manage the space between the outer windows (furthest on the left and right of the grouping) and the wall? Given they stick out further because the rest against the base layer on just one side, did you put a block or some other sort of spacer between the outer edge of the frame and the wall to keep it from flopping around? Thanks in advance for your guidance on this!
How do you keep the glass clean once hung? Is there room in between to dust?
Can you show a picture of the type of “picture hanging hardware” that you are using on the back of the windows? I’m not sure I get how the screws are attaching to the back of the windows. Thanks.