")


")
Hey buddies!
Excited to share the next tip in the Farmhouse Hacks series,
and if you missed the other two, I’ll link those below for ya:
Farmhouse Hacks – Concrete Countertops + Farm Sink
Farmhouse Hacks – Wood Look Tile Flooring
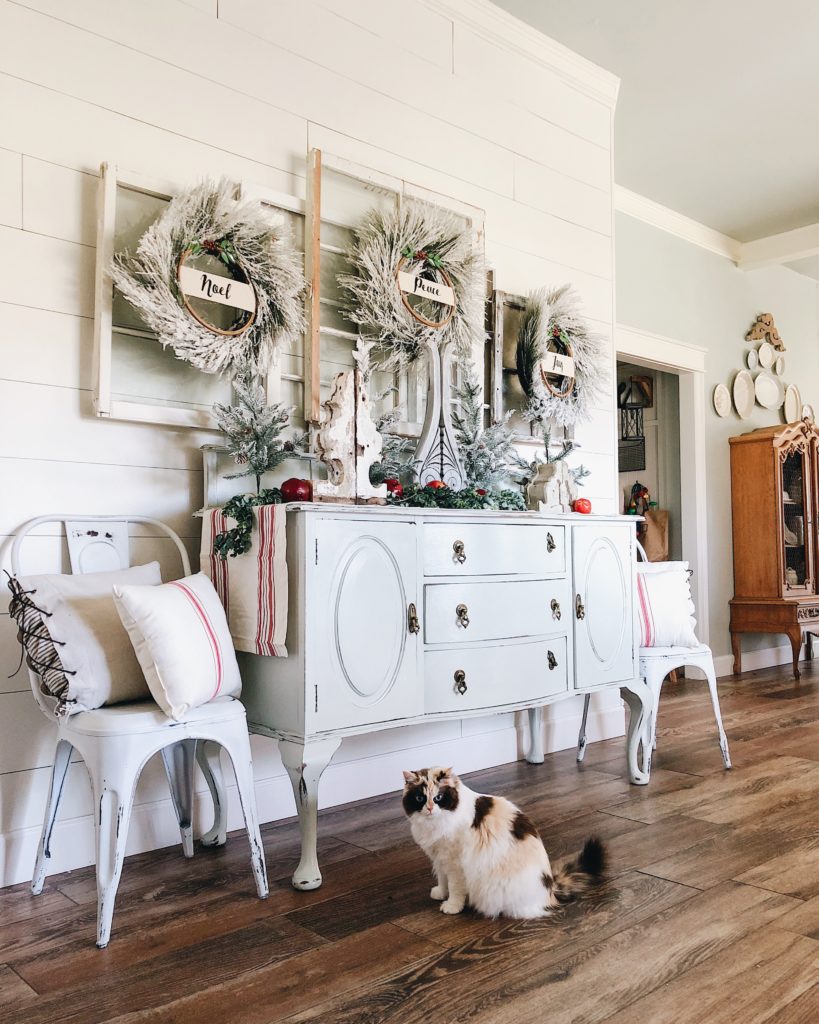
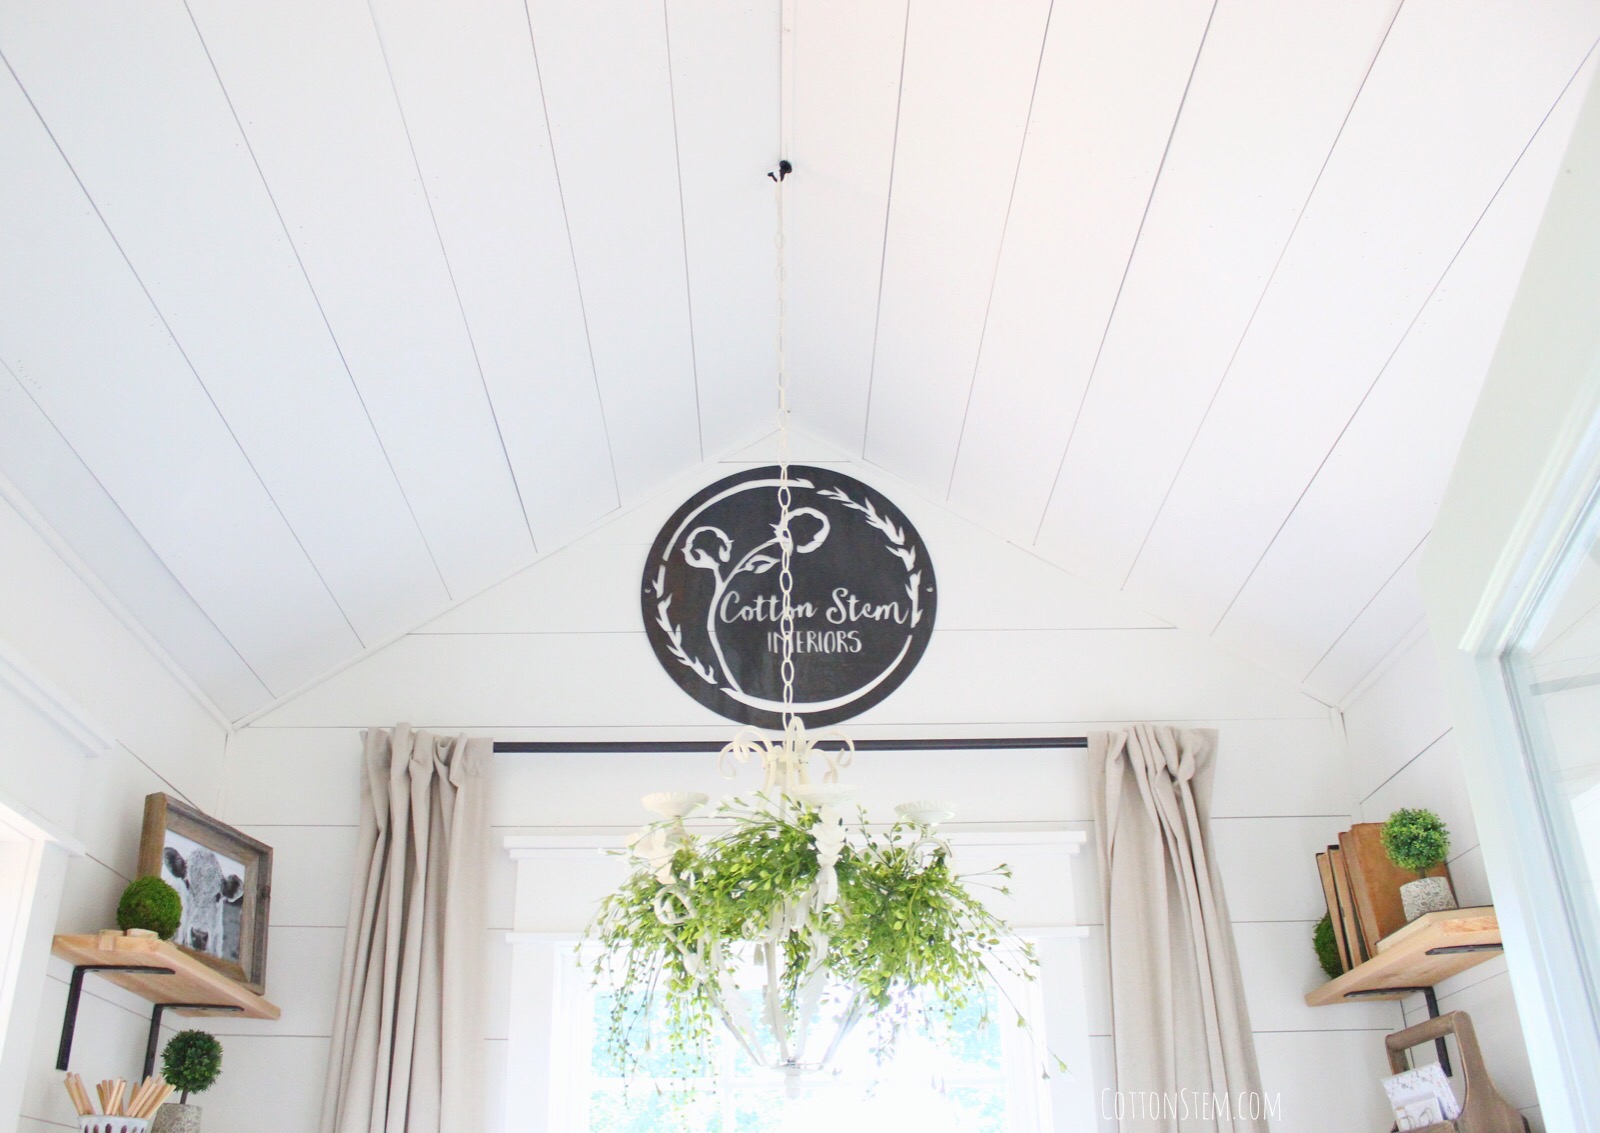
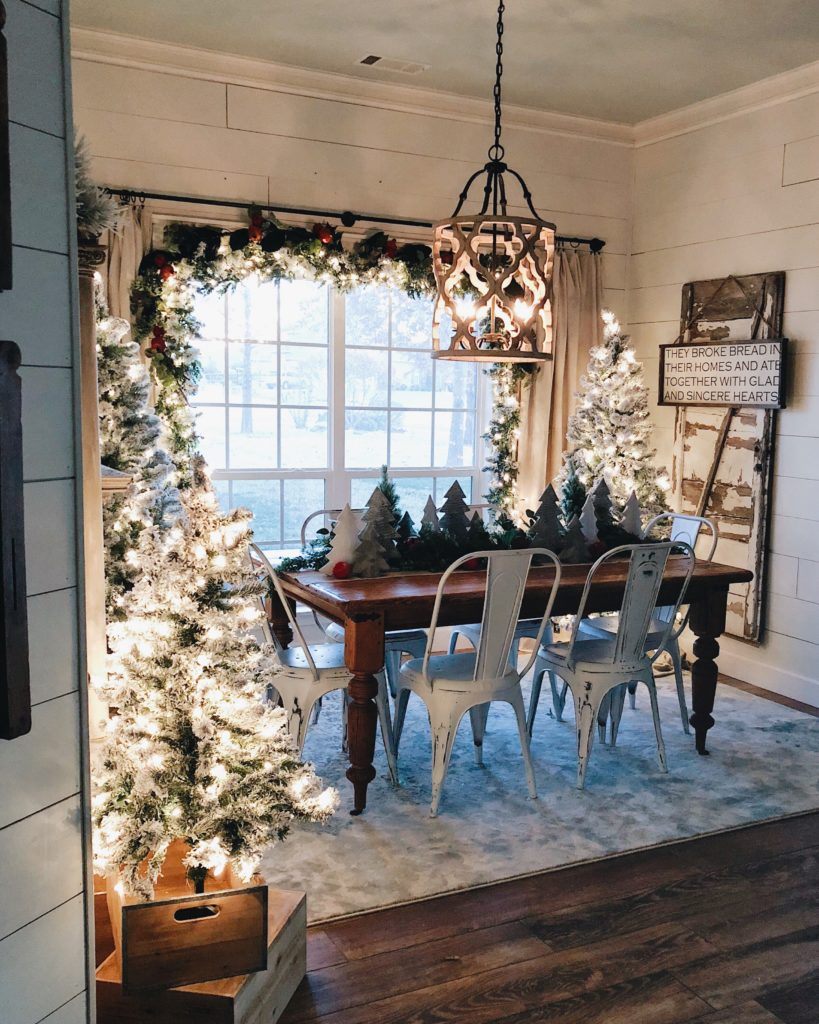
Next up, we’ll chat a little bit about getting that farmhouse look using DIY shiplap on a budget! While I would love to line my walls with the real deal, sometimes budgets don’t match up with our big ideas, so that’s where this less-expensive alternative comes in. We used this shiplap hack in our dining room, to surround our fireplace and kitchen island, and it’s even found it’s way out into my she shed office!

In order to get the shiplap look with a small investment, we used a product called pine underlayment which you can find at any hardware store. It comes in large sheets, and we just had the helpful workers at Home Depot cut it into strips that were 8 inches by 8 feet long each. If the workers can’t strip the sheets down for you, a simple at-home session with a table saw would do the trick.
The underlayment runs around $14 per 4×8 sheet, and you can get 6 strips of “shiplap” from one sheet. To cover the same amount of square feet using real deal shiplap, you’d need to be ready to pay anywhere from $60-80 depending on the type of wood you chose. Again, I love the real thing…but we were on a serious budget when we made updates to our home a few years ago, and this inexpensive farmhouse hack did the trick for now!

Before installation, we sanded down the edges and corners of the boards by hand to remove snags and splinters, and the we used a nail gun to attach. We used a couple of quarters to give us semi-uniform spacing between planks, but I wanted it to feel as rustic and authentic as fake shiplap can feel in a new-ish build home, ha! 😉 I even left many of the nail holes showing from installation instead of filling them to add to the charm and character. To join the corners and seams, we just tacked on cut-to-size strips of corner molding [HERE]. And just ignore the multiple white paints in this pic…..we hadn’t painted our new trim when I took the picture, oops!!
The only drawback that we encountered using this farmhouse hack was that because the underlayment is a bit thin, some of the boards bowed a bit after a few coats of paint (Sherwin Williams Alabaster, fyi). Nothing big, and we just tacked one or two more nails in the center of the boards that bowed slightly. Actually, if we’d nailed the boards down in that spot in the first place, maybe nothing would have even happened. So, just an FYI if you think about doing this hack! The money it saved and the look we got for the small price tag was worth a few extra nails after we finished painting. 😉
Hope this series on inexpensive farmhouse hacks has been helpful to you, and let me know if you have any questions in the comments!
❤️Erin


Hi! I’m wanting to do the shiplap hack and was unsure about all the trim. Did you just butt it up to the door and window trim or run it underneath? BTW…Love your kitties!!! I have 6 inside and am anxiously awaiting the litter box solution! Haha
Hey Erin! Love the faux shiplap. I used it in my dining room and little hallway niche and it worked great. The thing that worked for me was to mark all the studs on the wall by finding them and drawing a big vertical line down the wall so I could always see where they were as I covered the wall with the boards. This helped with the bowing because they were secured to studs every 16″.
I also would recommend ripping the boards on a tablesaw at home if at all possible (find a friend if need be). I have found the saws at the big box stores usually don’t cut the board plum which is okay on a smaller installation but can be tricky on a bigger one.
Hugs,
Nancy
Hi Erin! I was wondering if you’ve noticed any yellow color coming through from sap? And if you did anything to prevent this from happening. My husband did all new door trim in our house and there is yellow everywhere:(
Thank you!
Hi Erin! I’ve been wanting to do this in our home and you’ve answered a few of my questions. One more I have it about the painting. Did you leave space between the boards horizontally (I’ve seen to use a nickel) and did you worry about getting paint between them??
Thanks!!!
Brianna
Hi! I’m wanting to add shiplap to a few walls and I love this cheaper way! I was wanting to know if your walls were Sheetrock when you covered them?
Great idea for budget friendly Shiplap!
I am also wondering if the walls were sheetrock before covering them. You mentioned a build, so not sure? We are doing a new build soon, and I want this look..want to take the right steps! Also, did you have to paint by hand, or were you able to roll? What about painting with a sprayer before installation, then touching up where need be?
Wanted to know answers to the comments above:)
Love this! I’m thinking about a shiplap look on one wall of my downstairs bathroom and this might be the only way my husband lets me…😂 one question… when you painted did you use a satin or eggshell finish? I already bought semi gloss bc it’s a bathroom and I have kids and live by semi gloss but I’m thinking that a flatter color would be better for the shiplap look.
Love your instagram, by the way! You are super real and prob in my top 3 accounts that I follow! 💕
Hi! I am planning to finish a building and wanted to know if you put drywall under the faux shiplap in the she shed or if its tacked directly into studs?? Thank you for the amazing inspiration! We just moved last year and im finally getting to put some warm, cozy, chippy pieces in to make it ours ❤
Where did you get the pendant light above your dining table?! I love it!
[…] somewhere in the space. I’ve been following Erin over at CottonStem (check out her blog HERE), and she has shiplap (on a budget) throughout her beautiful home. I knew that was the look and […]