")


")
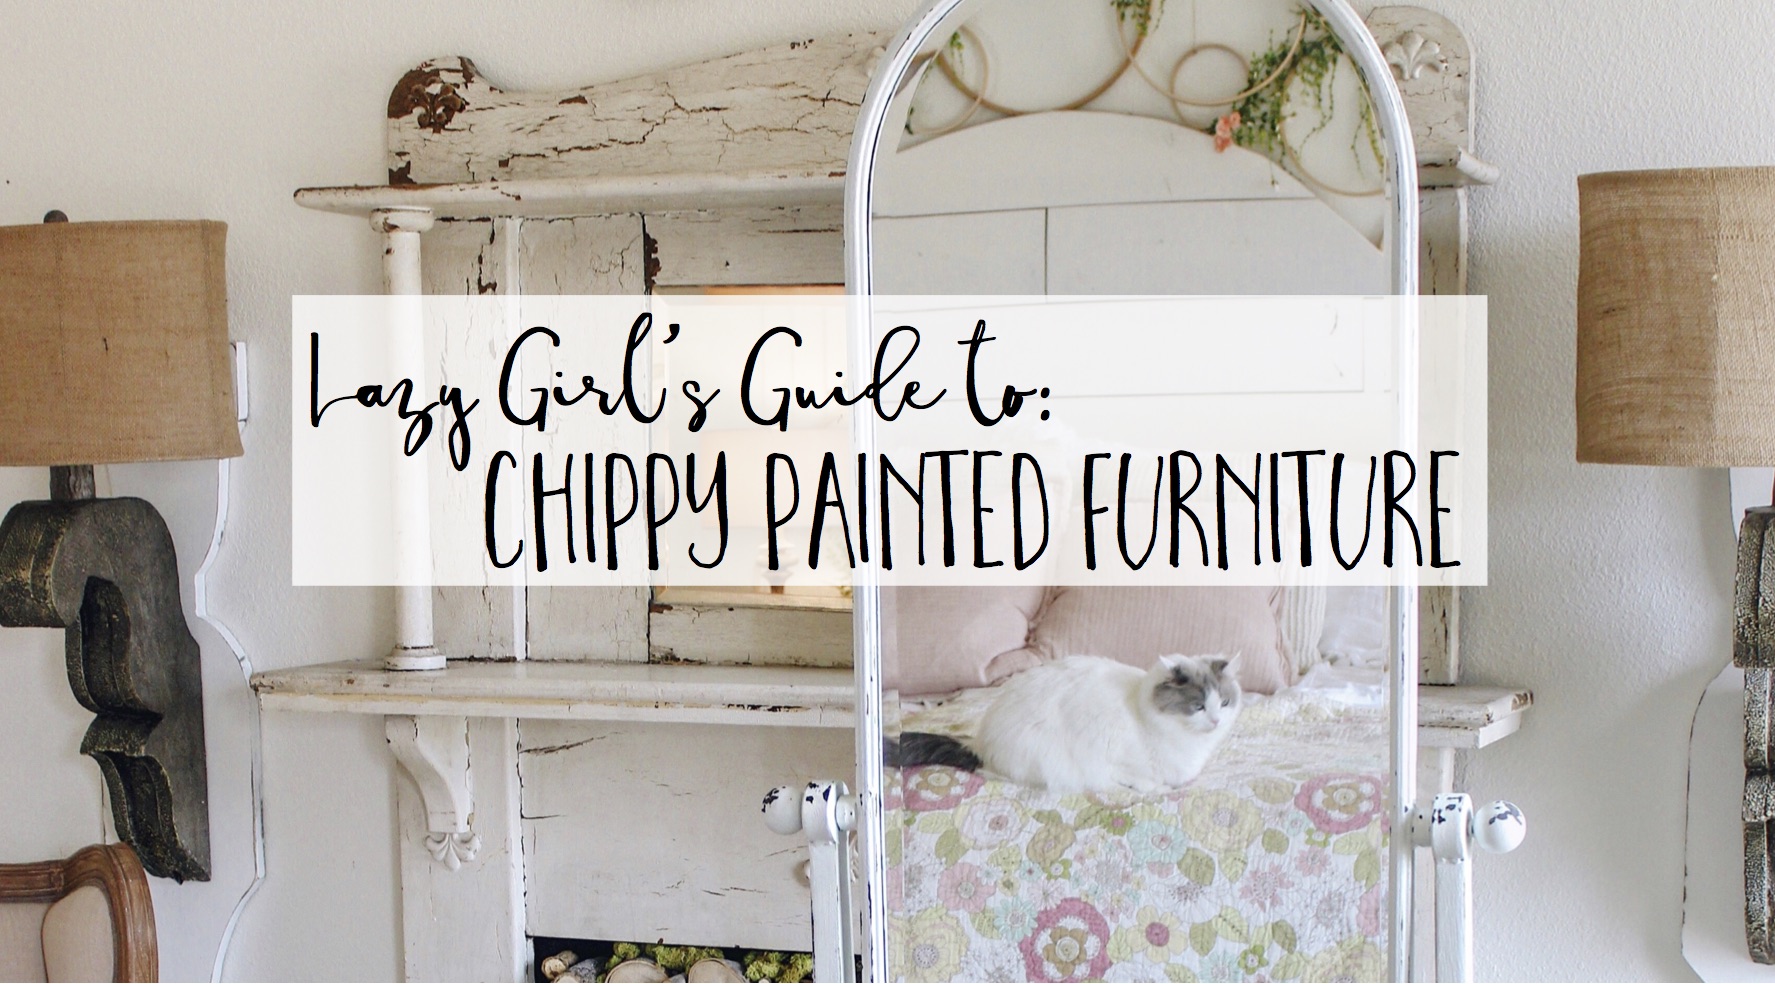
Hey buddies!
Okay, here is a quickie little DIY tutorial for you if you are sometimes just not feelin’ a huge project. If you want a super fast chippy painted finish and you’re working with metal or plastic furniture, here ya go! Now listen…this is NOT a Perfect For Eternity solution. Nope. This is a “I’ve got tons of tiny kids and about 15 minutes to redo this piece of furniture before they discover my whereabouts and ask me for ALL THE THINGS ALL AT ONCE. 😳” Yeah. It’s THAT kind of tutorial. 😉 There are plenty of times I’ll meticulously follow multi-step tutorials, and then…? There are times like when I refinished my mirror. In about 15 minutes total hands-on time. Wanna see how?
This GORGEOUS curvy, farmhouse standing mirror is part of my Painted Fox Home collection [HERE], and I was immediately drawn to it’s notable size (the mirror I had been using was possibly made for children…so tiny 😂), and the curvy legs and rounded shape were speaking my language! It was beautiful as it came with a sort of rustic black metal finish, but I don’t use much black in my home. Because I can’t leave well enough alone, I decided to paint it and make it chippy! Here’s the Lazy Girl’s Guide to Chippy Painted Furniture…for those times you wanna quick redo with little time to spare!
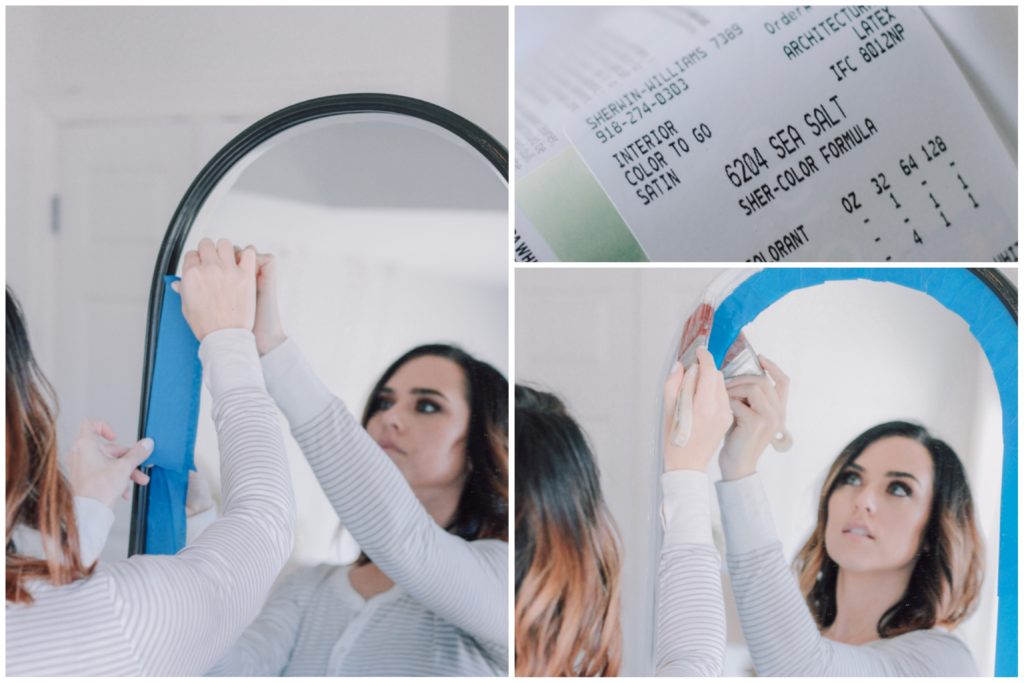
1 – Tape off the mirror using painter’s tape.
I like to use the widest I can find, because inevitably I get messy and need all the border I can get! Be sure to really tuck the edges of the tape between the mirror and frame, and around the curved parts, I tore the tape into two inch strips to make it easier.
2 – Choose a paint.
Honestly, I think anything could work here. Chalk paint, milk paint, an old sample of Sherwin Williams Sea Salt you found collecting dust in the corner of your garage…. Whatevs. 😉 The end result here is a chippy, beat up look, so really it doesn’t have to have perfect, even, smooth coverage. We’re about to take sandpaper to it later! So just use whatever you have on hand. (I used this same quickie technique on my metal dining room chairs a few years ago, but then I used some cheap spray paint. Still worked great!)
3 – Skip the sanding and just paint it already!
I’m sure some will be shaking their heads, but I skipped any sanding. I know, I know, you’re supposed to rough up and wipe down the surface before painting to ensure that the paint will have something to grab onto, especially on metal…but that’s just it! I don’t really WANT the paint to grab onto anything too too hard, because I want that chipped, been-around-the-block, vintage look…perfectly imperfect. Boom. Thus, no sanding needed, I say!
4 – Allow to dry completely and remove tape.
After a second coat, allow your piece to dry completely before going in with sandpaper. While it’s drying, if you see any spots you missed or that didn’t get perfect coverage, MEH. Sand ’em in a sec, and then it looks like you MEANT for them to be imperfect, ha! If the painter’s tape didn’t catch all your dribbles and splotches, no biggie. Just grab a razor blade or sharp edge and gently scrape it off the mirror.
5 – Sand outer/most-touched edges and sections for chippy finish.
I usually use medium grit sandpaper for that chippy finish, so grab ya some and get to work! Be mindful of where you choose to sand: remember that we’re trying to make it look as if this piece has been touched and handled for years and years, thus…where would hands/feet have touched the piece most often, thus knocking off the paint? Handles, outer edges, feet, rims, protruding sections, etc. Keep it messy, keep it uneven, keep it unplanned. Ever heard of an easier project?!? 😂
(BONUS POINTS – Add matte polycrilic to seal
Add a coat or two of Minwax Polycrilic in matte to seal paint and chippy texture without giving it a shine. I was too lazy to do this step on the mirror, but if you are refinishing a table top or seat especially, consider adding the polycrilic in a matte finish to seal.)

There ya have it! The Lazy Girl’s Guide to Chippy Painted Furniture! Of course, this wouldn’t work as well on pourous wood surfaces and it certainly isn’t a perfection-for-life solution, BUT! If you’re refinishing metal like my mirror and you don’t have much time, try this quick DIY for a chippy, vintage vibe in only a few minutes. 🙌🏻
❤ERIN
SOURCES:
(*Some affiliate links used in this post)


How to decorate a dough bowl with lemons i have and cotton stems where to get them
Where to buy cotton stems to put in a dough bowl
I’m even lazier than you because I would’ve skipped taping off the mirror. 😜 It’s really easy to get paint off of a mirror (or glass) with a razor blade. I would’ve just done it messy and then razor bladed (👈🏻 is that even a term!?) it off after. Then just vacuum up the crumbs. 😬
That eliminates a whole step, so I’m all in! 😉
Ok. Question. Is the seal you suggested proven to be nonyellowing? That’s a big fear for me! Hah! Thank you in advance!
I’ve stopped using polyurethane altogether for that reason, but I’ve had good luck with polycrilic if we follow the directions!
Wow! It is really good info! Thanks for sharing this post 🙂