")


")

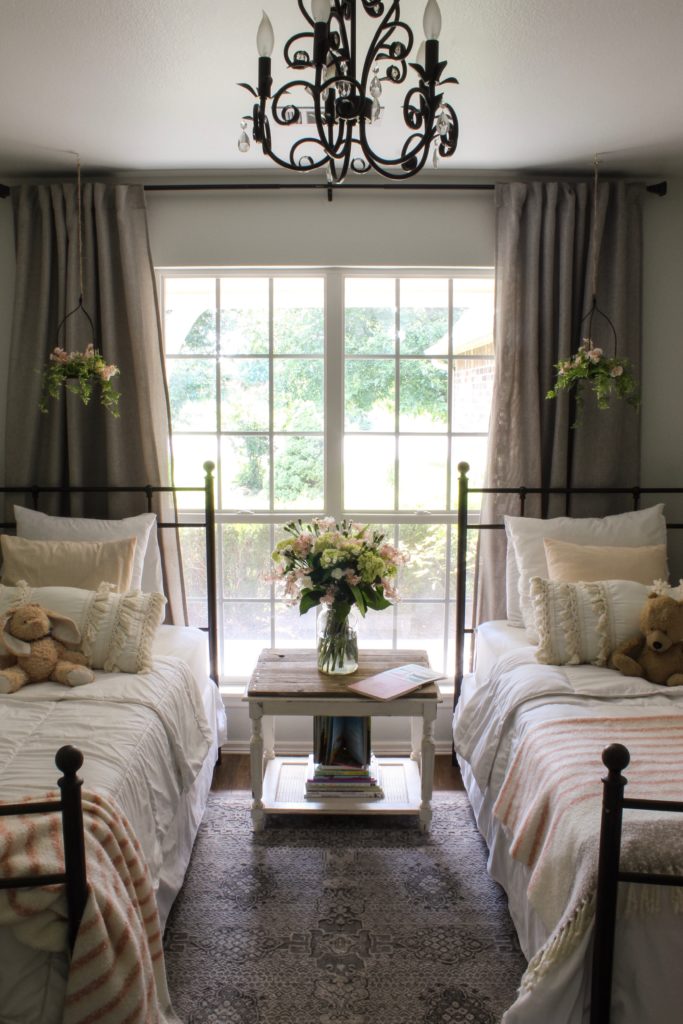
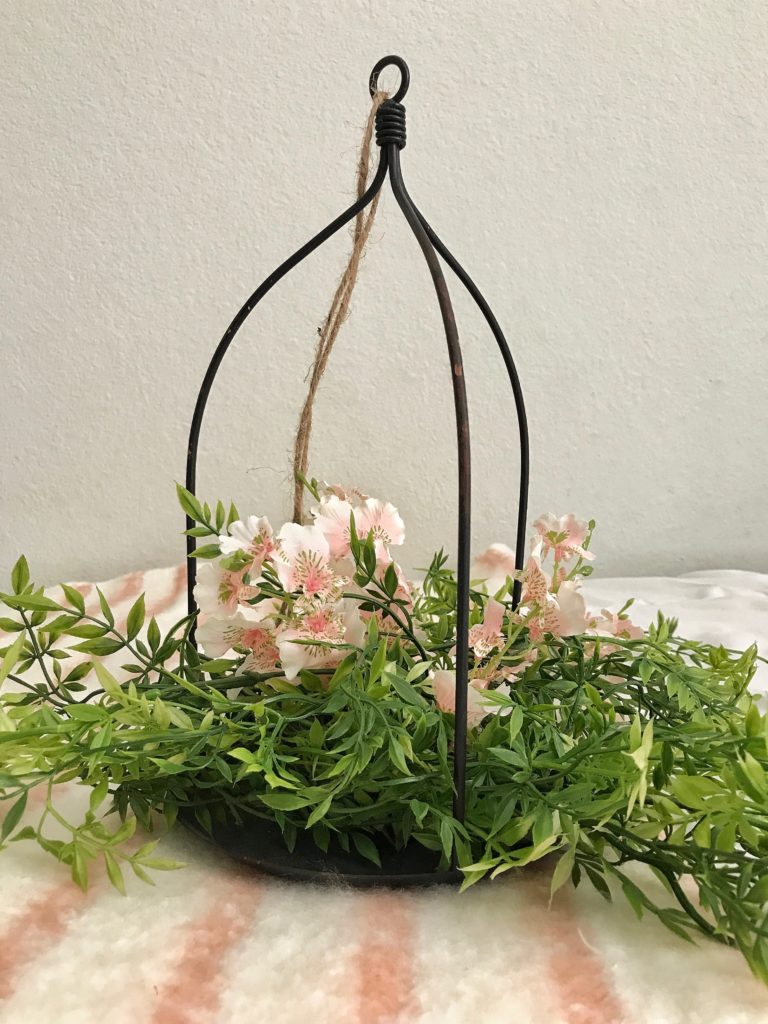
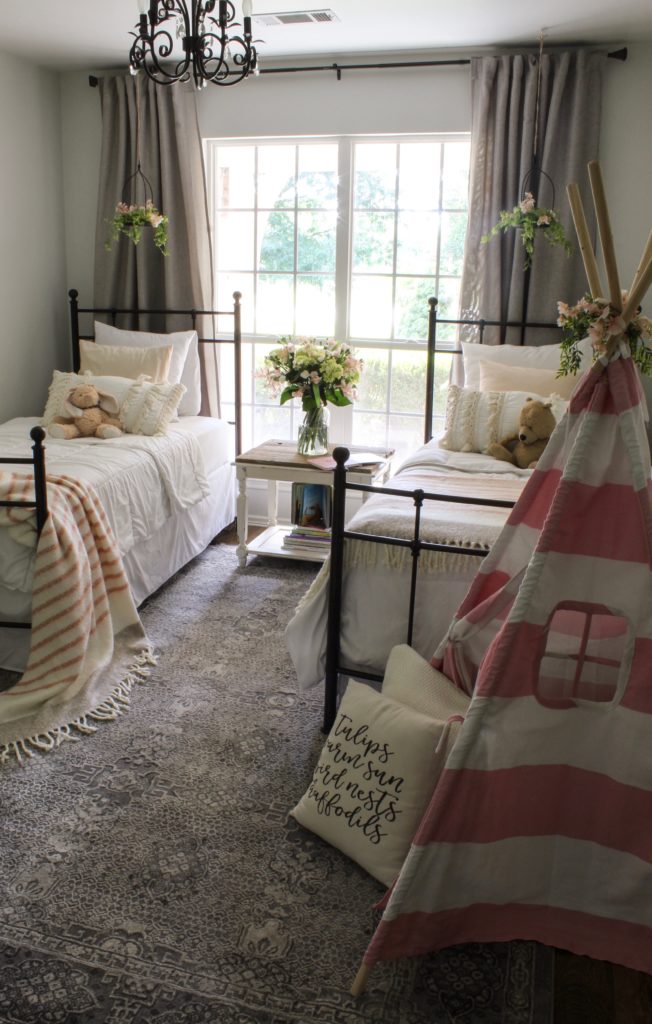
Hi friends! Okay, super easy DIY comin’ atcha! While doing a little refresh on my daughters’ shared sister room, I knew I wanted a something flowery and fun above their iron twin beds to add a feminine touch. I perused my garage for items I already owned as I wanted to do this refresh on a serious budget, and I came across my black farmhouse scale (pictured HERE). Tried to think outside the box a bit, and here is what I ended up with!
(All supplies linked below, too!)
Let me show you how I made these hanging flower nests with the repurposed farmhouse scale! Super duper easy. First, you’ll need your supplies:
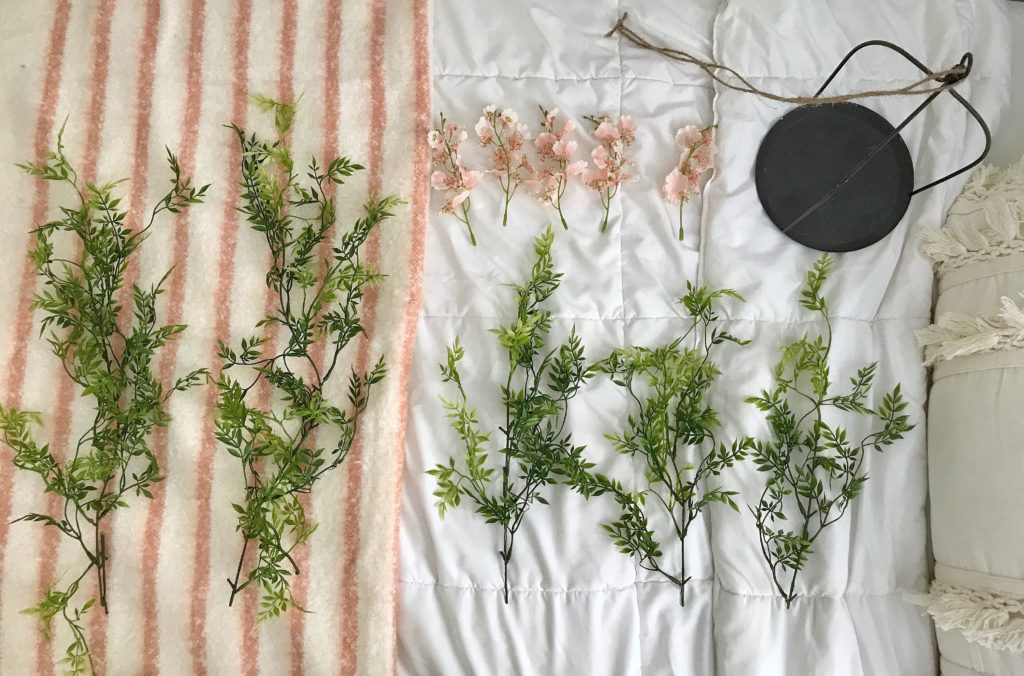
SUPPLIES:
-farmhouse scales [HERE]
(another idea would be to try doing this easy DIY with a small wire birdcage [HERE] or perhaps a traditional metal hanging basket [HERE].)
-draping greenery [HERE]
-draping flowers [HERE]
-jute rope [HERE]
-ceiling hanger hook [HERE]
-scissors and wire clippers
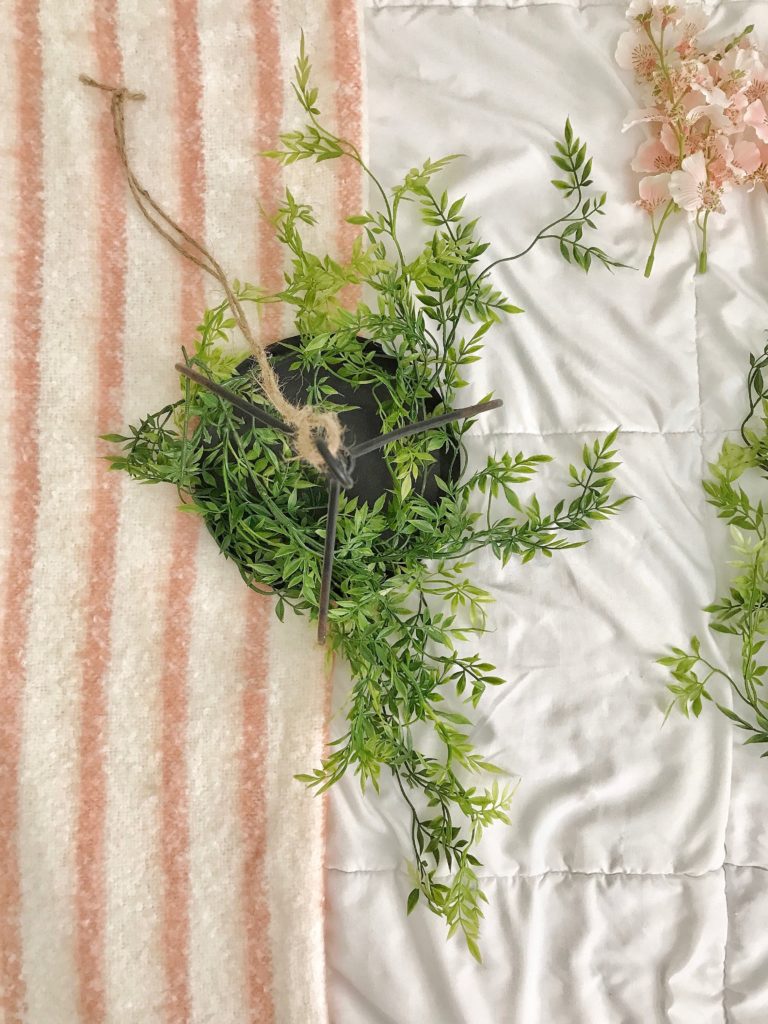
STEP ONE
Start by draping one length of greenery through the interior of the scale, but make sure to leave out a few inches so that it will hang whimsically once you’ve installed the hanging scale. Utilize the wire pieces on the scales to loop sections of greenery through in order to hold them steady. Continue working your way around the scale with the greenery sections until it is as full as you like!
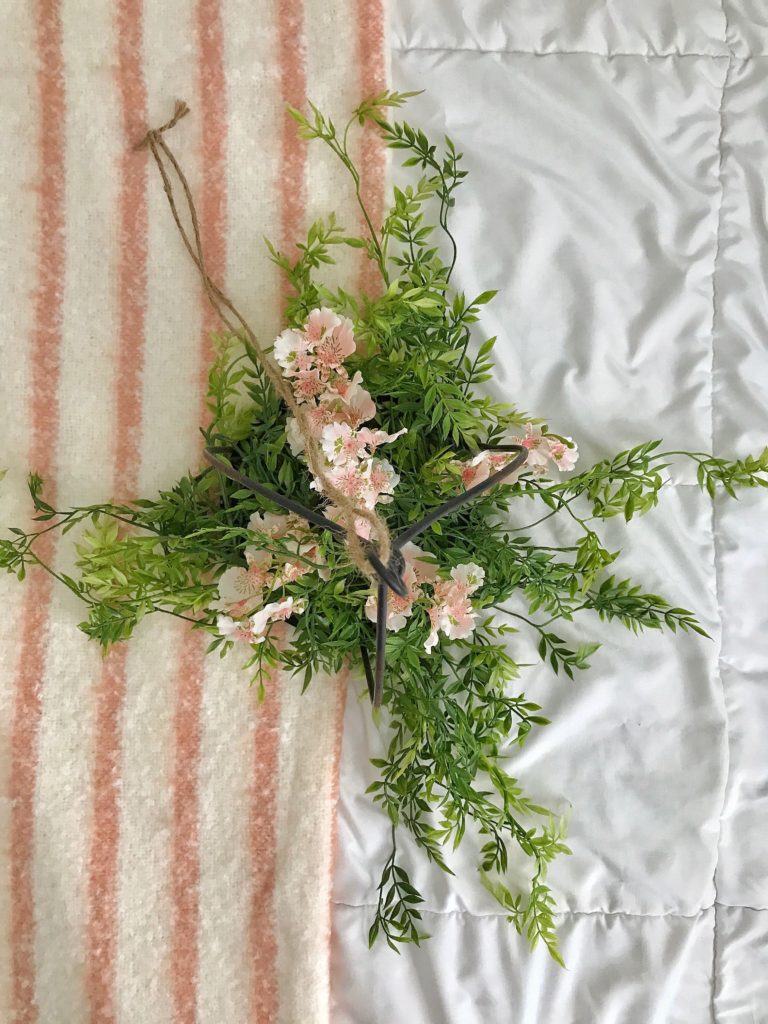
STEP TWO
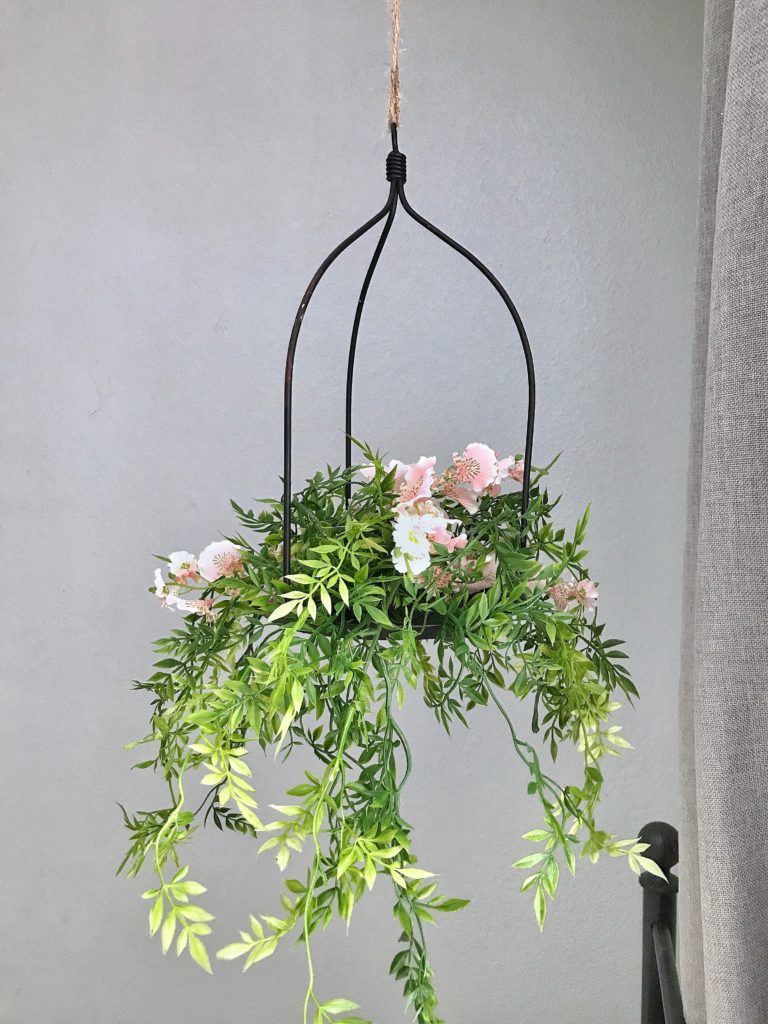
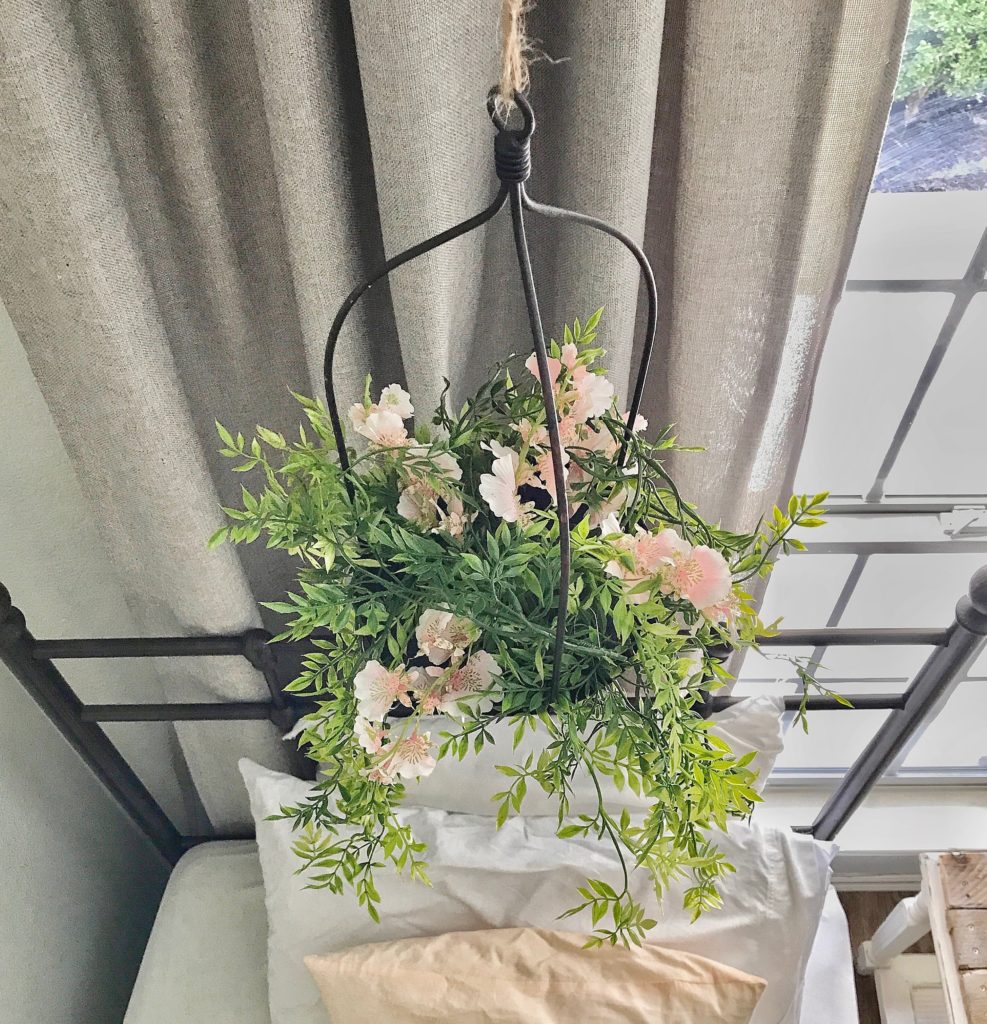
Once all greenery has been put in place, start inserting small floral stems throughout the nest of greenery. I tried to pile mine upward instead of draping over the sides in order to give the hanging flower nests some height and interest. Use as many flower stems as you like! I think I used about 5-6 per nest.
STEP THREE
Tie a length of jute rope to your scale, and be sure to test out the length before snipping the ends. I just looped the jute through the top of the scale, had my handy and helpful hubs hold it up for me to eyeball, and then I snipped and tied off the ends thoroughly.
STEP FOUR
Using a ceiling hanger hook, position your scale as desired, secure the hook, and….you’re done! Easy DIY hanging scale flower nest!

What do you think, guys? Easy enough? I think it’s sort of a fun challenge to make my decor dreams and ideas come to life only using what I already own, and it forces creativity to surge to the top! Think you have anything out in your garage that could be given new life…? I’d love to hear your ideas and thoughts on this DIY in the comments–appreciate y’all SO MUCH for stopping by over here. It’s truly an honor!
💗Erin
SOURCES

*Affiliate links used in this post.
Appreciate you supporting the brands that help support this blog!


Erin, these are so sweet!!!! Your girls are adorable and I’m sure they love their room. You’re an awesome Mama!!! 💖
Aw that’s so kind, Nancy! Thank you!
Love your girls room. So sweet ! I’d love to know where you got the chandelier.
Thanks, Carroll! It was from Lowe’s clearance, actually! It’s a few years old now though.
What a fun idea! Perfect for a little girls room! I bet they love it! Thanks for sharing the DIY. I’ll have to give it a try! 😍
Thank you very much!!
LOVE your girls room!! And just ordered my T-shirt!! 💃 thank you!!
💕 Kris
Such a cute idea! I’m going see if I have any birdcages that will work.
I’d love to get those curtains for our bedroom, do you remember where they’re from?
I just found your blog from roaming instagram. I think i am going to like it. Can you tell me where these curtains are from please.
Hobby Lobby!
What a cute idea, Erin! And your blog is beautiful!
Uhhhh I love this easy peasy diy. Thanks for sharing Erin. Love all that you share💖
This is so beautiful! May I ask where you got the end table in the middle of the beds??