")


")

Whatcha been up to, guys? Sitting around in your jammies all day, losing track of the ACTUAL day of the week like us? Thought so. 😉If you need a pretty easy project both bust the boredom and up your PJ game, look no further than DIY tie dye pajamas! These took about 30 minutes of effort, an hour and a half in the washer/dryer, and voila! A simple DIY that promotes staying home, family movie nights, and Netflix binges. #QuarantineLife 😉
Supplies needed:
-Sweats or pajamas
-Splash-free bleach (just a little!)
-Rubber bands
-Plastic baggies
-Squeeze bottle
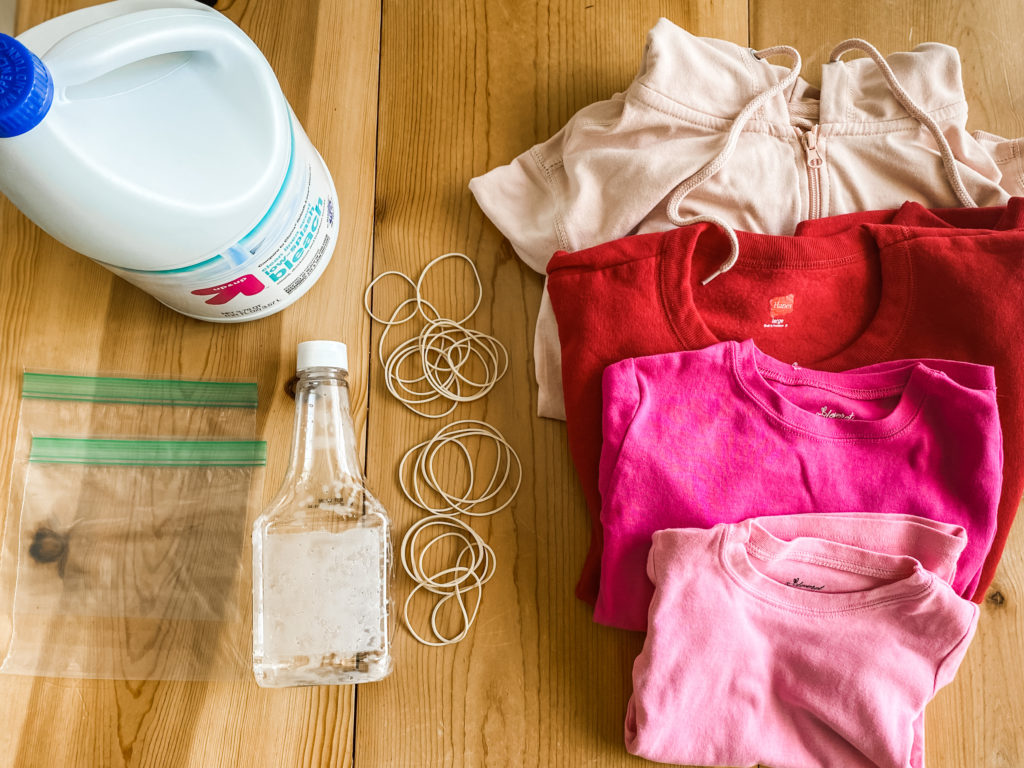
I watched quite a few YouTube/Pinterest tutorials, and we chose the most common and the seemingly easiest process of DIY tie dye which called for using diluted bleach. You don’t need much! Depending on how many articles of clothing you’re doing, you might only need to use 1/4 cup, because the bleach is diluted with water which makes it stretch farther! I didn’t have a squeeze bottle, so I cleaned out an expired ketchup bottle instead! Really I think anything with a squirt/squeeze top will do, because the goal is to control the amount of bleach solution comes out onto the garment. Fill your container with half bleach and half water.
We wanted to tie dye some pajamas, so I raided the girls’ jammies drawers for a couple of pairs. I also ordered a couple of the pairs from Amazon from [THIS] brand that they’ve worn over the years and loved. My sweat suit also came from Amazon [HERE], but honestly anything in your pajama drawer will do!
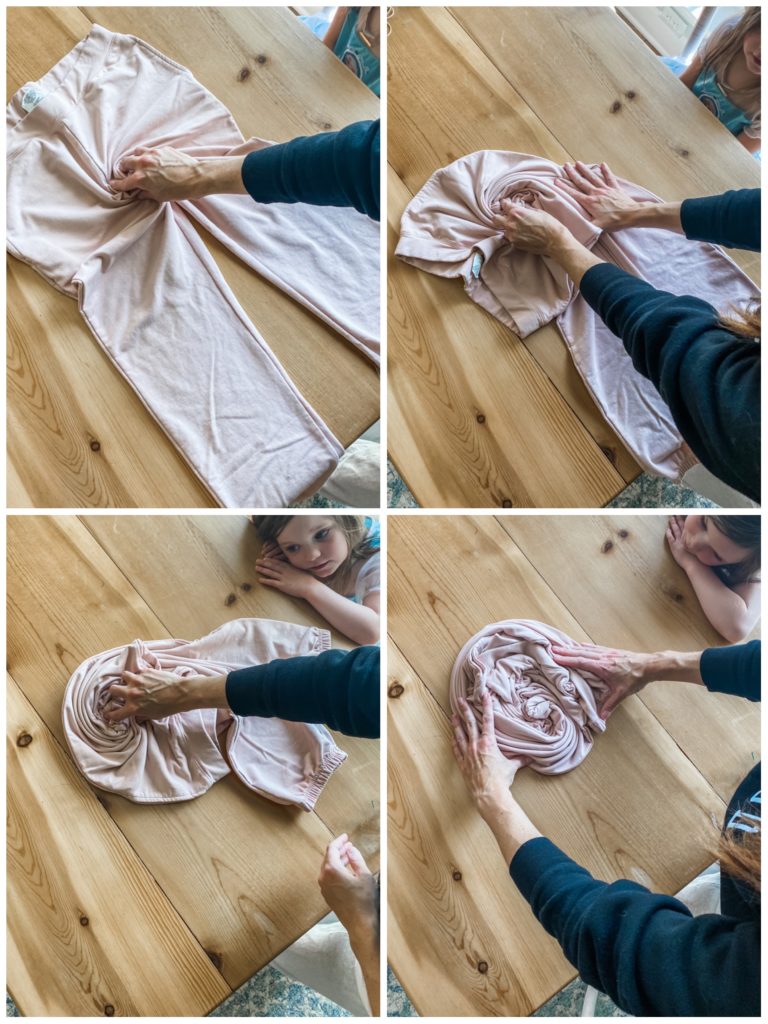
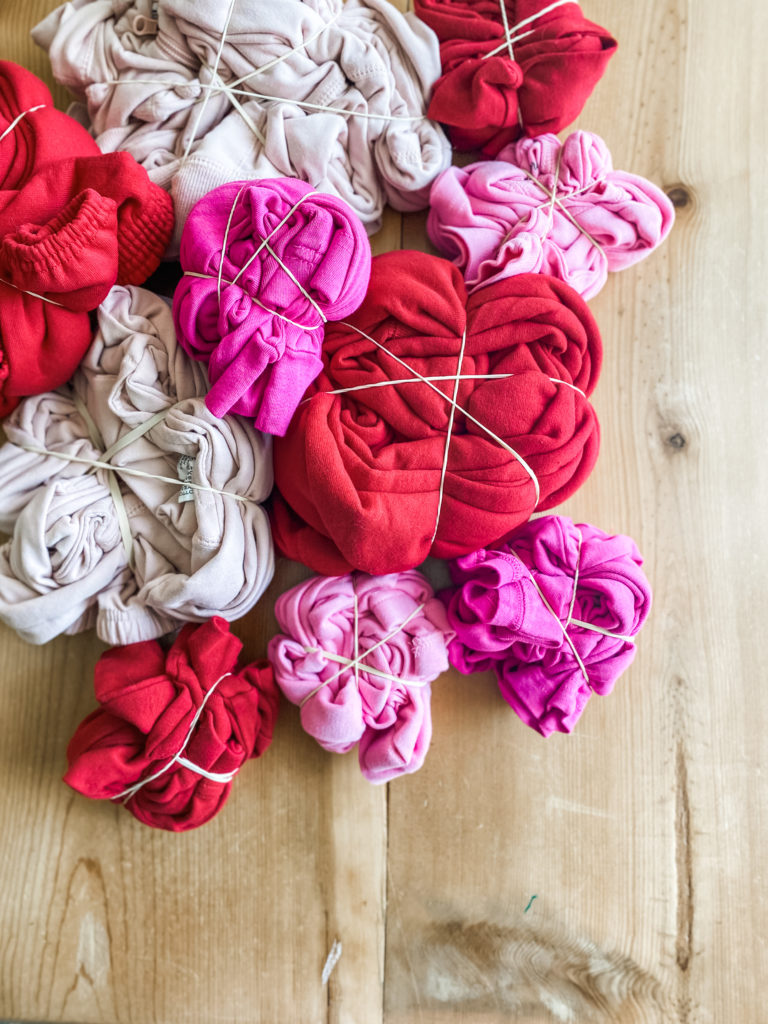
Lay the item flat and grab the center of the fabric. (How awkward that I chose to photograph me grabbing the crotch of the pants rather than the center of the hoodie 😂) Start to twist the item into sort of a rosette shape, and then wrap with rubber bands to create a pie shape. We used about 3-4 rubber bands per item. Take the bundles to a bathtub or protected surface with old towels to catch the spill off from the solution. (Highly recommend just doing the rest in the tub or shower! Got a little messy.)
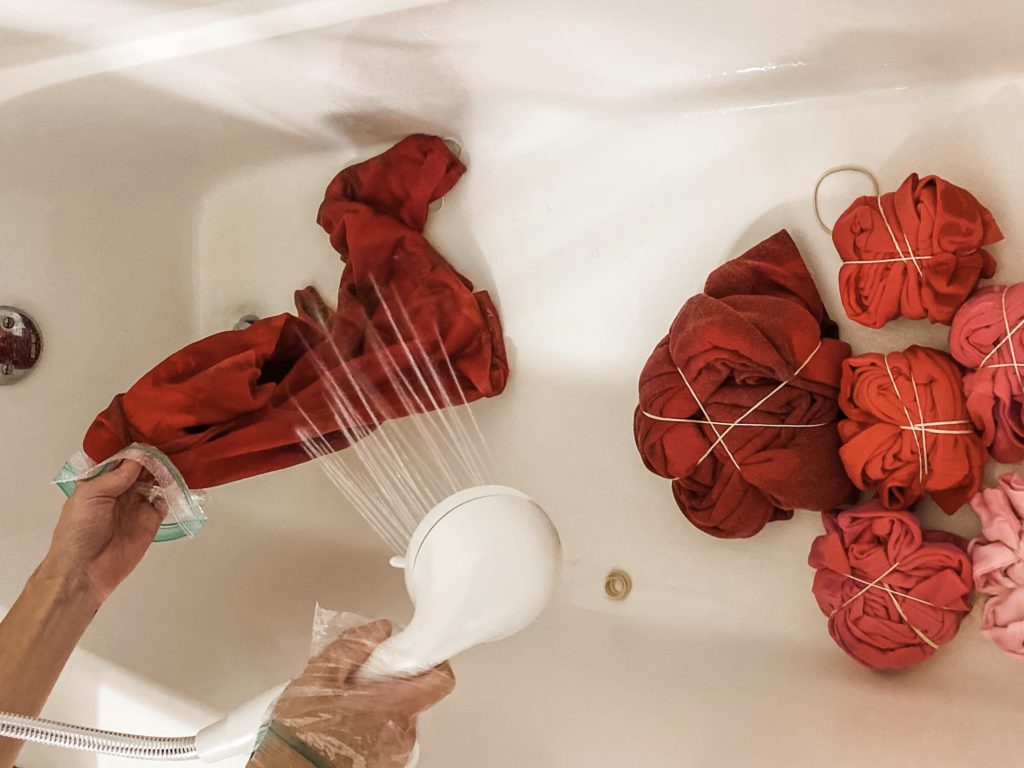
Since we don’t have gloves, I used plastic sacks to protect my hands and began squirting the bleach solution onto alternating pie piece sections. Sure, some splashed over the border of the section, but hey. It’s tie dye. It’s supposed to be messy, right? 😉Really I think the lines are just there to give you a visual so that the entire item doesn’t get soaked in bleach solution.
After about 10 minutes, we decided that was enough time and began to remove the rubber bands. The darker pajamas definitely allowed the tie dye design to show up more, but there were faint patterns even on the lighter colored items. Rinse each item thoroughly in cold water until the water runs clear. (You might want to give each piece a squeeze just to see if all the color has run off). Transfer to the washer and use cold water to clean the items. Pop them in the dryer as directed on the item, and voila! DIY tie dye pajamas!
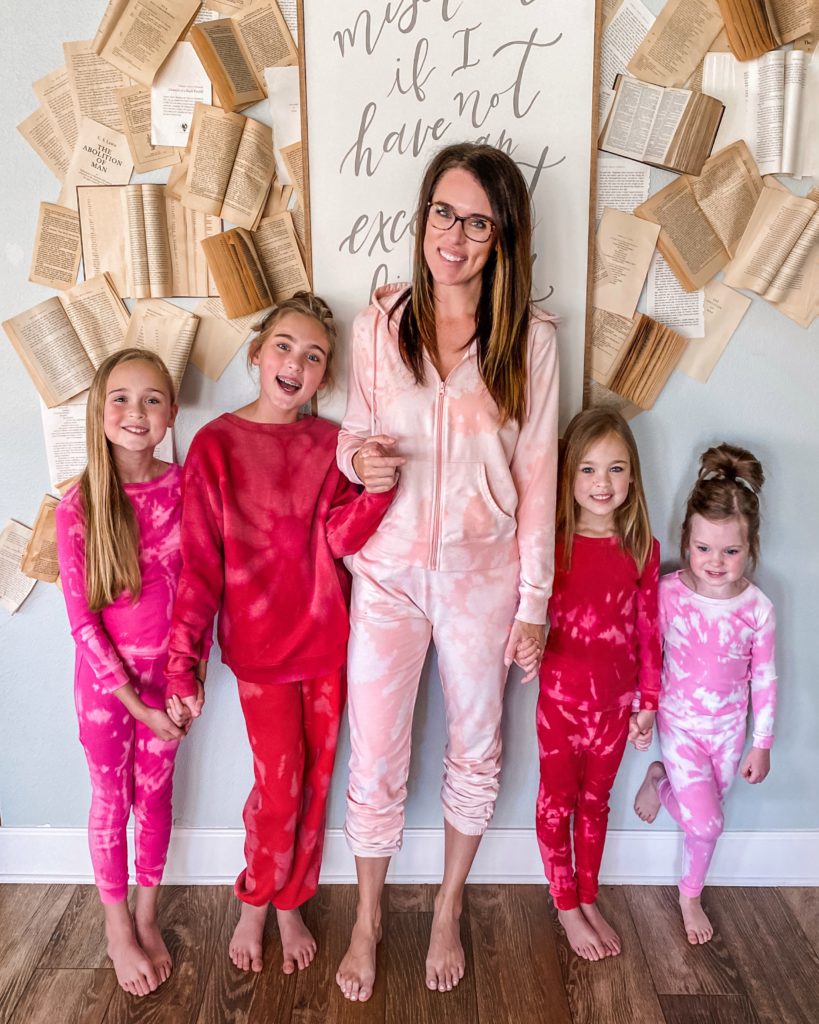
I was honestly kind of shocked these turned out, bc they didn’t look like much while soaking in the tub. Once they were washed and dried, the true patters and colors came out, so be patient! I hope this gives you and your quarantine crew something to do for all those movie nights we’ve got comin’ our way. 😉
❤️ERIN
SOURCES:
*click pictures below to shop affiliate links


They came out so cute. Love your feed this week!!
Thank you!!
This is so super cute! I have three nieces that just had birthdays and I now know what I’m going to do for them!!! Great idea Erin, thank you.
That will be fun!
Hi 👋🏽 there! These really turned out so great! Did you have to flip over each piece in the tub and squirt again?
Yes!