")


")
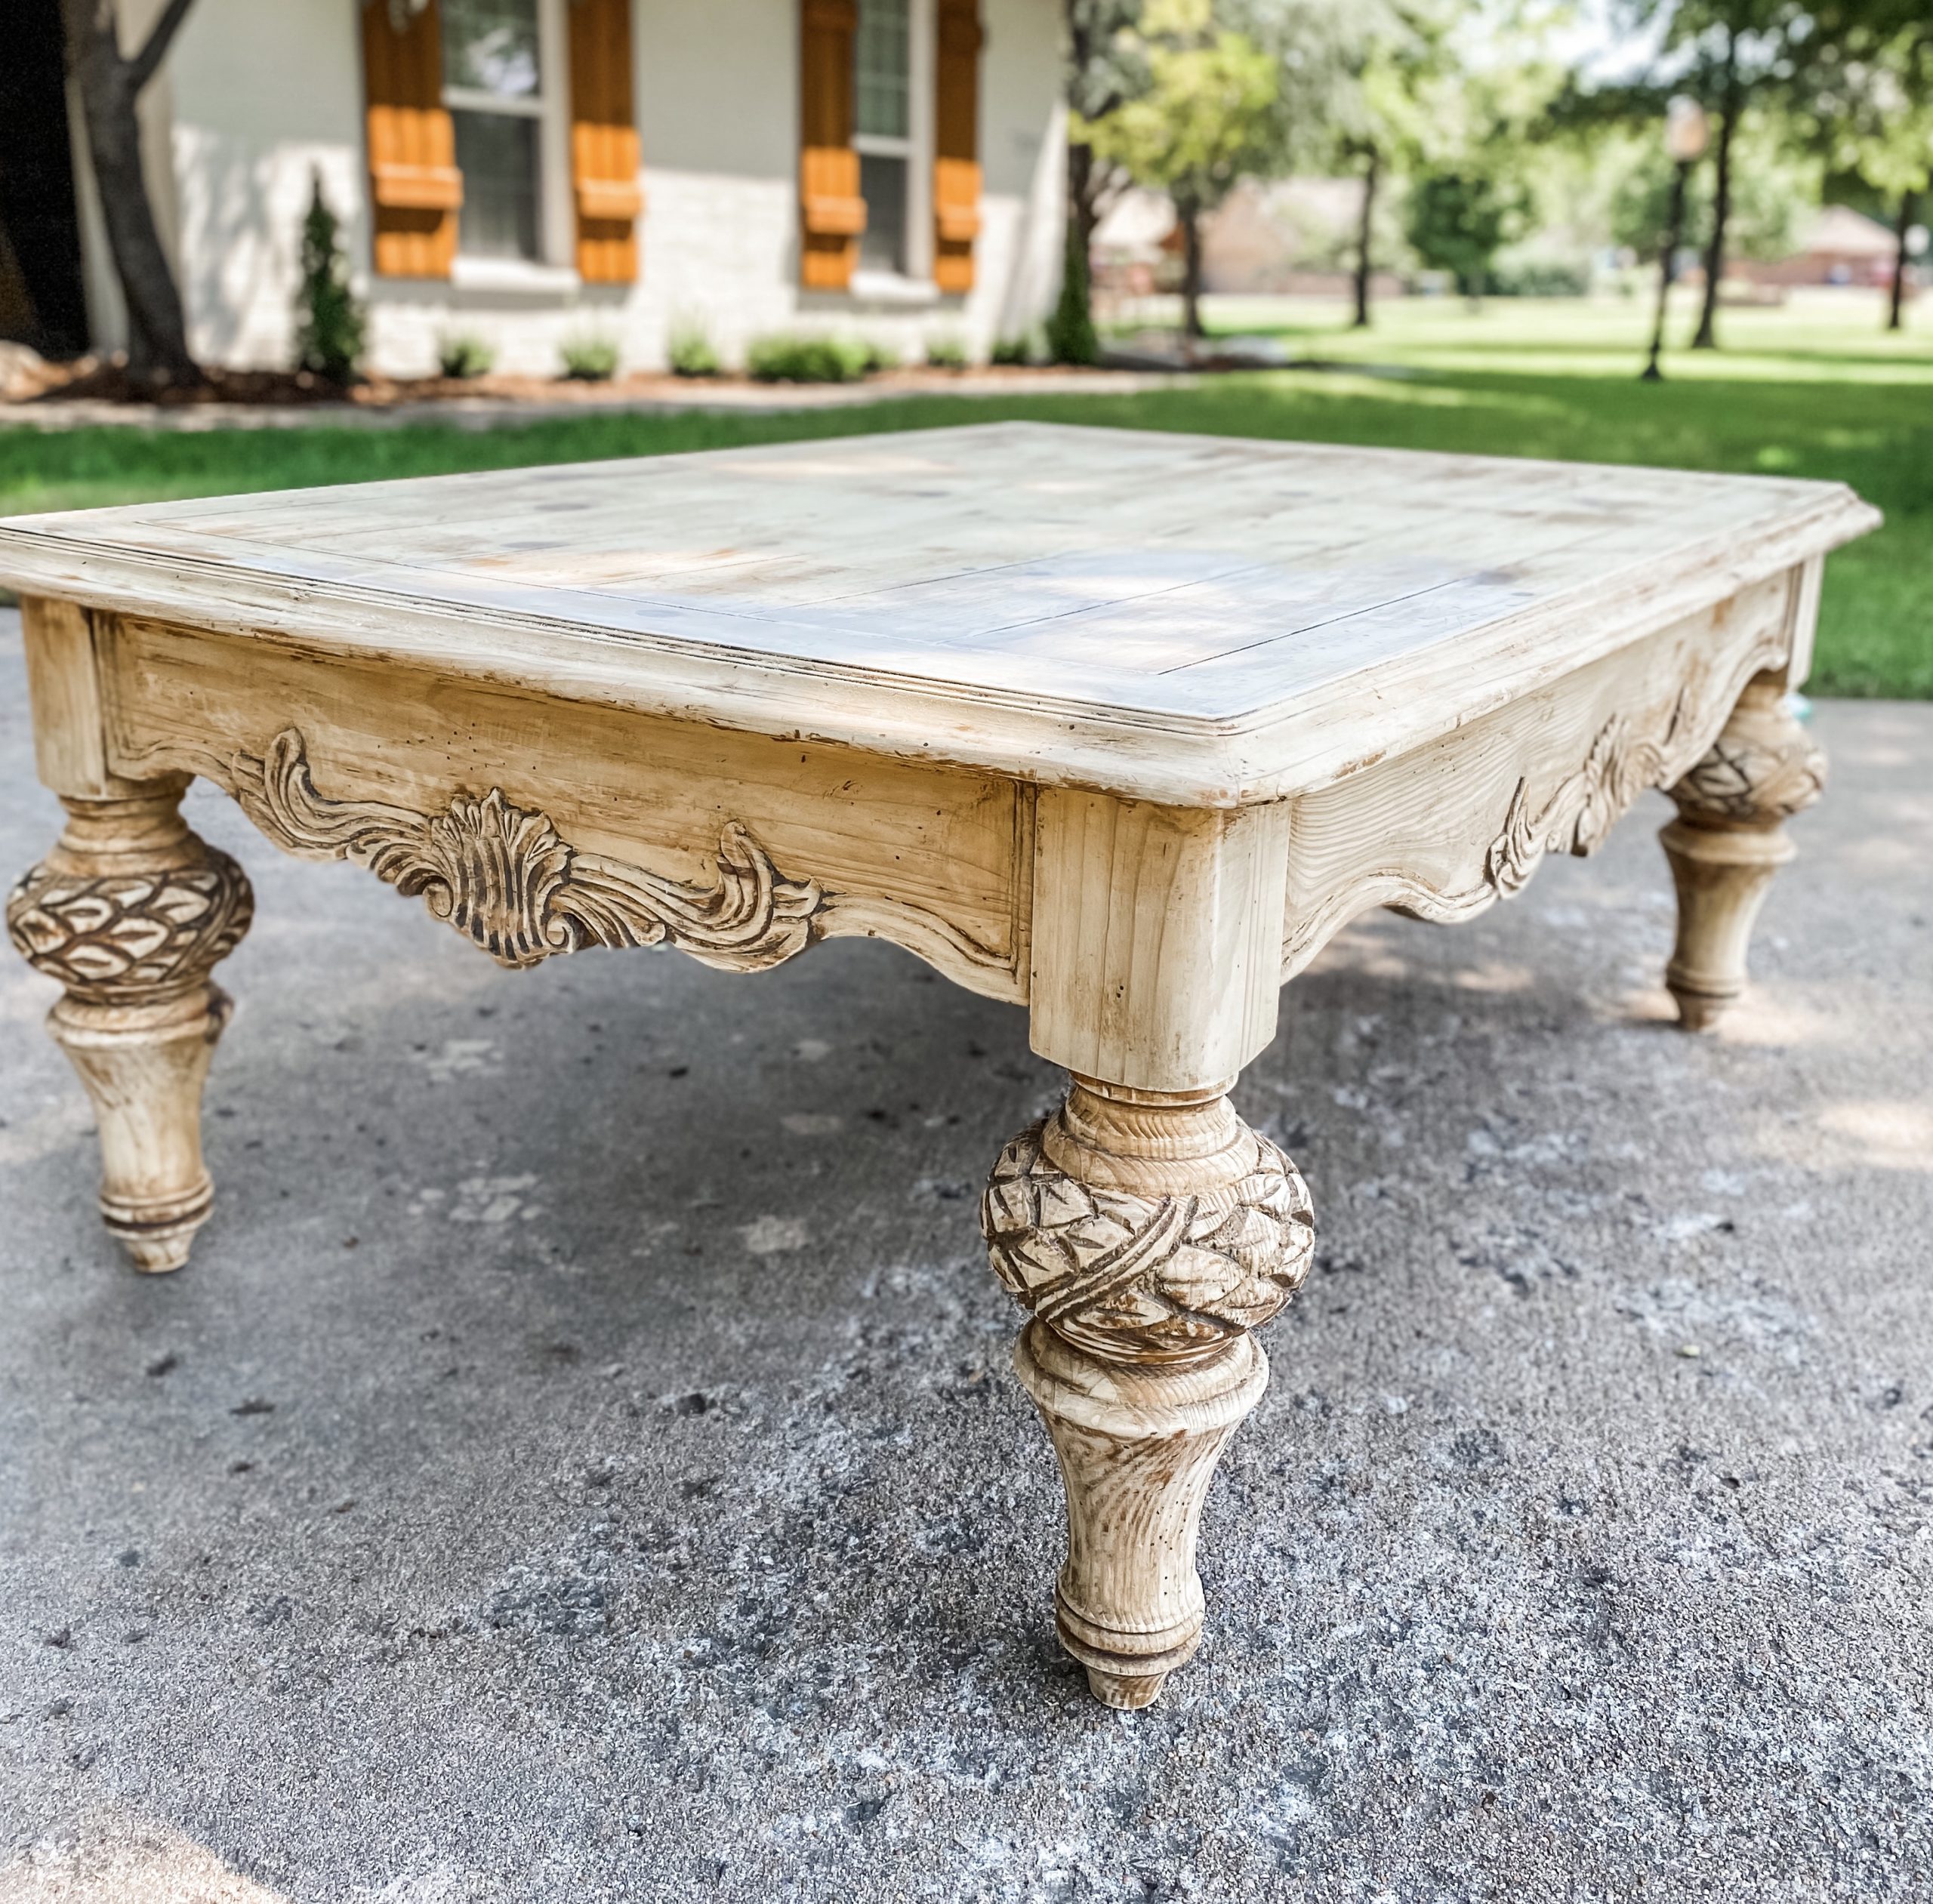
So I found this AWESOME carved wood coffee table for a steal on CraigsList, and despite its orange-y stain and highly lacquered finish, I could see the potential underneath. If you’ve ever wondered how to bleach wood furniture for that natural, pale wood look, here ya go! Note: it’s a lot of work up front, and your arms might be sore…but it’s worth it in the end!
Supplies I used:
-safety gear: glasses, mask, gloves, apron
-Citristrip spray
-lint-free clothes
-metal + plastic paint scrapers
-wire brushes for scraping
-80 + 120 grit sandpaper
-mineral spirits
-steel wool pads
-splashless household bleach
-spray bottle
-Polycrilic in matte finish
-paint brush
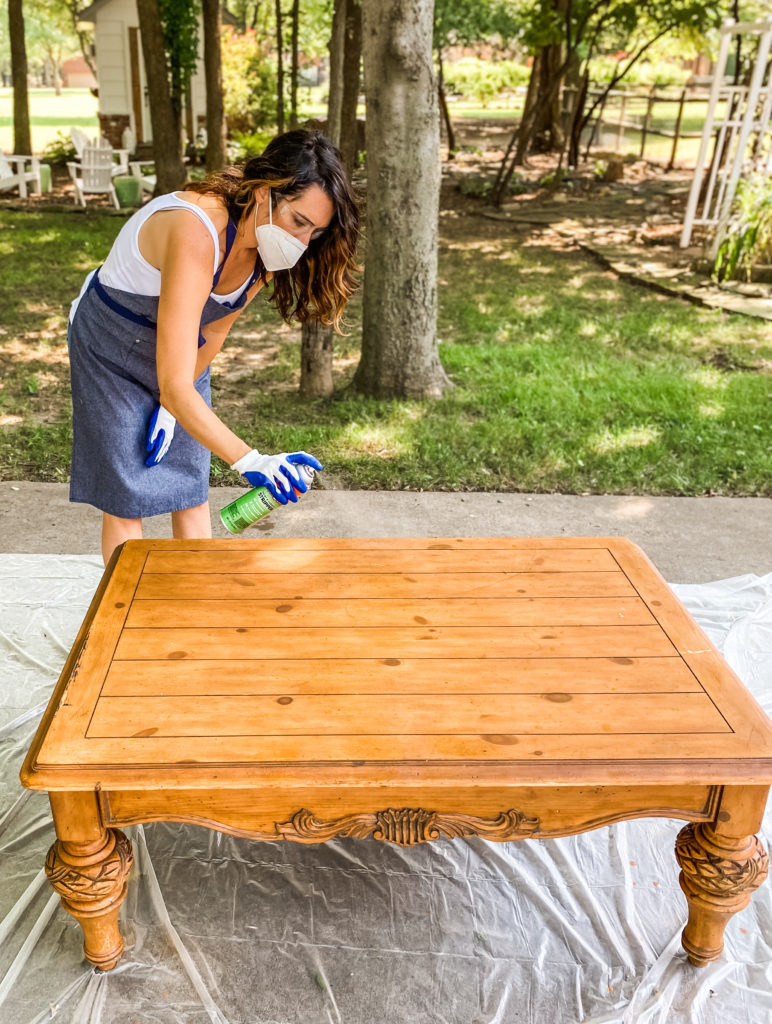
1. Clean the piece + spray with Citristrip
First, I cleaned the coffee table with household cleaner and a lint free cloth. Next, I had to remove the icky orange stain and thick varnish. Enter Citristrip. I prefer this stripping agent over others, because the smell isn’t AS bad. However, I’ve never used the spray form of Citristrip before [HERE], and this is what I learned: it is less messy initially, but it took longer and didn’t work quite as well as the original. If you use it, be sure to spray a heavy layer rather than a thin one like I did, because it didn’t do much when I went to scrape it the first time (see below left). If you want, you can cover the piece sprayed with Citristrip with plastic wrap and let it sit for a couple hours, but I was impatient and only waited 30 minutes between my two applications. Maybe it would have been faster in the end to just wrap + wait, ha!
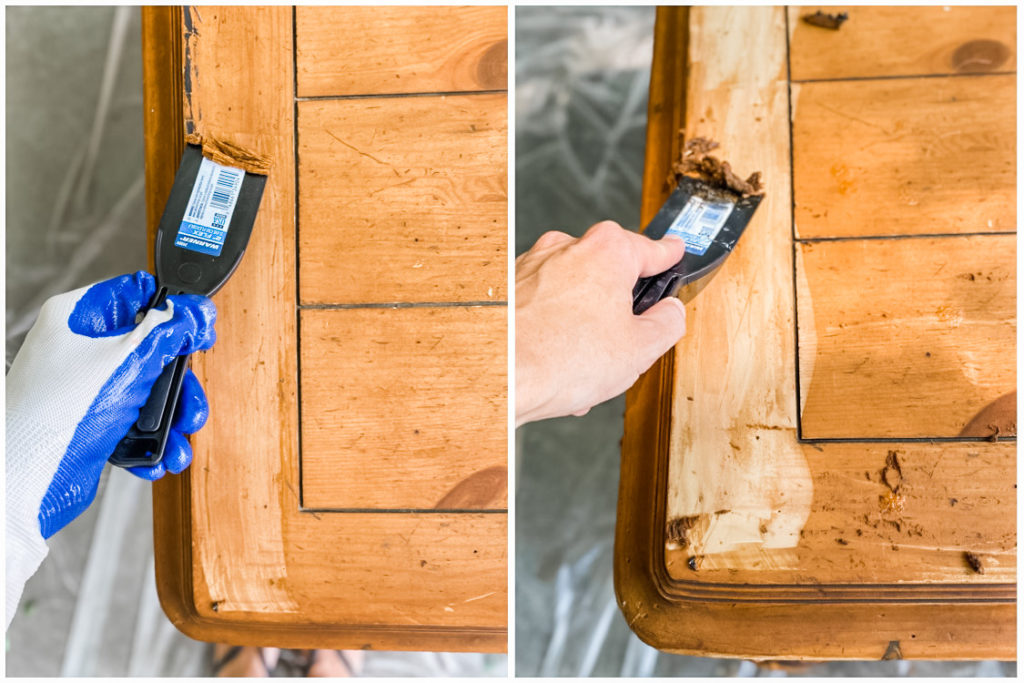
2. Scrape + scrub off stain
This is the most satisfying and the most messy part of the whole process. I LOVE watching that disgusting old stain get scraped away…but then things start to get a lil’ messy. Be prepared. Wear old clothes. Trust me. 😉 I tried to do what other bloggers have recommend and only use plastic paint scrapers to help avoid digging into the wood, but man…they did not work well. I figured the table was already beat up anyway, so after awhile I switched to the metal scraper and it worked way better.
For the carved legs, I switched to a couple of brushes with metal bristles so that I could really get into those hard to scrape crevices and crannies. There was NO way I was going to get out all of the stain that had settled into the depressions in the carvings, but you what? I ended up liking it in the end, because those darker areas really set off the carvings and detail! Less scraping, pretty details. Win win.
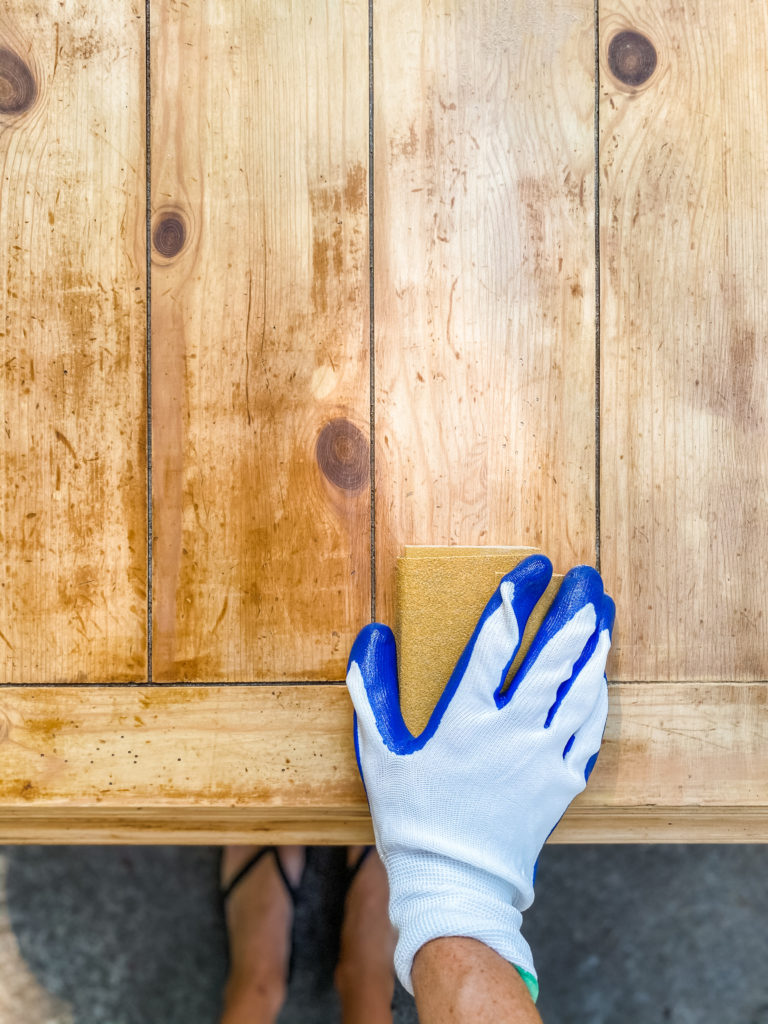
3. Rinse w mineral spirits + sand
After I finished scraping (my arms were SO tired), there were a bunch of leftover sticky blobs that I couldn’t get up by just wiping with a paper towel. Instead, I used steel wool pads soaked in mineral spirits (follow the directions on the label) and scrubbed the table down. After most of the blobs and residue were removed using the steel wool pads, I switched to lint free cloths soaked w the same solution and gave everything a final cleaning.
As a final step before bleaching, I used 80 grit sandpaper to remove just a bit more of the leftover stain and smooth down any uneven areas. Wondering if I had let the stripper sit longer if I might not have had to do this step to remove leftover stain bits, but who knows. In the end, it really helped blend any darker areas and remove the final bit of tiny blobs leftover from the mineral sprit wipe down. After sanding, I wiped the table clean with a damp cloth.
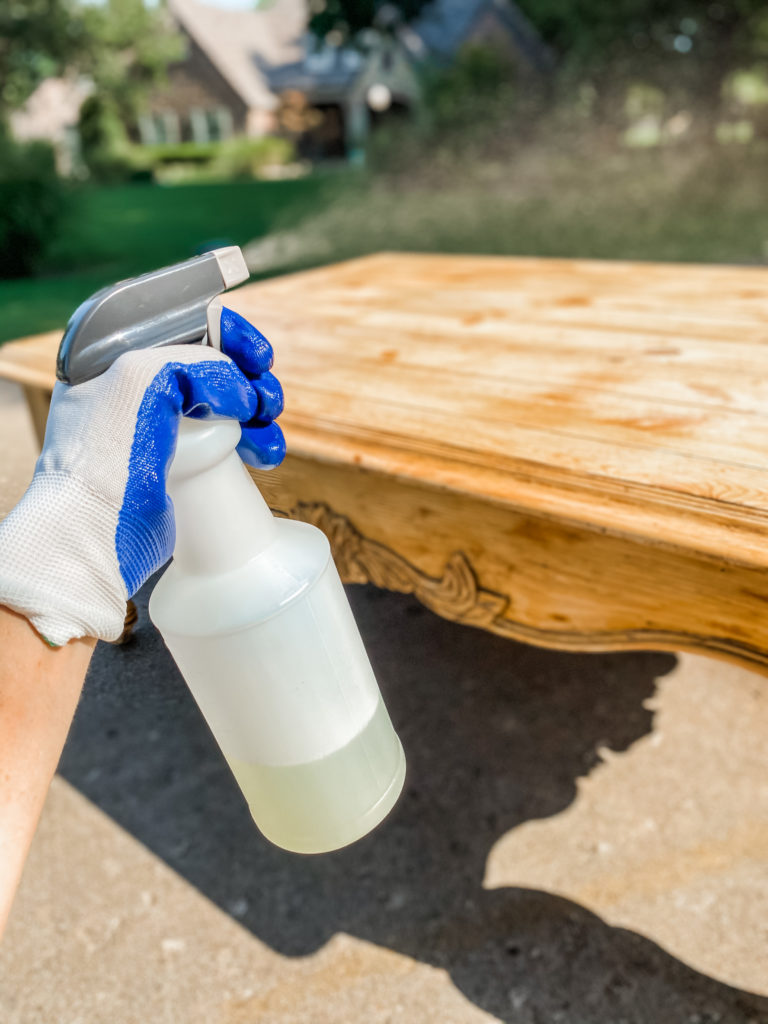
4. Spray with bleach
Making sure my safety gear was in place, I poured splashless bleach into a spray bottle and gave the table a good once over. I’ve tried pouring the bleach into a cloth and rubbing on other projects, but it was just so dang messy and irritated my hands even through gloves. This is WAY better.
After spraying with bleach, I left the table to dry in the sun for about 30-60 minutes. I decided I wanted it to be a bit lighter, so I repeated the bleach spray process 2 more times, each time waiting for the table to dry in the sun before deciding to proceed further or be finished. After 3 rounds, I was happy with the color!
5. Rinse, dry + seal
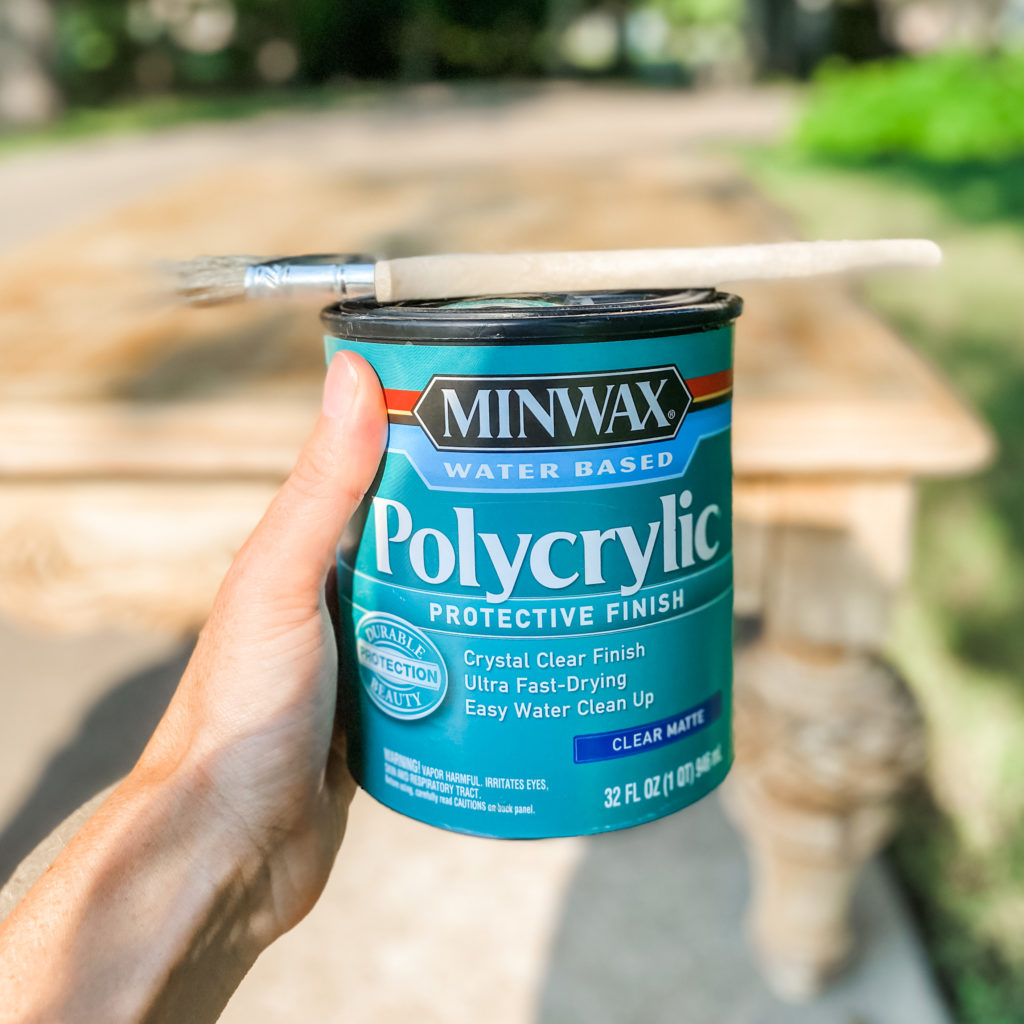
Once the bleaching was finished, I used a soaking wet cloth to rinse the table thoroughly and help the bleaching to stop. I let the table dry completely, and then I applied 2 very thin coats of Polycrylic matte finish sealer with a paint brush. I was impatient and didn’t wait the full amount of time between coats (shhhhh…don’t tell…), but I definitely waited a good 3 hours before putting anything on top of the table so that the sealer would fully dry.
Note: I choose Polycrylic over Polyurethane every time…except that one time I mixed them up and it looked like a dog had peed all over my newly painted white armoire. 😳 Polycrylic is awesome bc it dries totally clear and no yellow tint!
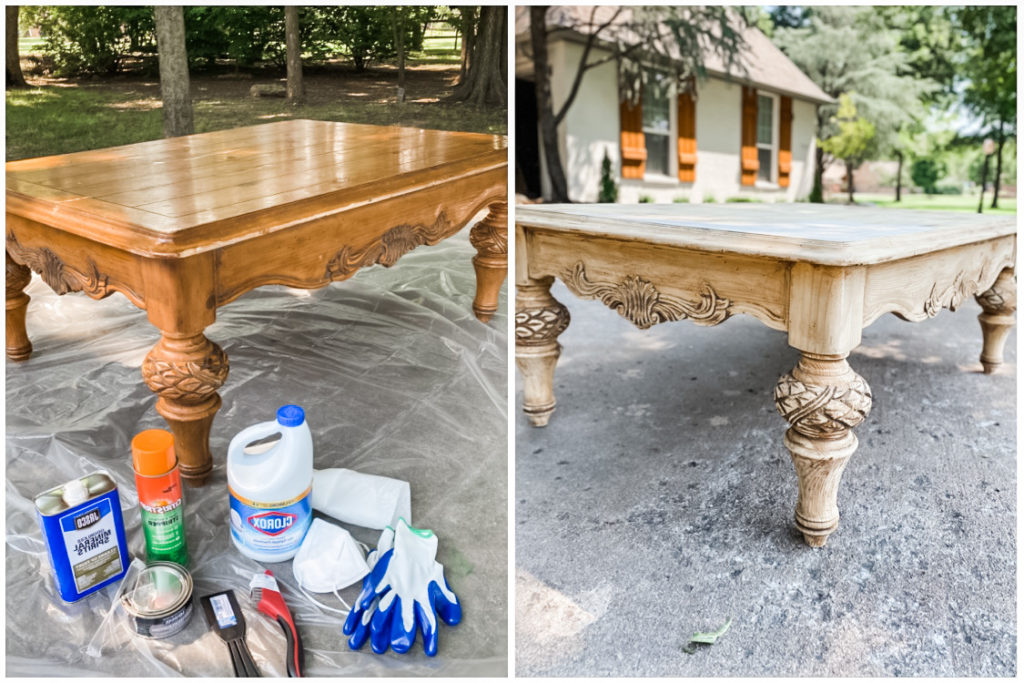
There you have it! I will not say it was quick and easy, but I will say it was totally worth the sore arms for a day or two. 😉 I absolutely love the look of bleached wood, and I especially adore how those carved bits came out in the end. The table certainly isn’t perfect…but isn’t that the point of buying vintage? Each piece has a story, has been well loved and used for a time and then passed along for someone else to use in their own story. (Are you a true vintage lover? Take my quiz HERE!)
I think the coffee table will end up in the girls’ combo homeschool/play/guest room we are working on this week. Follow along on my Instagram @cottonstem to see that transformation take place! Let me know what you think below! Have you ever bleached wood before? Did you do anything differently? Always up for learning new techniques from my buddies.
❤️ERIN


Love this, Erin!!! Do you think it would work w a cherry table?
Thank you! So the bleach won’t change the actual color of the wood, but it will lighten it. So if your wood color is pretty dark or red, it will still carry those tones afterward, but they will be much lighter.
Looks so great!!
Thank you!
I love this technique I am definitely going to have to try the next time I have a piece to work on. Thanks for the inspiration ❤️
Yay, I hope it works out on your project!
This turned out so well!! Beautiful job
Thank you, Kelsey!
Thank you for the TRUTH and the Details of this process. I know this must not be the healthiest of methods for OUR lungs, SO may I ask WHAT bRAND OR tYPE OF MASK AND GLOVES YOU WERE ABLE TO FIND During this time FOR YOUR PROTECTION? i REALLY love THE RESULTS, JUST DISLIKE THE CLEAN-UP (dISPOSAL) OF RESIDUES. LIKE YOU, i SOMETIMES BECOME IMPATIENT WITH THE WAIT TIMES BETWEEN STEPS, BUT THE RESULTS YOU HAVE ACHIEVED WERE GORGEOUS!
Your project looks great! Many thanks for the idea; it’s exactly what I would like to try to with a little secretary. Maple features a finer grain and is harder than oak. Furniture was traditionally made from maple for its rock hard qualities, making it durable and long-lasting.
I love the bleach look looks fabulous i am just in the proces of doing up a coffee table myself will give it a go thnks for the details i know it will all come in handy when in the process
This was a phenomenal job that you did. I stripped and did everything to my bedroom set. Crazy the time it took but I just put the polycrylic on it when I watched you you just put a coat on it and left it be put on the Cannes it says put on San put on do I need to do that or can I just put one coat on and leave it done. Oh by the way thank you for the idea I love my bedroom set it looks phenomenal.
I’m sorry, but Citristrip sucks!
You can achieve this look without bleaching by whitewashing the bare wood.
I have a way to make the stripping much easier – especially if you are removing a heavy finish Sand! I found this out by accident – but then used it to strip tons on an old Victorian house – out what ever stripper on you want – there are better ones – then after it has loosened the finish take handfuls of like sandbox sand in an area abd rub with a gloved hand all over and brush off- no guck it soaks it all up and dies a lot of the sanding !